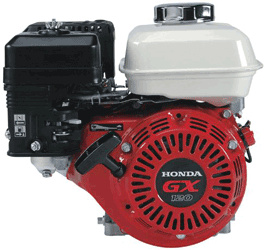
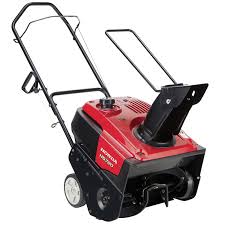
Honda’s G100 is a popular engine that’s used in all sorts of equipment. It can be found in tools for lawn care, agriculture, even construction. This guide will help you keep your engine running smoothly — no matter what it’s powering.
Safety
Carbon monoxide from the exhaust can be lethal in confined spaces. While it may be more convenient to work on the motor inside a garage or workshop, you should never start it inside or near a building.
To prevent injuries from moving parts, always shut off the engine before making any repairs.
The engine, and particularly the exhaust, can get very hot after running. It’s best to let the motor cool completely before performing any repairs.
Maintenance Schedule
Services You Can Do Yourself
Before each use: Check the oil and air cleaner
First month or 20 hours of operation: Change the oil
Every three months, or more frequently in dusty areas: Clean the air filter
Every 6 months or 100 hours: Change the oil, check the spark plug, clean the sediment cup and clean the spark arrester (if equipped)
Services that Should be Handled by a Repair Shop
First 6 months or 100 hours: Clean the combustion chamber and check the valve clearance
Every year or 200 hours: Clean the fuel tank and filter
Every two years: Check the fuel line for leaks and replace as needed
Engine Oil
Honda recommends oil that meets API service classification SJ or greater. 10W30 is recommended for most temperatures, while 5W30 can be used below 32°F (0°C) and SAE 30 above 50°F (10°C.) The G100 holds 0.48 quarts (0.45 liters) of oil.
To check the oil, remove the oil filler cap/dipstick. Wipe it clean, and slide it into the filler neck, but don’t screw it into the neck. Pull it out and look for oil: if the dipstick is dry, add additional engine oil.
To change the oil, place a drain pan under the engine and remove the oil filler cap/dipstick followed by the drain bolt, located directly beneath the filler neck. Once the oil has drained, screw the drain bolt back into the motor, making sure the sealing washer is on the bolt. Add oil until it comes to the top of the filler neck.
Air Cleaner
To access the air filter, remove the washer and cover from the air cleaner, located on the side of the engine next to the choke lever.
To clean the filter, wash it with soapy water, rinse and allow it to dry. Soak the filter in clean engine oil and squeeze out any excess liquid. Wipe out any dirt that has gathered around the filter housing.
Spark Plug
The spark plug on the G100 needs to be inspected and cleaned regularly. Replace the plug if it shows any signs of damage or fouling.
The plug should be gapped to 0.024-0.028 inches (0.6-0.7 mm.)
When reinserting the plug, make sure the sealing washer is fitted around the plug head. When installing the plug, tighten it 1/8 to 1/4 turn after the spark plug has seated, or 1/2 turn if the plug is new.
Cleaning the Sediment Cup
- Move the fuel valve to “OFF”
- Unscrew the sediment cup, located directly beneath the fuel valve.
- Clean the cup thoroughly.
- Screw the sediment cup back into the fuel valve, making sure the o-ring is seated on the top lip of the cup.
- Open the fuel valve and check for leaks.
Spark Arrester
The arrester is optional equipment, but it can be added to any G100 engine as needed to meet local fire safety requirements.
Accessing the arrester:
- Unscrew the two 6mm nuts on the front of the cover along with the two screws on the top and bottom of the cover.
- Remove the two screws holding on the muffler deflector.
- Slide out the arrester plate and spark arrester from the muffler body
Use a wire brush to clean off any carbon deposits on the arrester. Replace the arrester if it shows signs of cracking. Reassemble in reverse order.
Getting Parts for the G100
When you need parts for your Honda small engine, go to www.hondalawnparts.com. We’re a certified OEM dealer for Honda’s full line of small engine equipment, so we carry everything you need to keep your motor in top shape. Our site has an advanced search engine with built-in factory parts diagrams to help you identify the parts you need, and we can ship your order anywhere in the U.S. and Canada.

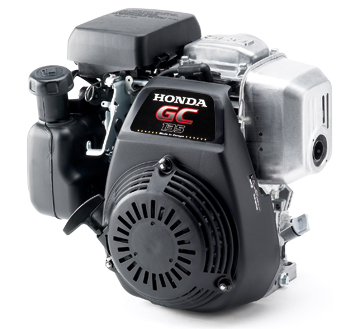
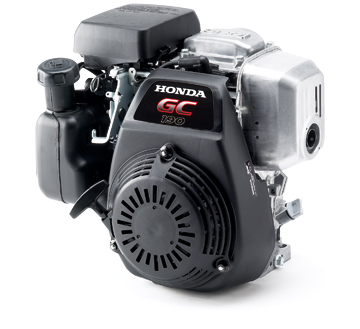
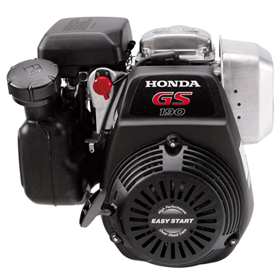 The GS 190 may be small, but with features like a cast iron cylinder liner, it can deliver the reliability you expect from a commercial-grade engine. Whether your GS is powering a tiller, pressure washer, water pump, or a piece of farm equipment, this guide will help you keep your engine running reliably.
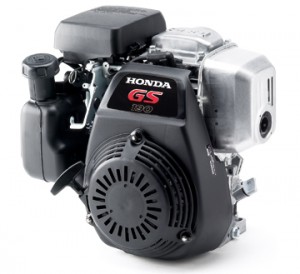 Bought a new piece of equipment powered by a Honda GS 190? Here’s what you need to know to get it running and address any problems along the way.
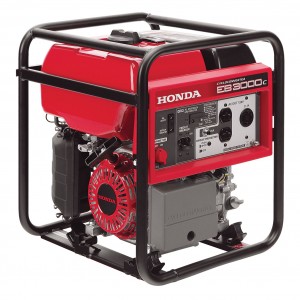 The name “Honda” is synonymous with quality, especially when it comes to generators. However, even the best made generator can be unreliable or even dangerous if not used correctly. Here’s what you shouldn’t do with your generator, whether you have a small portable model, a home backup system, or a portable power source for work sites.