Engine Overheating

engine overheating
Summer heat and long hours of operation can put serious thermal stresses on your Honda engine, but under normal circumstances, it should have no problem keeping temperatures under control. However, a few problems can crop up that can push temperature to a level that components can expand, increasing friction and eventually seizing. Addressing these problems early can keep the motor going and avoid a costly rebuild.

Dirt

Small engines are air cooled: heat from combustion is transferred to the surrounding metal of the head and engine block where it heats the air. The fins increase the surface area, allowing more heat to be transferred. Dirt is a poor heat conductor, which means a dirty engine can’t get that heat into the air. Attention should also be paid to the plastic shroud over the engine: it helps channel air to the fins. If it gets clogged, airflow is reduced.

These parts can be cleaned with compressed air or a soft brush. Never use a pressure washer, as this can push water into the engine where it can contaminate the fuel and oil.

Oil

Oil has two roles in heat management: it reduces internal friction that generates heat, and it carries heat from the combustion chamber and piston to the rest of the engine, increasing the area that can be used to transfer that heat into the atmosphere. Although most modern Honda engines have their Oil Alert system to force shutdown if the oil level is dangerously low, the oil can still get low enough without triggering the system to compound problems that can lead to overheating. Always check the oil level before starting the engine.

Cooling System Damage

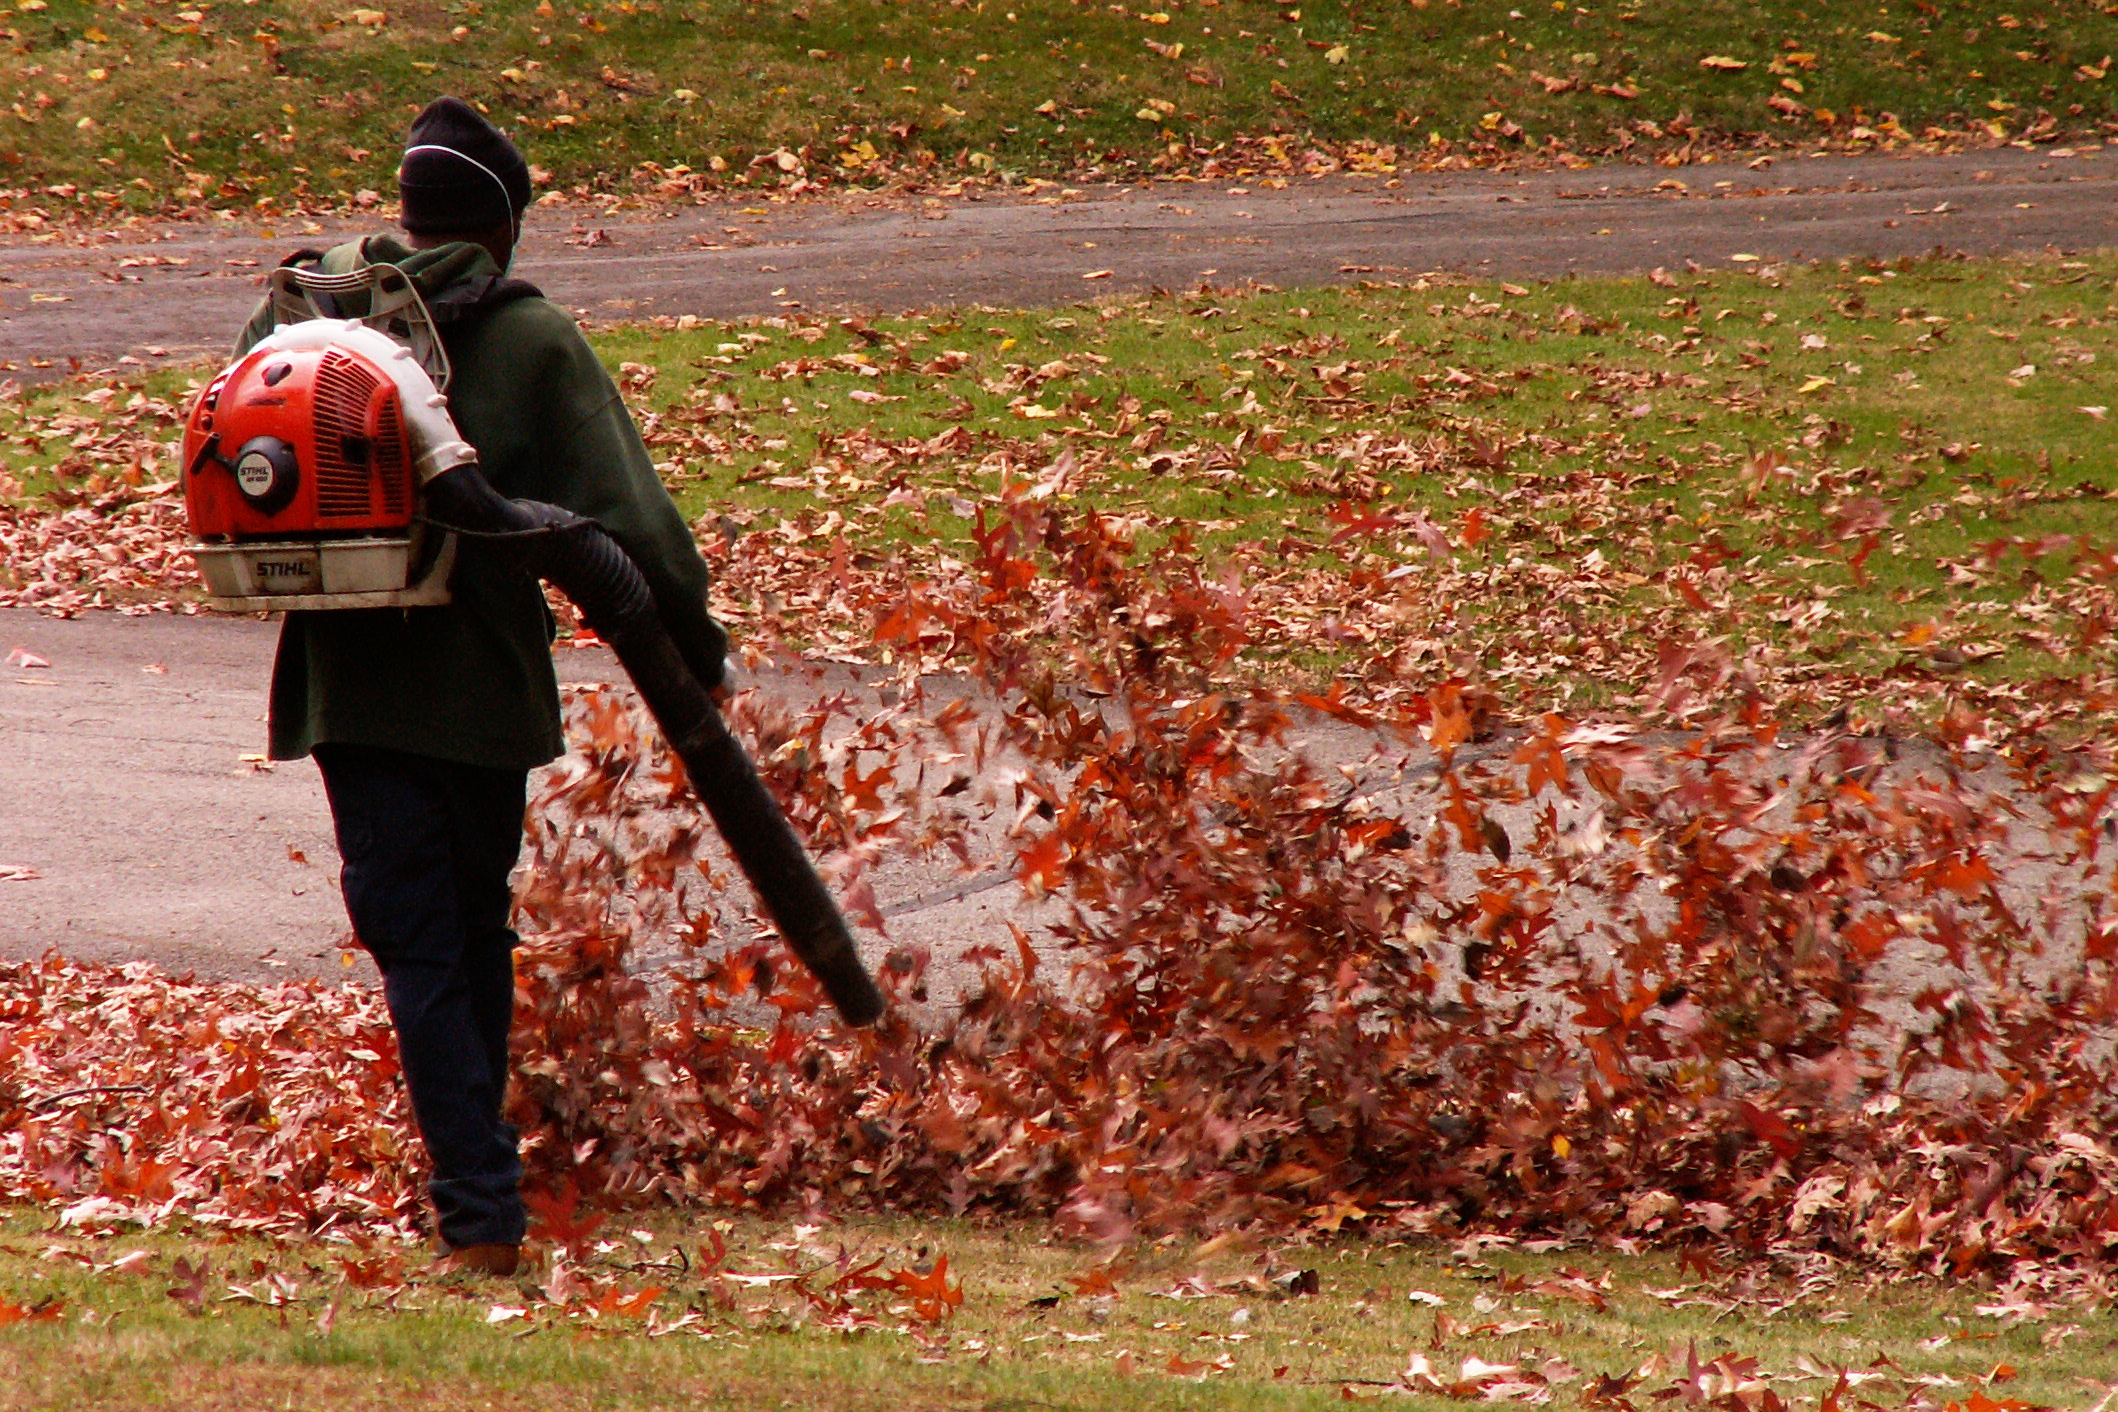
To keep enough cool air around the cooling fins, the flywheel has fins on its surface that act as a radial fan. While the engine is running, these fans draw air in from the shroud and push it around the engine to remove heat. Something as simple as some leaves or grass gathered on top of the inner shroud can reduce airflow, while damage to the fins or shroud can cause significant airflow problems. Replacing these parts once the issue has been found can save your engine from needing a rebuild.

Air/Fuel Mixture

Fuel also plays a role in cooling, directly absorbing heat from the combustion chamber and maintaining combustion heat at an acceptable level. If the engine runs lean, temperatures can skyrocket, leading to overheating.

The most common cause of a lean mix is a dirty fuel cap. This cap has small vents that allow air to enter the tank as fuel leaves. If those vents are sealed, the reduced pressure inside the tank can keep the carburetor from drawing in fuel, causing the mixture to lean out.

A dirty filter can also reduce fuel flow, especially in sub-50cc engines like those found in string trimmers. These engines have a small screen on the end of the fuel line that needs to be pulled out of the tank and cleaned occasionally. Other models have an in-line filter or a bowl on the bottom of the carburetor to collect debris before it reaches the jet. Clogged fuel filters should be replaced, while bowls can be drained or removed and cleaned.

Damage or age can also break the seal between the carburetor and the engine. If the seal between these two parts allows air to enter, the engine will be getting outside air along with air mixed with fuel in the carburetor, leaning out the mix reaching the cylinder.

Work in an area with high altitudes? Honda makes kits to change the carburetor jetting to deal with the reduced air density. If you try to use the engine at lower altitudes, the mix will be too lean. If the shop or previous owner who made the swap did it by the book, there should be a label on the engine stating the jets have been replaced.

Get the Parts You Need to Fix Your Honda Small Engine

Hondalawnparts.com is a certified Honda Small Engine Equipment dealer, letting us offer all the OEM parts you need to get your engine’s temperatures under control. Our site has advanced search tools with factory diagrams and descriptions to make it easy to find what you need, and we can ship your order anywhere in the U.S. and Canada.

Leaf Blowing Tips

KONICA MINOLTA DIGITAL CAMERAFall leaves are beautiful when they’re still on trees, but they become a major nuisance and a threat to your lawn when they start falling. A leaf blower can make leaf removal fast and easy, but only if you know the right techniques. These tips will help you get the most out of your equipment whether you have a Honda-powered backpack or walk-behind blower, an older Honda-built blower or a blower attachment for your VersAttach multitool.

Be Sensible About Safety and Considerate to Your Neighbors

A blower works by moving air so fast that it can push heavy, loose materials. That means lots of noise and dust that requires eye and ear protection. It’s also a good idea to stay well away from gravel driveways and to wait a while before blowing over areas that have recently been covered in fertilizer, pesticides or other chemicals.

Speaking of dust and loudness, you should probably limit blowing to times when everyone is awake and no one is out playing in the yard or having a barbecue.

Work with the Weather

Working on a wind-free day will keep the leaves you just moved from blowing away, but if you must work when it’s windy, plan accordingly by working toward the wind direction instead of against it.

Wet leaves are far heavier than dry leaves and tend to clump together, making them even harder to move. Unless absolutely necessary, only blow leaves when they’re dry.

Plan Where You Want the Leaves to Land

Place a tarp in an area that is easy to reach both for the blower and their final destination, whether they’ll be loaded into bags or onto a trailer. Once everything is in place, start working from the outer edges of the property toward this tarp.

Live at the edge of a forest? While it may seem like a good idea to simply blow the leaves into the woods, tall piles of leaves can collect moisture that will promote rot, hurting and even killing the trees. This is especially true in areas with acidic soil including the East, Southeast and Pacific Northwest where the decomposing leaves can push the pH to plant-damaging levels.

Use the Right Angle

Pointing the tip down will concentrate the jet of air into a small spot, which is ideal for pulling up matted leaves and mulch. However, this also pushes the leaves higher into the air where they can be caught by the wind, blowing them where you don’t want them, and it will lift more dust off of the soil.

Using the tip at a shallow angle will move the leaves forward instead of up, making them easier to maneuver and collect into a pile. Skimming the surface will also keep dust from being blown up.

Don’t Expect Perfection

A leaf blower can remove 99.5% of the leaves from your lawn with ease, but there will always be a handful of leaves that will stick tenaciously to the grass. Unless you have a section that has clumped together, it’s better to leave them alone. With the vast majority of leaves removed, you’ve accomplished the three main reasons for moving leaves: maintaining drainage, exposing the grass and preventing an increase in surface soil acidity.

Use the Blower for More than Leaves

A blower works great for moving light snowfall and water off of driveways and pushing away cobwebs that gather on the corners of buildings.

Keep Your Blower Working

When you need parts for Honda blowers or engines, visit www.hondalawnparts.com. We’re a certified Honda Small Engine Equipment dealer, which means we carry everything for their motors and equipment. Our site has factory diagrams built in to help you find the part you’re looking for, and we can ship it to you whether you live in the U.S. or Canada.

Taking Your Honda Generator Tailgating

honda-generatorNo matter what sport you’re into, half the fun of going to a game or a race is the tailgating. With a little preparation, a Honda generator can help you get the most out of your party by letting you watch the pre-game show on TV, outfit your mobile kitchen and keep some cold drinks on hand.

How Many Watts Do I Need?

Generators are rated in maximum watts for temporary loads and running watts for long term use. To get the right size generator, you need to figure out how much power you need for the devices you plan on using. Most appliances have a label clearly outlining power demands, but there are a couple things to watch out for.

A heating element on an electric hot plate or a hair dryer may have the watts stated clearly on the side of the device, but this is a measurement of heat energy, not electrical energy. If there isn’t an electric label, plan on using 60% more than the stated heat wattage.

Watts = Amps X Volts. If you have an appliance only rated in amps, simply multiply that number by 120 to get the watts.

Electric motors are “reactive” loads, using up to three times as much power to start as they do to run. Appliances that have electric motors include air conditioners, blenders, fans, and refrigerators. Since air conditioners and refrigerators cycle on and off constantly, it’s best to have enough capacity to handle the peak load at any time. With other appliances, you can plan around this load, switching off a few things before starting them up, then switching everything back on once the appliance is running.
Resistive loads like TVs and toasters always draw the same amount of current when they’re on.

Are Electronics Safe to Use with a Generator?

Honda generators come equipped with inverters that convert the generator’s power into a clean AC waveform that won’t damage sensitive electronics including TVs and computers.

How Do I Set Up My Generator?

Like any internal combustion engine, the motor in your generator makes carbon monoxide, which can be poisonous in high enough concentrations. Never place it under awnings or tents where the exhaust gasses can collect. Placing it downwind will keep the exhaust from blowing over the area you’ll be partying. Using a high amp extension cord will reduce resistance, taking a load off of your generator and the equipment connected to it. For most uses, the best route is to get a cord designed for the locking plug that ends in multiple 120v outlets.

While it’s easy to get an extension cord made for outdoor use, you’ll probably end up using a few devices intended to be used only in the home. GFCI protection is built into the outlets on your generator to reduce the chance of shorts, but some extra precautions should be taken to help keep your appliances away from water. Make sure they’re kept off of the ground and have some sort of weather protection to keep them from getting wet and inspect cords for damage before plugging them in.

How Loud is the Generator?

Most Honda recreational generators are housed in a case that helps quiet engine noises. At most, the generator will make 65 dBa under full load, which is about the same as a normal speaking voice. Since the generator will be at least a few feet away from where you’ll be hanging out, the sound will be drowned out by TVs, radios, and talking.

How Can I Get the Most Out of My Appliances?

If you tailgate regularly, it may be worth investing in an outdoor refrigerator. These are built to keep items cool in a wide range of environments, and if they’re UL listed, they’ve undergone a series of tests to ensure they won’t short if they get wet. Likewise, outdoor TVs are built to both withstand moisture and manage heat through a wide range of temperatures, while the life of a standard TV will be shortened considerably if it gets cold or overheats.

You can reduce the load that refrigerators, freezers, and refrigerated coolers put on your generator by filling them with pre-chilled food. If you have a freezer or cooler, fill any remaining space with ice to create a thermal buffer.

Where Can I Get Parts to Keep My Generator Working?

www.hondalawnparts.com is a certified dealer for Honda Power Equipment. We stock parts for Honda generators and the motors that power them, and we can ship those parts anywhere in the U.S. and Canada. Finding the right part is easy thanks to our advanced search system that integrates factory diagrams so you can see where the part fits on your machine.

Tips for Tilling

Tips for Tilling Honda Tiller

Breaking ground is the first step to building a garden, whether you’re planting vegetables or decorative plants. These tips will help you get the most out of your Honda tiller and your new planting project this season.

When to Till

You may want to break ground as soon as possible to start planting, but there are a few conditions that should be met to get the most out of tilling:

The ground should be at least moderately dry. Wet, muddy ground will compact from the weight of the tiller, making it hard for roots to penetrate. Pick up a handful of soil and squeeze: if the soil falls apart, it’s dry enough. If it forms a ball, it’s too wet.

The ground should be warm. The soil temperature should be at least 60 degrees F (15 degrees C.) If you don’t have a thermometer, push your hand into the soil. If you can keep it there for a full minute, the soil is warm enough.

Wind should be at a minimum so that the newly broken soil won’t blow away.

It needs to be late in the evening. While tilling can kill off existing weeds, dormant plants can start growing once they’re exposed to sunlight. Tilling just before the sun goes down will keep these weeds from getting the sun they need to restart growth.

Applying Fertilizer and Nutrients

If you’re going to use fertilizer, till the soil to break it up, then till again once the fertilizer has been spread to help mix it in.

Adding nutrients to correct soil deficiencies can adversely affect new roots. Ideally, these additives should be applied in the fall after harvest season, tilling the soil to integrate them.

Setting the Depth Bar

The bar holds the tiller back, helping it dig into the soil instead of just rolling over the surface. Setting the bar lower will help the tiller go deeper and reduces ground speed, helping the tines go through hard soil. Ideally, the tiller should be tilted slightly rearward while in operation. The bar should be adjusted so that the blades consistently reach a depth of 5 inches for leafy vegetables and flowers, and around 8 inches for root vegetables.

Setting the Throttle

In most cases, you’ll want to use your tiller at full throttle. However, this can be a bit much when going through soft soil, causing the tines to throw out chunks of unbroken soil instead of chopping it up. Lower the throttle accordingly until you get the right soil consistency.

Using the Handlebars to Control Depth and Speed

While it may seem like a good idea to go over ground that wasn’t correctly tilled, cutting through the soil a second time can actually compact it, making it harder for plants to grow. Getting a good cut through the soil the first time is critical.

If the tiller is moving too fast, push down on the handlebars. The depth bar will dig into the soil and help keep the tiller in place so the tines can dig deeper. Once the tiller is cutting at the desired depth, let up on the handlebars to start moving forward again.

If the tiller stops moving forward, lessen the pressure on the handlebars and move them side to side until the tines get traction again. If the tiller still doesn’t want to move, raise the depth bar.

Keeping Your Tiller in Top Condition

When you need parts for your Honda tiller, visit www.hondalawnparts.com. We’re a certified Honda Small Engine Equipment dealer, which means we can provide you with everything you need for maintenance and repairs. Finding parts is easy thanks to our advanced search engine that has built-in factory diagrams and descriptions. We can ship your order to any address in the U.S. and Canada.

Honda Mini Four Stroke Engine

Honda Mini 4-stroke engineHonda’s GX25 and GX35 mini four-stroke engines are built to operate in any position, making them an enticing alternative to hard starting, fuel swilling two strokes. Here’s what you need to know to operate and maintain one of these unique engines, whether it’s powering a string trimmer, a tiller or a water pump.

Starting a Cold Engine

  1. Set the throttle 1/3 of the way above “Slow.” This lever will either be on the engine or the handle of the equipment you’re using.
  2. Move the choke lever, located next to the air cleaner, to the “CLOSED” position.
  3. Press the priming bulb, located next to the choke, until fuel can be seen inside the bulb.
  4. Turn the engine switch, located on the opposite side of the choke and priming bulb, to “ON.”
  5. Hold the starter grip and pull the recoil starter straight out from the opening in the flywheel cover. On tillers, the starter should be pulled straight back, toward the handle. On other engines, your left hand should be holding the starter grip, while your right hand pulls the starter toward you.

Starting a Warm Engine

On tillers and pumps, perform the following procedure before trying to restart the motor:

  1. Make sure the engine switch is in the “OFF” position.
  2. Set the choke lever to “OPEN.”
  3. Set the throttle to the “MAX” position.
  4. Pull the starter 3-5 times.

All engines can be started using the “Starting a Cold Engine” method above, but with the choke open.

Oil

These engines are able to work at any angle because they use a rotary slinger that turns the oil into a fine mist during operation, letting it lubricate in much the same way the oil/fuel mixture does in a two stroke. Because of this, changing and maintaining the oil is a little different from other small engines.

The oil should be checked when the engine is off and sitting level. Check the oil before each use. If you’re using the engine continually, check the level every 10 hours. Wipe the dipstick/filler cap clean, then insert it into the engine without screwing it in. The oil should come up to the bottom mark on the dipstick.

The oil should be changed after a month or 10 hours of use, then every 6 months or 50 hours after that. To drain the oil, simply remove the oil filler cap and tip the engine over a recycling container. Some oil will still be inside the motor, so there’s no standard amount of oil that needs to be added; start by adding 2.7 oz. (80 ml) of oil, then slowly pour in more until the oil is at the edge of the filler neck.

Honda recommends using pump engines at temperatures between 41 and 104°F (-5 to 40°C) and other engines between 23 and 104°F (-5 to 40°C.) 10W30 oil is recommended for most operating conditions, but SAE 30 can be used at temperatures above 50°F (10°C.) 5W30 can be used at temperatures below freezing.

Air Cleaner

These engines use a foam filter element. To reach the filter on tiller engines, squeeze the upper and lower tabs on the cover to lift it off. On other engines, squeeze the tabs on the top of the cover and swing it down. To clean the filter, wash it in soapy water or a non-flammable solvent. Once the filter is dry, soak it in clean engine oil and squeeze out any excess. Wipe out the inside of the air filter box before reinstalling the filter. Honda recommends cleaning the filter every three months or 25 hours.

Accessing the Engine

To get to the spark plug, spark arrester and cooling fins, remove the 5 mm bolt at the top of the engine and slide off the plastic cover. The fins should be cleaned every three months.

Spark Plug

The plug gap should be between 0.60 and 0.70 mm (0.024-0.028 inches.) When installing, always start by screwing the plug in by hand before tightening it with a plug wrench or socket to avoid cross-threading. The spark plug should be checked once a year or 100 hours of operation and should be replaced every two years or 300 hours of operation.

Spark Arrester

Depending on the model, the spark arrester can be accessed by removing a single screw on the muffler where the exhaust exits, or by removing three screws from the exhaust outlet. If the arrester is tube-shaped, it can be cleaned by squeezing and tapping it to remove the carbon deposits. All other types should be cleaned with a wire brush. The arrester needs cleaning every year or 100 hours.

Fuel Filter and Tank

The fuel filter and tank should be inspected and cleaned every year or 100 hours. To reach the fuel filter, use a hook to pull it out of the tank. If the filter or tank are dirty, clean them with a non-flammable solvent.

Getting Parts for Your GX Mini Four Stroke

Hondalawnparts.com is a certified Honda Small Engine Equipment dealer, which means we have everything for these engines from plugs to piston rings. We can ship anything you need to any address in the U.S. and Canada.