Using the WH15X Pump

Using the WH15X Pump

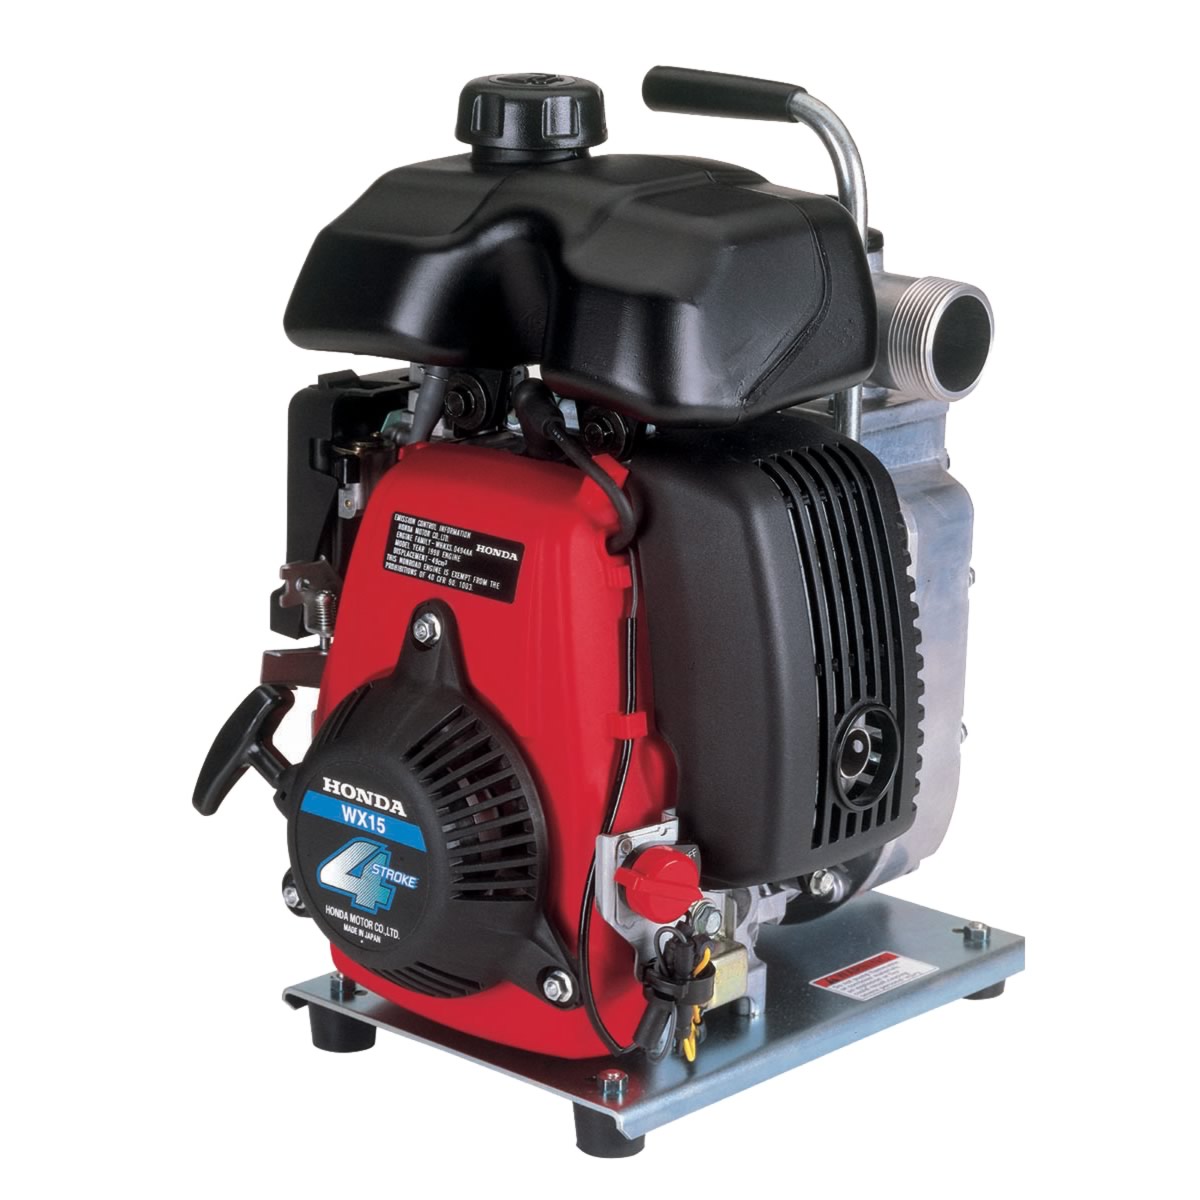
At 20 lbs, the WX15X is perfect for small jobs from garden irrigation to draining the bilge on small boats. Here’s what you need to know to get the most from this water pump.

What Will the WX15X Pump?

This pump is designed to pump fresh water. Pumping corrosive liquids like seawater and mine runoff will damage the pump, while pumping flammable liquids including gasoline and diesel can cause a fire or explosion.

This is a dewatering pump, so it can handle water with solids up to 3/8 of an inch (10 mm) in diameter. It’s strong enough to pick up muck water, so it’s safe to use when draining ponds.

Pump Location

The WX15’s maximum total head is 121 feet under ideal conditions. Suction head can be no more than 26 feet, and may be less in high altitude operation. When setting up the pump, position it so that it is close to the surface of the water, making up the difference in height to the drainage point by using the discharge hose. Reducing suction head will reduce the time the pump takes to self-prime.

Keep the pump at least three feet away from building walls and other equipment. Heat coming off of the engine could start a fire, and confined spaces can concentrate poisonous carbon monoxide from the exhaust.

Hoses

Both the suction and outlet ports are 1.5 inches in diameter. The suction port should be used with a 1.5-inch diameter non-collapsible hose. The outlet can be connected to a standard hose that is at least 1.5 inches in diameter. Using a wider hose will reduce fluid resistance, improving performance. The shorter the hoses are, the better the pump performance will be.

Hose clamps are included with the pump, but separate hose connectors will be needed to mate the hoses to the pump housing. Inspect the packing inside the hose coupling before installation. If this part fails, there won’t be a good seal between the hose and the pump port.

The suction hose should always be fitted with a strainer to keep large debris from reaching the pump and damaging the impeller. A basket strainer is included with the WX15X, but a skimmer strainer is a better choice if you need to completely drain a body of water.

If the discharge hose needs to cross a road, run it directly from one side of the road to the other. Place boards along the hose to support vehicles crossing the road: this will keep the tires from pushing down on the hose and cutting off water flow, which can damage the pump.

Priming

Before starting the engine, water needs to be added to the pump chamber to prevent overheating and seal damage. If the engine is accidentally started with a dry pump, shut it off immediately and let the pump cool off before priming and restarting.

To prime the pump, remove the cap on top of the pump housing. Add water until it’s even with the bottom of the pump outlet, then reinstall the filler cap. Once the engine is running, it can take a couple of minutes for the pump to draw water through the hoses.

Starting the Engine

1. Move the fuel valve lever, located to the right of the air box, to the “ON” position.
2. If the engine is cold, move the choke lever, located above the air box, to the “CLOSED” position. If the engine was recently started, leave the choke in the “OPEN” position.
3. Move the throttle lever, located below the fuel lever, halfway between “SLOW” and “FAST.”
4. Turn the ignition switch to the “ON” position.
5. Hold the carrying handle and pull the starter grip.
6. As the engine warms up, gradually move the choke to the “OPEN” position.

Stopping the Engine

1. Move the throttle lever to the “SLOW” position.
2. Turn the ignition switch to the “OFF” position.
3. Turn the fuel valve to the “OFF” position.

After Use

Once the engine is off, remove the drain plug on the base of the pump and the priming cap on the top of the pump. Pour fresh water into the pump to flush out any dirt or debris. Once all the water has drained, reinstall the plug and cap.

Get the Parts and Accessories You Need for Your Honda Water Pump

Hondalawnparts.com can ship OEM parts and accessories for you WX15X to your door whether you live in the U.S. or Canada. We carry the full line of Honda water pump accessories including hoses, strainers, and clamps as well as parts like spark plugs and pump seals. Browse our pump accessory section to find the right combination of hoses and adapters to fit your needs, or search by pump model and serial number to find compatible parts for your pump.

Horizontal vs. Vertical Engines

Horizontal vs. Vertical Engines

Drive shaft orientation is one of the most misunderstood aspects of small engines, leading to a lot of fallacies about the advantages and disadvantages of each design. How do you know which one you own? Does one design last more than the other? Is there a reason you should choose a vertical shaft engine over a horizontal shaft or vice versa? Here’s what you need to know to separate fact from fiction.

Model Designations

All Honda engine model names start with two letters to designate their engine family. Currently, this includes the GX and GC. If there’s a “V” after these two letters, the engine has a vertical shaft. Engines that are the same model family and displacement share the same basic design and provide identical performance no matter how the shaft is oriented.

Engine Wear and Lubrication

Myths are persistent about one design wearing out faster than the other, but these can be attributed to a misunderstanding about how these engines work.

Some older vertical shaft engines have the intake and exhaust valves positioned vertically. This draws hot exhaust gases along the bottom cylinder surface, resulting in slightly more wear on that side.
This has led people into believing that gravity is a factor, leading to increased wear on vertical shaft engines, but the same wear pattern is found around the exhaust no matter where the valve is positioned.

On the other hand, some people believe that horizontal shaft engines will wear out faster because the upright position of the cylinders keeps them from being lubricated as well as a vertical shaft engine. Both horizontal and vertical engines with splash lubrication use a dipper or scoop to pick up oil in the crankcase and fling it onto the components inside the engine. Even at idle, oil is being flung around the engine at a rate of 20-30 times per second, overcoming any issues with gravity by sheer force. Likewise, while the oil channel location may be a little different, pressurized oiling systems still pump oil up to the head and let it flow back to the crankcase in both engine designs.

Driving Equipment

When engineers choose an engine, they decide on crankshaft orientation based on what makes the most sense to power the equipment. For example, the blade can be bolted directly to the drive shaft on a vertical shaft engine when used in a walk-behind mower, while a horizontal shaft is perfect for the pulley system used on an edger or the impeller in a water pump.

The only time you’ll likely have a choice between vertical and horizontal shaft engines is when you buy a riding mower. Some ZTR manufacturers choose to use horizontal shaft engines to reduce the overall length of the mower, while some older lawn tractors including several of Honda’s own models use a horizontal shaft engine to connect with the axle using a shaft drive. To connect the horizontal shaft to a vertically-oriented pulley, these mowers use a mule drive. This guides the belt along a pair of pulleys, bending them at a 90-degree angle. These added bends are more efficient and reliable than they sound, but they do complicate belt replacement.

Blurring the Line: Mini 4 Stroke Engines

The GX25 and GX35 are technically vertical shaft engines, but their oiling system is designed to work at any angle. This lets them be used in place of two-stroke engines in handheld devices like string trimmers. These engines also find use in stationary equipment, mounted either horizontally, as seen in Honda’s own WX10 water pump, or vertically to power small augers.

Get Everything You Need for Your Honda Engine

No matter how your engine is built or what it’s powering, you can get the parts you need for it from www.hondalawnparts.com. We’re a certified dealer for Honda Engines and Honda Power Equipment so we can ship the OEM parts and accessories across the U.S. and Canada. Need help finding a part? Our site can show you factory parts diagrams and descriptions for your specific model so you know what you’re ordering will fit.

GX and GXV 690 Maintenance

GX and GXV 690 Maintenance

Honda makes quality engines, but it takes steady maintenance for them to live up to their reputation for reliability. Here’s what you need to know to keep your GX 690 or GXV 690 V-Twin in top running condition.

Maintenance Schedule

These maintenance tasks are easy enough that you can do them yourself:

Before each use – Check air filter and oil level.
After the first month or 20 hours of operation – Change the oil.
Every 6 months or 100 hours – Change the oil, clean the air filter and check the spark plug. Clean the spark arrester if your engine has one (GX 690 only.)
Every 200 hours – Replace the oil filter.
Every year or 300 hours – Replace the spark plug.
Every two years or 500 hours – Replace the paper air filter element.

Honda recommends having a small engine mechanic handle these maintenance tasks:

Every year or 300 hours – Check the idle speed and valve clearance, and replace the fuel filter
Every two years – Check the fuel tube and replace as needed
Every 1,000 hours: Clean the combustion chamber (GXV 690 only.)

Oil

This engine is designed to use oil that meets the requirements for API category SJ or later. Honda recommends oil viscosity based on the temperatures the engine will be operating in:

SAE 30 – 50-113ºF (10-45ºC)
Conventional 5W30 or 10W30 – 23-113ºF (-5-45ºC)
Synthetic 5W30 – 5-113ºF(-15-45ºC)

To get an accurate measurement when checking the oil, place the engine on a level surface and let it run for a couple minutes. This will splash some oil on the dipstick, so it needs to be cleaned and inserted all the way into the filler neck before checking the oil level. Some versions of this engine come equipped with Oil Alert, which will shut off the ignition automatically if the oil level is too low.

To change the oil, remove the drain plug, located directly below the starter on the GX 690 and next to the filler neck on the GXV 690. Once the oil has drained, reinstall the drain plug and a new sealing washer. If your engine is due for a new filter, remove the old one with an oil filter wrench. Using a strap wrench can damage the oil pressure switch. Coat the seal on the new filter with clean engine oil before installing. Screw in the filter by hand, then use the wrench to turn the filter another ¾ turn once the filter seats. Pour new oil into the oil filler neck, located on the top of the cylinder directly to the left of the dipstick. Add oil until the level comes up to the upper limit mark on the dipstick. Start the engine and check for leaks.

Air Filter

To access the filter, pull up on the latches at the sides of the air cleaner cover and pull the cover away from the engine. The paper filter and surrounding foam element can be removed by unscrewing the wing nut on the GX 690, while they can be lifted straight out of the air box on the GXV 690.

To clean the paper element, tap it on a hard surface or blow it out with compressed air. When using air, limit the pressure to 30 psi.

To clean the foam element, wash it in a non-flammable solvent or soapy water. Once the filter is dry, soak it in clean engine oil and squeeze it out to remove any excess.

Before reinstalling the filters, wipe out the inside of the air cleaner box.

Spark Plug

To remove the spark plugs, first, clean the area around the spark plug caps and disconnect them from the plugs. Use a 5/8 inch plug wrench to unscrew the plugs.

The spark plug gap should be between 0.028 and 0.031 inches (0.7-0.8 mm.) Replace the plug if it’s damaged, corroded, has a worn electrode or the sealing washer is in poor condition.

Always start the spark plug by hand to prevent cross-threading. Once seated, use the wrench to turn the plug another ½ turn if it’s new or 1/8-1/4 turn if it’s used to get a tight seal. Reconnect the spark plug caps.

Spark Arrester

If your engine has a round high-mount muffler, simply remove the screw from the tailpipe and slide out the arrester. If your engine has a flat side-mount muffler, you’ll need to remove the four bolts holding the muffler protector. With the muffler uncovered, remove the three screws holding in the arrester.

Use a wire brush to scrub off any carbon deposits. Replace the arrester if it has signs of damage.

Keep Your Engine Running with Quality OEM Parts

Hondalawnparts.com is a certified dealer for Honda Engines, letting us sell the parts you need to maintain your Honda engine no matter what it’s powering. Not sure what you need? Just pick your model and serial number, and our site can show you diagrams and descriptions to locate parts on your engine. We ship to any address in the United States or Canada.

Maintaining the WX15 Water Pump

Maintaining the WX15 Water Pump

Honda’s WX15 water pump may be small, but that doesn’t mean it’s disposable. By keeping up on maintenance, you can get the same reliable service you expect from the company’s full-size pumps.

Maintenance Schedule

Before each use – Check the air filter and engine oil level.
First month or 10 hours of operation – Change the engine oil.
Every three months or 25 hours – Clean the air filter.
Every 6 months or 50 hours – Change the engine oil.
Every year or 100 hours – Check the spark plug and clean the spark arrester (if equipped.)
Every two years or 300 hours – Replace the spark plug.

The air filter may need to be cleaned more often when operating in dusty areas. The engine oil should be changed every 25 hours if the pump is used under heavy loads or in high temperatures.

Honda recommends having the following maintenance be performed by a dealer:
Every year or 100 hours – Clean the fuel tank and filter, and check the idle speed, impeller and pump inlet valve.
Every two years or 300 hours – Check the engine valve clearance
Every 300 hours – Clean the combustion chamber

Fuel

When adding fuel, it should only come up to the fuel level mark, located at the base of the filler neck.

The engine can run on gasoline with up to 10% ethanol or 5% methanol. It’s important that this fuel is fresh: either use it within one month of purchase, or up to three months after purchase if it has been treated with a fuel stabilizer. If you will store your pump for longer or you use it sporadically, drain the fuel tank and carburetor before storing. To drain the carburetor, remove the drain bolt directly below the fuel valve, then turn the fuel valve to “ON.”

Oil

The engine powering this pump comes with Honda’s Oil Alert system. If the engine oil level is too low, it will shut off the engine to prevent internal damage.

To check the oil, remove the cap from the oil filler neck. Wipe off the attached dipstick, then put it back into the neck without screwing it in. To drain the oil, remove the drain plug directly below the filler neck. Be sure to install a new sealing washer before screwing the plug back into the crankcase.

This engine holds 8 oz. of oil. Honda recommends 10W30 motor oil for most operating conditions, while SAE 30 oil can be used between 50 and 104ºF. Always use oil that is SAE certified SJ or later.

Air Filter

To open the air cleaner box, push down on the two latch tabs on the top of the cover, then swing the cover out and down.

To clean the air filter, wash it in warm, soapy water or a nonflammable solvent. Gently squeeze the filter to remove the water or solvent, then let the filter dry. Dip the filter in clean engine oil, then squeeze it out. Never twist the filter: this can alter its shape, which can keep it from making a good seal inside the air cleaner box. Always wipe out the inside of the air cleaner before reinstalling the filter.

Spark Plug

To find the spark plug, look at the top of the fuel tank. The plug is directly below the round indent in the side of the tank.

To remove the plug, unhook the spark plug cap, then unscrew the plug with a 5/8 inch spark plug wrench. The gap between the electrodes should be between 0.024-0.028 inches (0.60-0.70 mm.) Replace the plug if the electrodes or insulator are damaged, or the plug has fouled.

When installing the spark plug, first thread it in by hand to prevent cross-threading. Use the plug wrench to tighten down the plug, turning an extra 1/8 turn once the plug is seated against the engine to get a good seal. If you’re installing a new plug, turn it an extra ¼-½ turn to form the washer to the plug and engine opening.

Spark Arrester

A spark arrester isn’t included from the factory, but it can be added to the muffler on any WX15 pump to meet local fire regulations.

To access the spark arrester, first, remove the muffler protector. It’s held on by three 5 mm bolts: two are located on the bottom of the cover, while the third is on the top right side. Remove the screw on the side of the exhaust outlet and slide out the arrester.

Clean any carbon buildup on the arrester screen with a wire brush. Replace the spark arrester if it has signs of holes, cracking or other damage.

Get the Parts You Need to Maintain Your Honda Pump

Hondalawnparts.com is a certified dealer for both Honda Engines and Honda Power Equipment. Our site has built-in factory information including parts diagrams and descriptions, making it easy to find what you’re looking for from hoses to spark plugs. We ship across the U.S. and Canada.