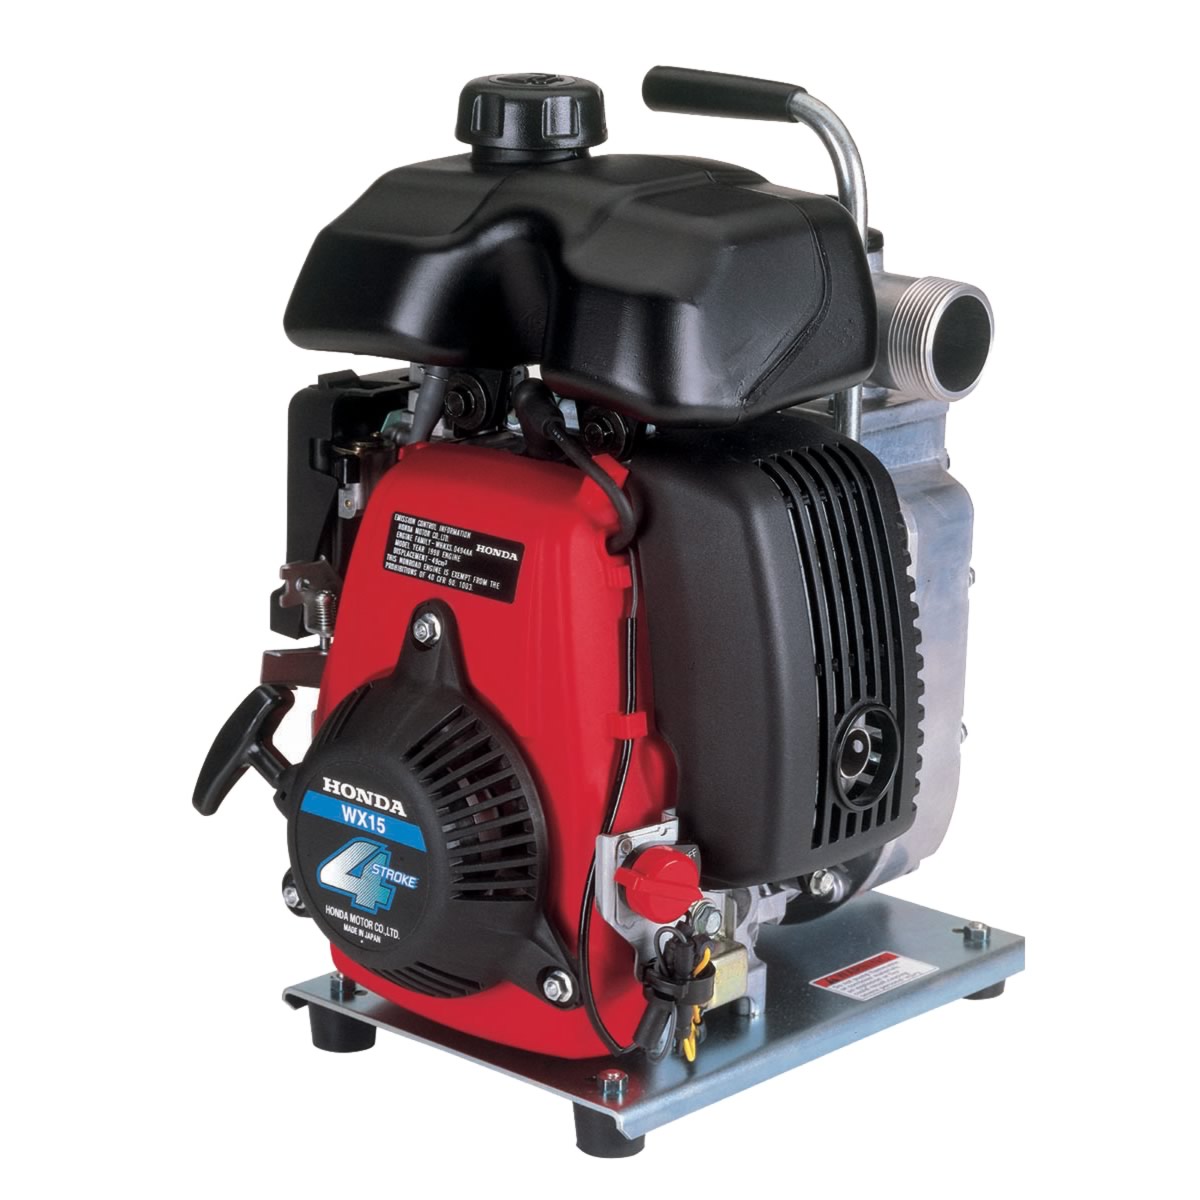
Honda’s WX15 water pump may be small, but that doesn’t mean it’s disposable. By keeping up on maintenance, you can get the same reliable service you expect from the company’s full-size pumps.
Maintenance Schedule
Before each use – Check the air filter and engine oil level.
First month or 10 hours of operation – Change the engine oil.
Every three months or 25 hours – Clean the air filter.
Every 6 months or 50 hours – Change the engine oil.
Every year or 100 hours – Check the spark plug and clean the spark arrester (if equipped.)
Every two years or 300 hours – Replace the spark plug.
The air filter may need to be cleaned more often when operating in dusty areas. The engine oil should be changed every 25 hours if the pump is used under heavy loads or in high temperatures.
Honda recommends having the following maintenance be performed by a dealer:
Every year or 100 hours – Clean the fuel tank and filter, and check the idle speed, impeller and pump inlet valve.
Every two years or 300 hours – Check the engine valve clearance
Every 300 hours – Clean the combustion chamber
Fuel
When adding fuel, it should only come up to the fuel level mark, located at the base of the filler neck.
The engine can run on gasoline with up to 10% ethanol or 5% methanol. It’s important that this fuel is fresh: either use it within one month of purchase, or up to three months after purchase if it has been treated with a fuel stabilizer. If you will store your pump for longer or you use it sporadically, drain the fuel tank and carburetor before storing. To drain the carburetor, remove the drain bolt directly below the fuel valve, then turn the fuel valve to “ON.”
Oil
The engine powering this pump comes with Honda’s Oil Alert system. If the engine oil level is too low, it will shut off the engine to prevent internal damage.
To check the oil, remove the cap from the oil filler neck. Wipe off the attached dipstick, then put it back into the neck without screwing it in. To drain the oil, remove the drain plug directly below the filler neck. Be sure to install a new sealing washer before screwing the plug back into the crankcase.
This engine holds 8 oz. of oil. Honda recommends 10W30 motor oil for most operating conditions, while SAE 30 oil can be used between 50 and 104ºF. Always use oil that is SAE certified SJ or later.
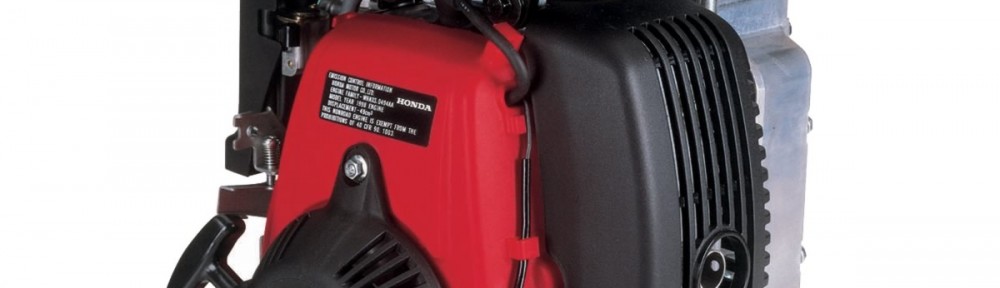
Air Filter
To open the air cleaner box, push down on the two latch tabs on the top of the cover, then swing the cover out and down.
To clean the air filter, wash it in warm, soapy water or a nonflammable solvent. Gently squeeze the filter to remove the water or solvent, then let the filter dry. Dip the filter in clean engine oil, then squeeze it out. Never twist the filter: this can alter its shape, which can keep it from making a good seal inside the air cleaner box. Always wipe out the inside of the air cleaner before reinstalling the filter.
Spark Plug
To find the spark plug, look at the top of the fuel tank. The plug is directly below the round indent in the side of the tank.
To remove the plug, unhook the spark plug cap, then unscrew the plug with a 5/8 inch spark plug wrench. The gap between the electrodes should be between 0.024-0.028 inches (0.60-0.70 mm.) Replace the plug if the electrodes or insulator are damaged, or the plug has fouled.
When installing the spark plug, first thread it in by hand to prevent cross-threading. Use the plug wrench to tighten down the plug, turning an extra 1/8 turn once the plug is seated against the engine to get a good seal. If you’re installing a new plug, turn it an extra ¼-½ turn to form the washer to the plug and engine opening.
Spark Arrester
A spark arrester isn’t included from the factory, but it can be added to the muffler on any WX15 pump to meet local fire regulations.
To access the spark arrester, first, remove the muffler protector. It’s held on by three 5 mm bolts: two are located on the bottom of the cover, while the third is on the top right side. Remove the screw on the side of the exhaust outlet and slide out the arrester.
Clean any carbon buildup on the arrester screen with a wire brush. Replace the spark arrester if it has signs of holes, cracking or other damage.
Get the Parts You Need to Maintain Your Honda Pump
Hondalawnparts.com is a certified dealer for both Honda Engines and Honda Power Equipment. Our site has built-in factory information including parts diagrams and descriptions, making it easy to find what you’re looking for from hoses to spark plugs. We ship across the U.S. and Canada.
