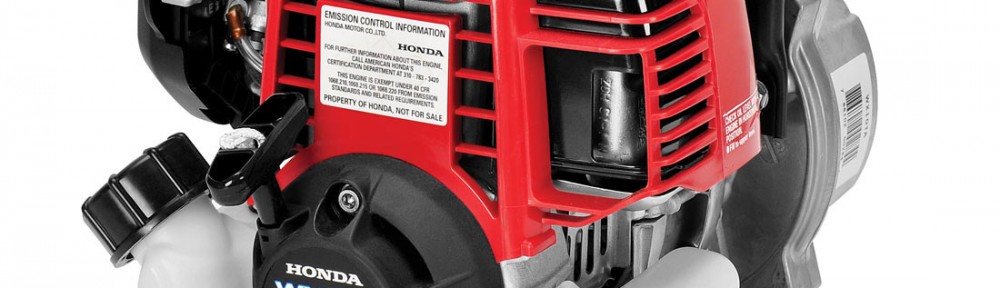
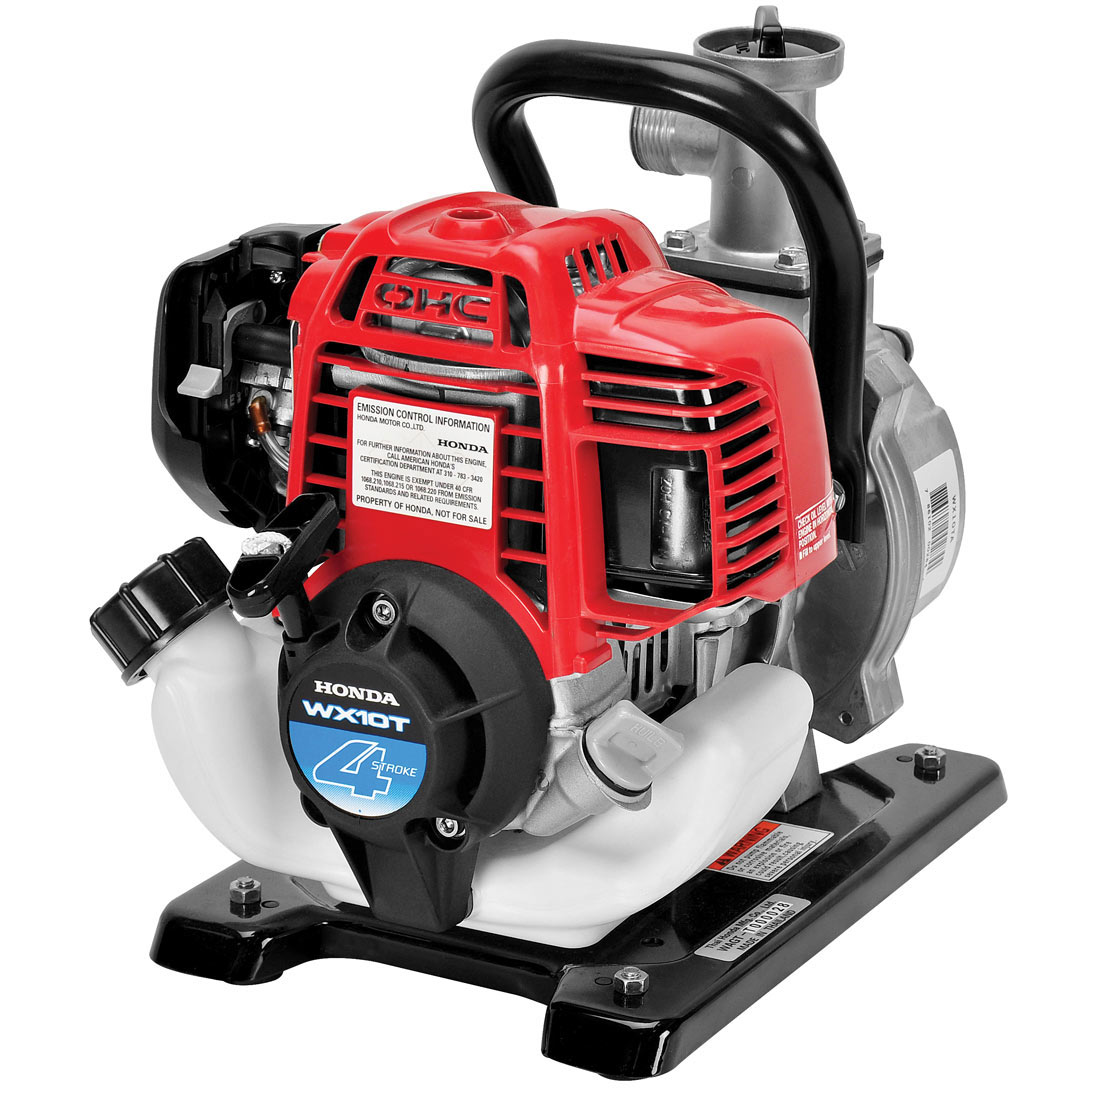
 The tiny WX10 water pump is perfect for small jobs, and like any Honda product, it will last for years with proper care. Here’s everything you need to know about maintaining this tiny portable water pump.
Maintenance Schedule
These maintenance tasks are simple enough for owners to do themselves
Before every use: Check the oil, air filter, and fasteners
After the first month of ownership or 10 hours of use: Change the oil.
Every three months or 50 hours: Clean the air filter
Every 6 months or 50 hours: Change the oil.
Every year or 100 hours: Check the spark plug. Clean the spark arrester, fuel tank, and fuel filter.
Every two years or 300 hours: Replace the spark plug.
Every two years: Check the fuel hoses and replace as needed.
Honda recommends having the WX10 professionally serviced for the following repairs.
Every year or 100 hours: Idle speed and valve clearance adjustments
Every two years or 300 hours: Pump clearancing and combustion chamber cleaning
Oil
Check the oil level with the engine off and sitting on a level surface. The dipstick is built into the filler cap, next to the recoil starter. Do not screw in the cap when checking the oil level.
To change the oil, remove the oil fill cap and tip the engine over a suitable container. Once the crankcase is empty, set the pump on a level surface and add oil until it comes to the edge of the oil filler opening. This engine holds just over 1/10th of a quart. Honda recommends 10W30 for temperatures above -4°F, and 5W30 for temperatures below 32°F.
Air Filter
The filter is above and to the left of the fuel tank cap. To remove the cover, push in on the sides of the tab at the top of the air box and swing the cover down.
To clean the filter, apply a non-flammable solvent, or wash it in soapy water and rinse it out. Let it air dry, then soak the filter in clean engine oil and squeeze it out. To make this job less messy, put the filter and oil in a plastic bag. Wipe out the air box before reinstalling the filter. If the exhaust is smoky during startup, there’s a little too much oil left in the filter.
Spark Plug
The spark plug is directly behind the pump handle. Disconnect the plug wire and use a 5/8 inch plug wrench to unscrew it from the engine.
The spark plug gap should be between 0.024 and 0.028 inches, or 0.60 and 0.70 mm. Clean the electrodes with a wire brush before reinstalling. Replace the plug if it’s worn or damaged.
When installing, thread the plug-in by hand, then use the wrench to turn it another ¼ turn. If you’re installing a new plug, turn it a full 180 degrees to seat the new washer. Reattach the plug wire.
Cooling Fins and Spark Arrester
To access the fins and arrester, do the following:
1. Remove the four 5 mm bolts on the recoil starter. Set the starter aside.
2. Remove the two 6 mm bolts attaching the carrying handle to the pump. Set the handle aside.
3. Remove the air filter cover.
4. Disconnect the spark plug wire and the hose running under the spark plug.
5. Disconnect the ignition switch connector, next to the start/stop switch.
5. Push the throttle lever link rod until it disconnects from the throttle swivel on the carburetor.
6. Remove the 5 mm bolt on the stop/start switch mount.
7. Remove the two 5 mm bolts from the top cover on the pump side. Remove the cover.
At this point, you’ll have full access to the engine cooling fins. Clean these off with a stiff brush and a damp cloth.
To clean the spark arrester:
1. Remove the three 5 mm screws from the muffler cover. Set the cover aside.
2. Remove the 4 mm screw from the arrester. Pull it out of the tailpipe.
3. Scrub the spark arrester screen with a wire brush to remove any carbon deposits.
Reassemble the engine in reverse order.
Fuel
If you’re having trouble starting the engine, check the fuel filter. To access it, pour the gas in the fuel tank into a suitable container. Use a piece of wire or a paperclip to pull the filter and fuel line out of the tank. Rinse off the filter with a non-flammable solvent. Push the filter back into the tank and add fuel.
The engine has two fuel lines running from the tank next to the fuel up to the carburetor. The black line supplies fuel, while the clear line returns excess fuel. Replace these tubes if they’re cracked or they start leaking.
Need Something for Your Pump?
Hondalawnparts.com is a certified dealer for Honda Power Equipment and Honda Engines, which means we have everything you need to maintain any of their equipment, including water pumps like the WX10. We ship across the U.S. and Canada.
