Servicing the Carburetor on Your Honda Engine

Honda Servicing the Carburetor on Your Honda Engine

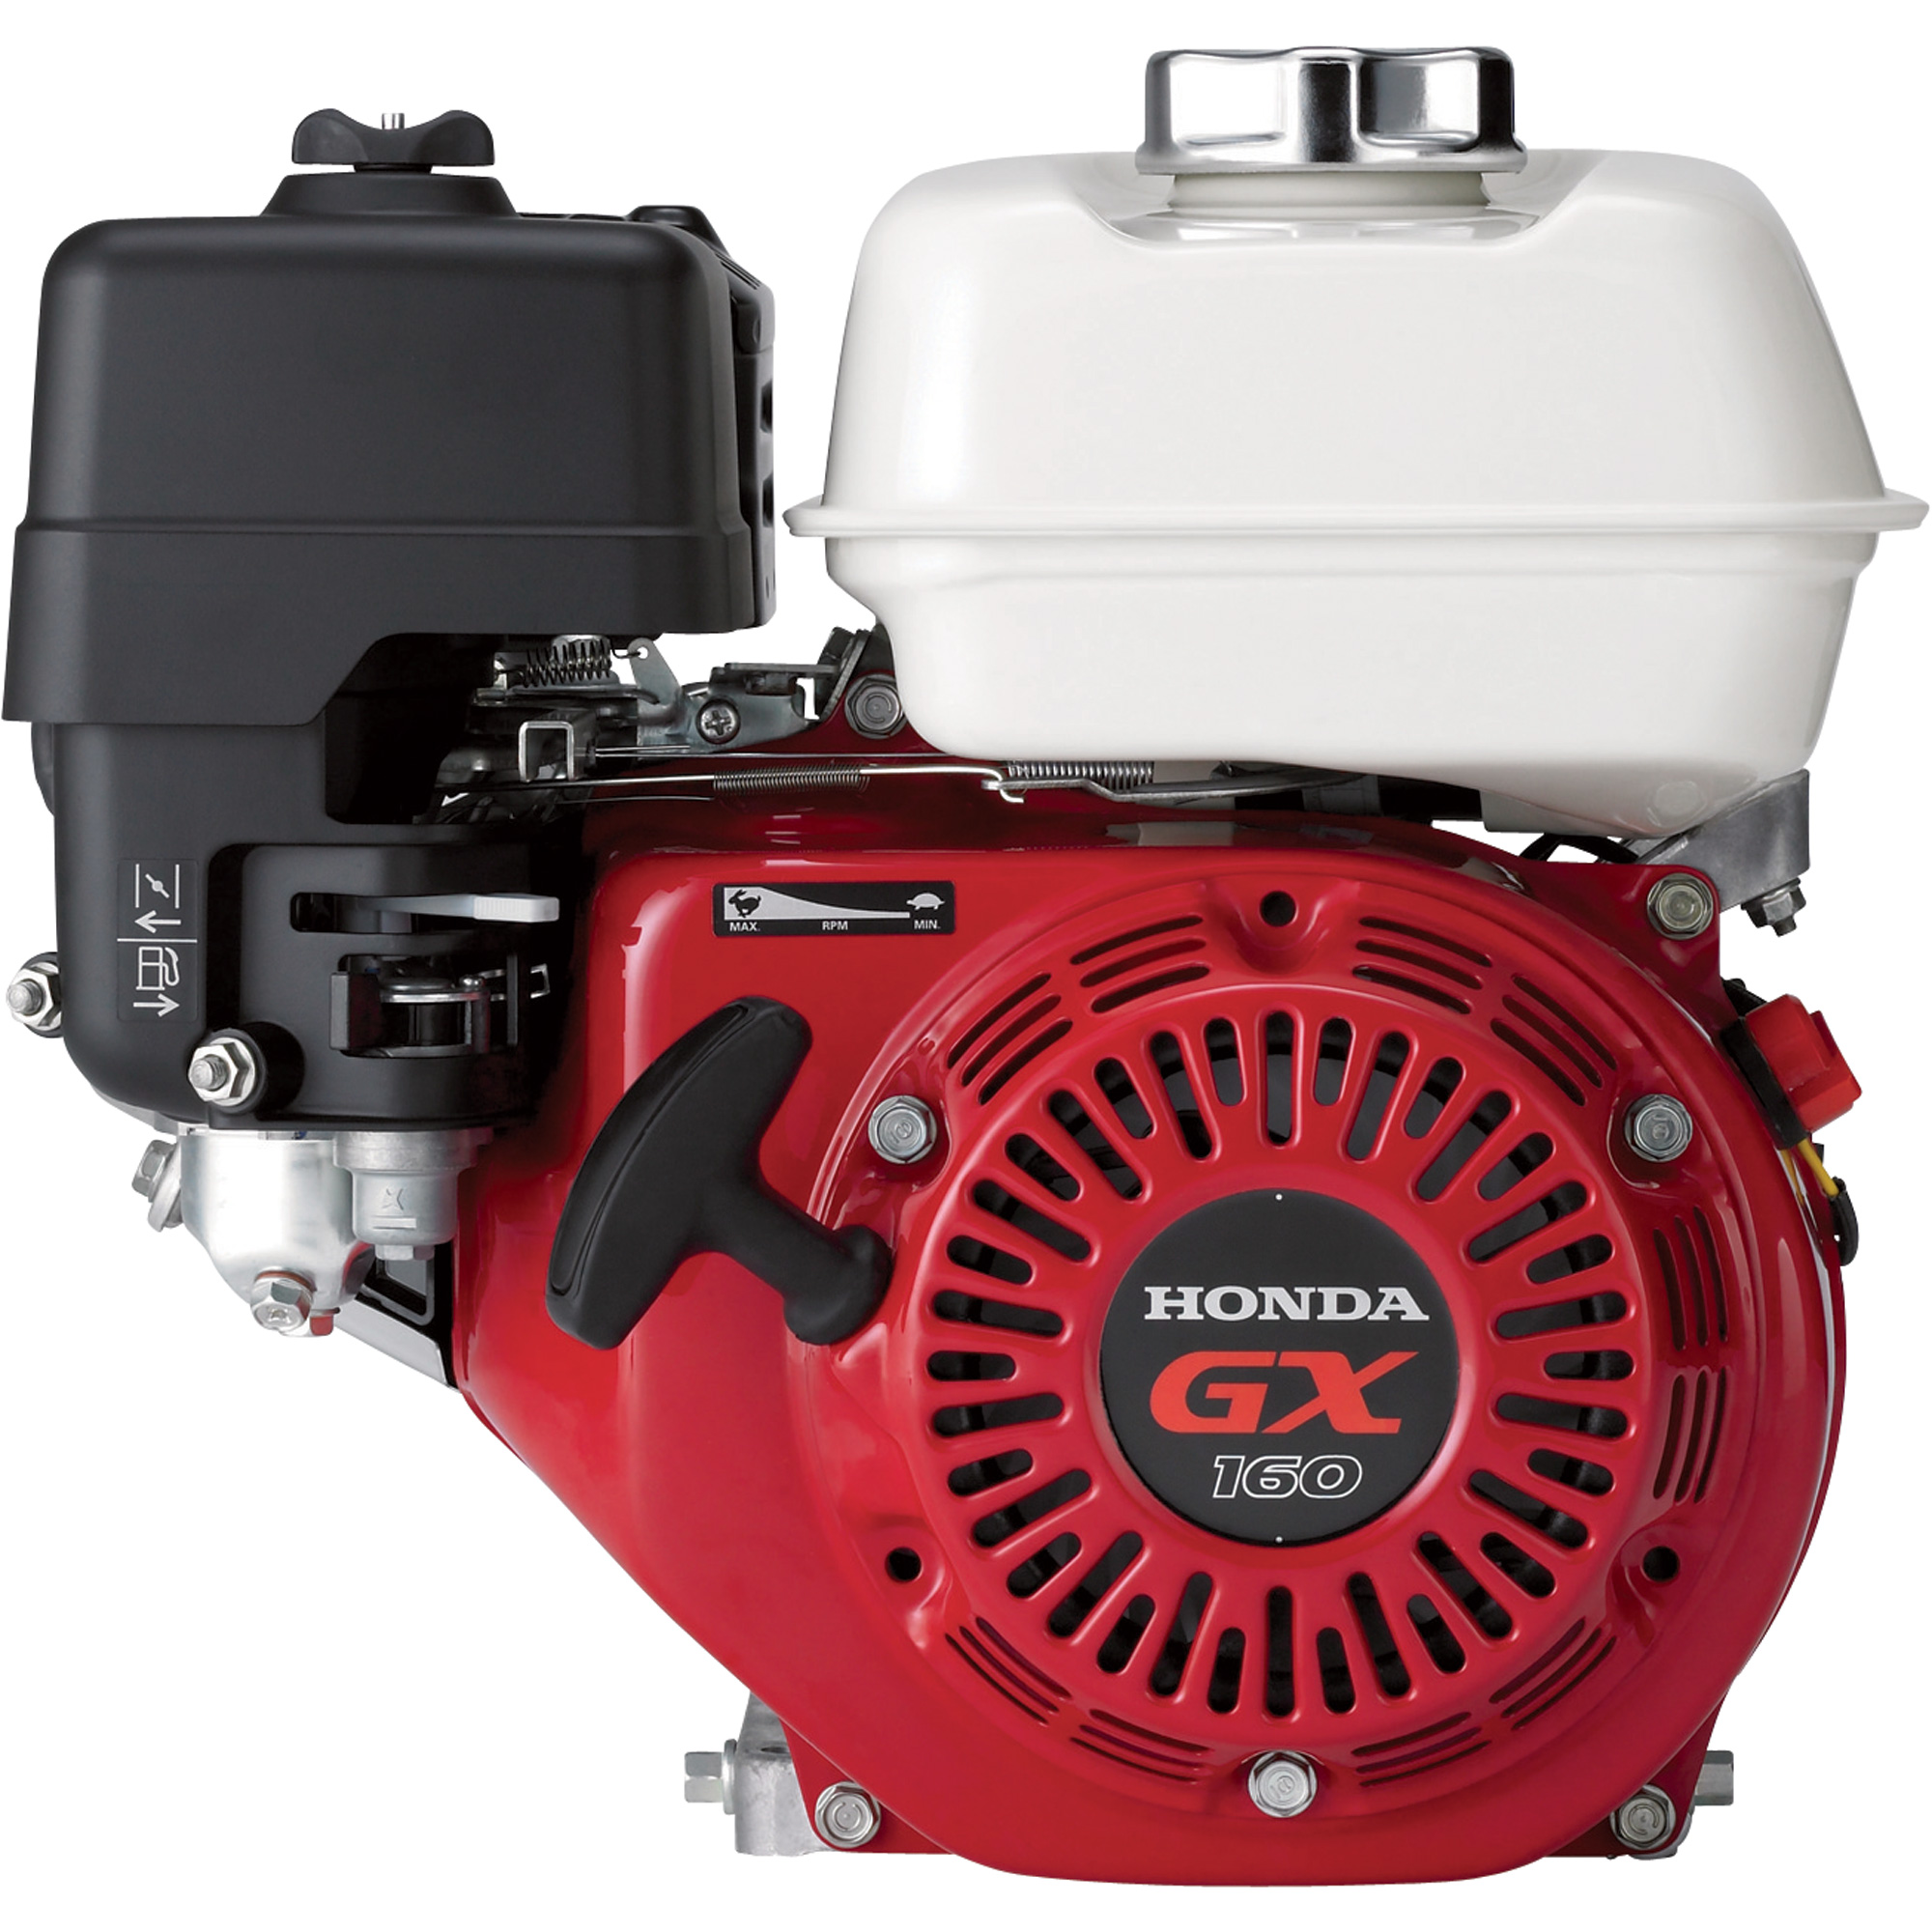
Is your Honda engine not running right? If obvious issues with fuel and spark have been checked, there’s a good chance it’s an issue with the carburetor. This guide will walk you through diagnosing and repairing your carburetor to get your motor working again.

How Carburetors Work

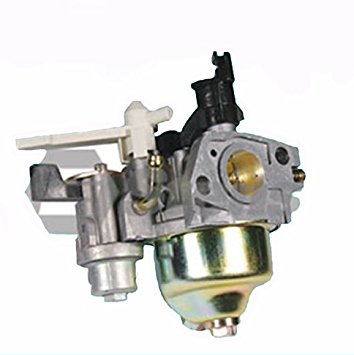
Gas flows in through the fuel line to the float bowl. This bowl has a float connected to a needle valve: once the bowl is full, this float closes the valve, stopping fuel flow.

Gas inside the bowl flows into the pilot jet, which maintains minimum fuel flow, and the main jet, which adds fuel as air flow increases. These are located above the Venturi, a restricted airway that increases air speed through the intake to help mix the fuel with the air.

The throttle valve is just beyond the Venturi, controlling the flow of fuel and air to the engine. The choke valve is before the jet and Venturi, restricting air flow to increase the ratio of fuel to air. This richer mixture makes it easier to run the engine on cold fuel that doesn’t want to atomize.

If everything is working correctly, the float valve keeps just enough fuel inside the bowl to feed the jet, which feeds the right mix of air and fuel into the engine to run efficiently.

Symptoms of Carburetors Problems

Most issues stem from gasoline varnishing and either restricting the jets or keeping the throttle or idle valves from moving. To keep this from happening, always use fresh, stabilized fuel, and drain the fuel tank and carburetor when storing your equipment for the season.

If the engine only wants to run with the choke closed, the main jet is probably clogged. Once the choke opens, the fuel mixture becomes too lean for the engine to run. On some motors, the automatic choke will engage when the engine speed drops, then disengage once the engine speeds up again, causing it to surge when idling.

If the engine doesn’t want to idle regardless of throttle position, the pilot jet is probably clogged.

If the seals break down, they can let air into the engine that hasn’t been mixed with gas, leaning out the mixture. This causes overheating and poor performance.

Rebuilding the Carburetor

Let the engine cool for at least a half hour before attempting this repair. Although the engine may not seem hot, the muffler can stay warm long after the motor has been shut down, making it a possible source of ignition.

1. Drain the fuel the same way you would if you were storing the engine at the end of the season. This may require unscrewing a bolt on the bottom of the carburetor, removing the float bowl, or tipping the motor to pour the fuel out of the tank.

2. Disconnect the cable connected to the throttle and the cable or springs connected to the choke. Unbolt the carburetor and separate it from the engine.

3. Turn the carburetor upside down and remove the large bolt that is now facing up. This will let you lift off the float bowl. It may need a couple of taps to help separate it from the seal.

4. Slide out the pin holding the float to the carburetor. Gently lift up the float: a small bump can dislodge the pilot jet.

5. The main jet can be unscrewed with a small flathead screwdriver. If the jet won’t slide out, try pushing on it from behind with a small Allen key.

6. The jet should be cleaned with a carburetor jet cleaning kit. These thin needles can push out any debris, but care should be taken not to scratch the jet opening, which can increase the jet size, adding too much fuel to the intake. Replacement jets are inexpensive so it may be easier to just put a new one in.

7. Spray the inside and outside of the carburetor with carburetor cleaner, ensuring all holes flow freely and the throttle and choke move without sticking. If the pilot jet is clogged, it can be accessed by removing an adjustment screw on the outside of the carburetor. If there is a small metal tab on the top of this screw, pull up on the head to reveal the true end of the adjuster. Check the service manual for the correct position of the adjustment screw when reinstalling.

Reassemble in reverse order, replacing old parts with new ones and cleaning around the engine to prevent any debris buildup from entering the intake port.

Get the Parts You Need for Your Carburetor

www.hondalawnparts.com is a certified Honda Engines dealer, letting us offer the full line of OEM components, accessories and tools including carburetor jets, seals and rebuild kits. Our site has built-in factory diagrams, making it easy to find the parts you need, and we can ship those parts to any address in the U.S. or Canada.

Engine Overheating

engine overheating
Summer heat and long hours of operation can put serious thermal stresses on your Honda engine, but under normal circumstances, it should have no problem keeping temperatures under control. However, a few problems can crop up that can push temperature to a level that components can expand, increasing friction and eventually seizing. Addressing these problems early can keep the motor going and avoid a costly rebuild.

Dirt

Small engines are air cooled: heat from combustion is transferred to the surrounding metal of the head and engine block where it heats the air. The fins increase the surface area, allowing more heat to be transferred. Dirt is a poor heat conductor, which means a dirty engine can’t get that heat into the air. Attention should also be paid to the plastic shroud over the engine: it helps channel air to the fins. If it gets clogged, airflow is reduced.

These parts can be cleaned with compressed air or a soft brush. Never use a pressure washer, as this can push water into the engine where it can contaminate the fuel and oil.

Oil

Oil has two roles in heat management: it reduces internal friction that generates heat, and it carries heat from the combustion chamber and piston to the rest of the engine, increasing the area that can be used to transfer that heat into the atmosphere. Although most modern Honda engines have their Oil Alert system to force shutdown if the oil level is dangerously low, the oil can still get low enough without triggering the system to compound problems that can lead to overheating. Always check the oil level before starting the engine.

Cooling System Damage

To keep enough cool air around the cooling fins, the flywheel has fins on its surface that act as a radial fan. While the engine is running, these fans draw air in from the shroud and push it around the engine to remove heat. Something as simple as some leaves or grass gathered on top of the inner shroud can reduce airflow, while damage to the fins or shroud can cause significant airflow problems. Replacing these parts once the issue has been found can save your engine from needing a rebuild.

Air/Fuel Mixture

Fuel also plays a role in cooling, directly absorbing heat from the combustion chamber and maintaining combustion heat at an acceptable level. If the engine runs lean, temperatures can skyrocket, leading to overheating.

The most common cause of a lean mix is a dirty fuel cap. This cap has small vents that allow air to enter the tank as fuel leaves. If those vents are sealed, the reduced pressure inside the tank can keep the carburetor from drawing in fuel, causing the mixture to lean out.

A dirty filter can also reduce fuel flow, especially in sub-50cc engines like those found in string trimmers. These engines have a small screen on the end of the fuel line that needs to be pulled out of the tank and cleaned occasionally. Other models have an in-line filter or a bowl on the bottom of the carburetor to collect debris before it reaches the jet. Clogged fuel filters should be replaced, while bowls can be drained or removed and cleaned.

Damage or age can also break the seal between the carburetor and the engine. If the seal between these two parts allows air to enter, the engine will be getting outside air along with air mixed with fuel in the carburetor, leaning out the mix reaching the cylinder.

Work in an area with high altitudes? Honda makes kits to change the carburetor jetting to deal with the reduced air density. If you try to use the engine at lower altitudes, the mix will be too lean. If the shop or previous owner who made the swap did it by the book, there should be a label on the engine stating the jets have been replaced.

Get the Parts You Need to Fix Your Honda Small Engine

Hondalawnparts.com is a certified Honda Small Engine Equipment dealer, letting us offer all the OEM parts you need to get your engine’s temperatures under control. Our site has advanced search tools with factory diagrams and descriptions to make it easy to find what you need, and we can ship your order anywhere in the U.S. and Canada.

Honda GS Engine Overview

honda gs engineThe horizontal shaft Honda GS can be found in a wide range of residential lawn and garden equipment as well as commercial equipment that puts a premium on low weight. No matter what your GS engine is powering, there are a few things you should know about it to get the most out of your motor.

Controls

Honda makes three versions of these engines, each with their own unique control setup. The controls can be found just to the right of the fuel tank, although some equipment may use remote levers for these functions. All model have a metal loop handle to control the choke: pulling it out closes the choke. Next to the choke, you’ll see one of three controls:

A gray manual throttle lever – Moving the lever up opens the throttle, increasing engine speed.
A red ignition switch lever – Moving the lever up will enable the ignition. Pushing it down will stop the engine.
An engine stop switch – Turning it to the right enables the ignition. Turning it to the left will stop the engine.

Engine Oil

Some versions of the GS come with Honda’s Oil Alert system. It uses a float inside the crankcase to detect low oil levels. If the level is too low, it will shut off the engine to prevent damage. If the engine stops suddenly without any clear external cause, check to make sure the oil level is correct.

The oil drain bolt is located on the bottom edge of the engine, directly below the muffler. The dipstick is part of the cap on the filler neck, located to the right of the drain plug. To check the oil level, the dipstick must be inserted into the filler neck without screwing it down. Honda recommends using 5W30 or 10W30 oil for most operating temperatures, or SAE 30 for temperatures above 50 degrees F (10 degrees C.) When changing the oil, the fresh oil should come up to the top of the filler neck. It should take about 20 ounces (0.58 liters) of oil to fill the crankcase.

Engine oil should be changed after the first month or 5 hours of use, then every 6 months or 50 hours thereafter. If the engine is used under heavy load or high temperatures, change the oil every 25 hours.

Air Cleaner

The air cleaner box, located above the fuel tank, can be opened by pressing in two tabs on the side of the cover. Below this, there’s a foam filter, a plastic grid, and a paper filter. Wash the foam element in a mild detergent or clean it with a nonflammable solvent, then soak it in clean motor oil once it has dried. Squeeze out any excess oil before installing. Remove dirt from the paper element by tapping it against a hard surface. The air filter should be replaced every two years or 200 hours of operation.

Spark Plug

The spark plug should be gapped between 0.028-0.030 inches (0.70-0.80 mm.) It should be checked every 6 months or 50 hours of operation and replaced every two years or 200 hours of operation.

Spark Arrester

The arrester is a metal sleeve that fits inside the exit of the muffler and can be added to any GS series motor to meet local safety requirements. To access it for cleaning, take off the muffler protector by removing three bolts around the outside edges. The arrester itself can be removed by removing a single screw. Use a wire brush to remove any deposits, and replace the arrester if it shows signs of damage.

Fuel

The fuel tank is designed to hold fuel up to the bottom of the filler neck. This engine is designed to run on gasoline with no more than 10% ethanol (E10.) A stabilizer should be used if the fuel will be stored more than 30 days, and even stabilized fuel should be replaced after 90 days.

If you need to drain the fuel system for storage or to remove stale fuel, use the drain on the carburetor, located directly below the air filter. It has a place to attach a hose which can be inserted into a fuel tank to capture the exiting fuel. Use a flathead screwdriver to open the valve directly above the drain to let the fuel flow out. If you’re storing the engine, start the motor and let it run until it dies to ensure the fuel system is completely empty.

High Altitude Use

Honda recommends having the carburetor jets changed if you use your GS motor at altitudes above 5,000 feet (1,500 meters) to better match fuel delivery with the available air. If you have an engine with an automatic throttle, the throttle mechanism may need to be adjusted if the motor doesn’t want to slow down once the load has been removed, or it takes a while to return to speed once the load has been reapplied.

Getting Parts for Your Honda GS Engine

www.hondalawnparts.com is a certified Honda Engines dealer offering everything you need to maintain and repair your GS Series motor. Our site has factory exploded parts diagrams built in to help you find the parts you want to order, and we can ship those parts across the U.S. and Canada.

Honda iGX Engine Overview

Honda iGX EngineThe electronically-controlled Honda iGX has been making its way into a wide range of equipment including Honda’s own EM and EB series generators. At first glance, it’s easy to confuse a Honda iGX motor with their GX Series, found in pretty much every piece of commercial-grade small engine equipment. That’s understandable since the iGX is a GX at its core, but the iGX has some unique features that change how you need to operate and care for these motors.

What Makes an iGX engine different?

The iGX is based on the GX Series engine, the same design that has been a cornerstone of small engine equipment across the industry, used in everything from generators to pressure washers.

The biggest change is the Electronic Control Unit (ECU.) It can read engine conditions and adjust the governor and throttle, keeping the engine at just the right speed to meet current load demands. The result is fast power response and up to a 15% increase in fuel economy. It’s no wonder that these engines first saw use in generators.

These engines also use CDI ignition with variable timing and a rev limiter. By varying ignition with engine speed, these motors can produce more power over a wide RPM range.

Low Profile Models

For equipment where space is at a premium, Honda offers low profile versions of these engines. These are easy to identify by the large plastic panel next to the recoil starter. This is the cover for the air cleaner. The muffler is located at the rear of the engine, while fuel is stored on the equipment itself instead of a tank bolted to the motor.

The Honda Oil Alert System

The Oil Alert system is designed to protect the engine if it doesn’t have enough oil to stay lubricated. It works a little differently on the iGX than it does on other Honda engines: on some motors, the ECM, located directly above the carburetor, has a small LED light. If it flashes twice, the Oil Alert system has been triggered. On other models, the Oil Alert light is clearly visible next to the ignition switch and will either blink continuously or stay on once the system has been triggered. Most models will shut down to protect the motor, but if a shutdown may be dangerous due to the type of attached equipment, the motor may keep running. If you see the light come on, try to shut down the motor as quickly and safely as possible. Add more oil as needed before starting the engine again.

Starting the Engine

To start an engine with electric start, turn the ignition switch to “Start.” On these engines, the choke is engaged automatically. If it doesn’t start after 5 seconds, release the switch and wait 10 seconds before starting again. If it refuses to start, switch the manual start lever, located next to the ECM, to “On.” Turn the ignition to “On,” then use the recoil starter to start the engine. Don’t move the manual start lever until shutting down the motor.

To start an engine without electric start, locate the fuel lever (lower lever) and choke lever (upper lever) on the carburetor. If you have a low profile engine, which places the muffler and air cleaner behind the engine instead of above it, there will only be a choke lever. If you have an iGX270 or 390, the choke is automatic, so the sole lever is for fuel. Set the fuel lever to open and the choke to closed, as applicable. Turn the ignition switch to “On” and use the recoil starter to start the motor.

Fuses

One or more automotive fuses are used to protect the motor’s electrical system. These fuses are in a clearly marked fuse box on the side of the iGX440, while other motors will have an in-line fuse behind the ignition switch panel on electric start models. A burnt fuse will keep the engine from starting.

Low Power at High Altitude

It should be no surprise when engines make less power at higher altitudes due to the thinner air, but in the case of these engines, this loss in power is due to an incorrect fuel mixture. Honda recommends having the carburetor set up for high altitude use if your motor spends most of its time running at altitudes above 5,000 feet (1,500 m.)

Engine Identification

The serial number and engine model on any iGX can be found on the crankcase directly above the oil drain plug.

Getting Parts for the iGX

www.hondalawnparts.com is a certified Honda Small Engine Equipment dealer, carrying everything you need for Honda small engines and equipment from older lawn tractors to advanced powerplants like the iGX. Our site makes finding parts easy thanks to factory parts diagrams and information built into our search engine. We can ship your order to any address in the U.S. and Canada.

Honda Engine Maintenance Guide for a GC190

GC190The GC190 is one of the most popular small engines on the market for lawn and shop equipment, but even an engine as reliable as this Honda needs maintenance to keep performing year after year. This guide will walk you through the steps needed to keep your motor working.

Safety

  • Make sure the engine is off before you begin any repairs. If possible, wait at least a half hour to ensure the motor is completely cool to prevent burns from hot engine parts.
  • If the engine needs to be started, do so in an area with good ventilation to prevent carbon monoxide buildup.
  • To prevent gasoline ignition, only use non-flammable solvents for cleaning and keep sparks, flames and cigarettes away from the engine. Continue reading

How to Service a GX120 Honda Engine

Honda GX120If you own professional grade lawn care equipment, chances are you have at least one GX120. That popularity is owed to Honda’s legendary reliability, but even the best engine needs occasional maintenance.

Before You Begin

Before performing any maintenance, shut off the engine. If the engine needs to be run for any reason, make sure it’s located in a well ventilated area to prevent carbon monoxide poisoning. Continue reading

How to Troubleshoot your Honda Engine

Honda has a sturdy lineup of engines that are expertly designed to last as long as possible. The engines have some of the best longevity in the industry and it’s not unusual to see Honda engines still working well for decades after they were first built. Despite this great record, all engines, even Honda engines, require good maintenance and care habits. Any engine can malfunction or have mechanical issues from time to time. It’s not always easy to diagnose such problems either, as there are numerous small parts inside the engine, not to mention fluids and other aspects. The main key to troubleshooting is taking a trial and error approach, fixing each problem as it comes up.

When the Engine Won’t Start

Probably the most concerning problem for any Honda owner is when the engine won’t start. It is also usually the most common problem and often has the simplest solutions as well. Some common issues with engines not starting include old air filters or simply being low on fuel.
Continue reading

Honda GX120 4hp Engine Provides the Power You Need

Honda GX120 EngineConsumers know that Honda manufactures dependable products that are durable and reliable. That is certainly true of the Honda GX120 4hp Engine.

Overview

The Honda GX120 is a very versatile engine that can power many different pieces of commercial or residential equipment. It is perfect for the go-cart you may be building for your child or for your lawn and garden equipment, generators or water pumps. It has more than enough power to meet your needs.

Continue reading