Servicing a Honda Mini Four Stroke

GXV50 engine

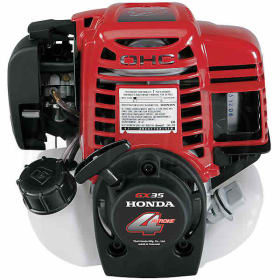
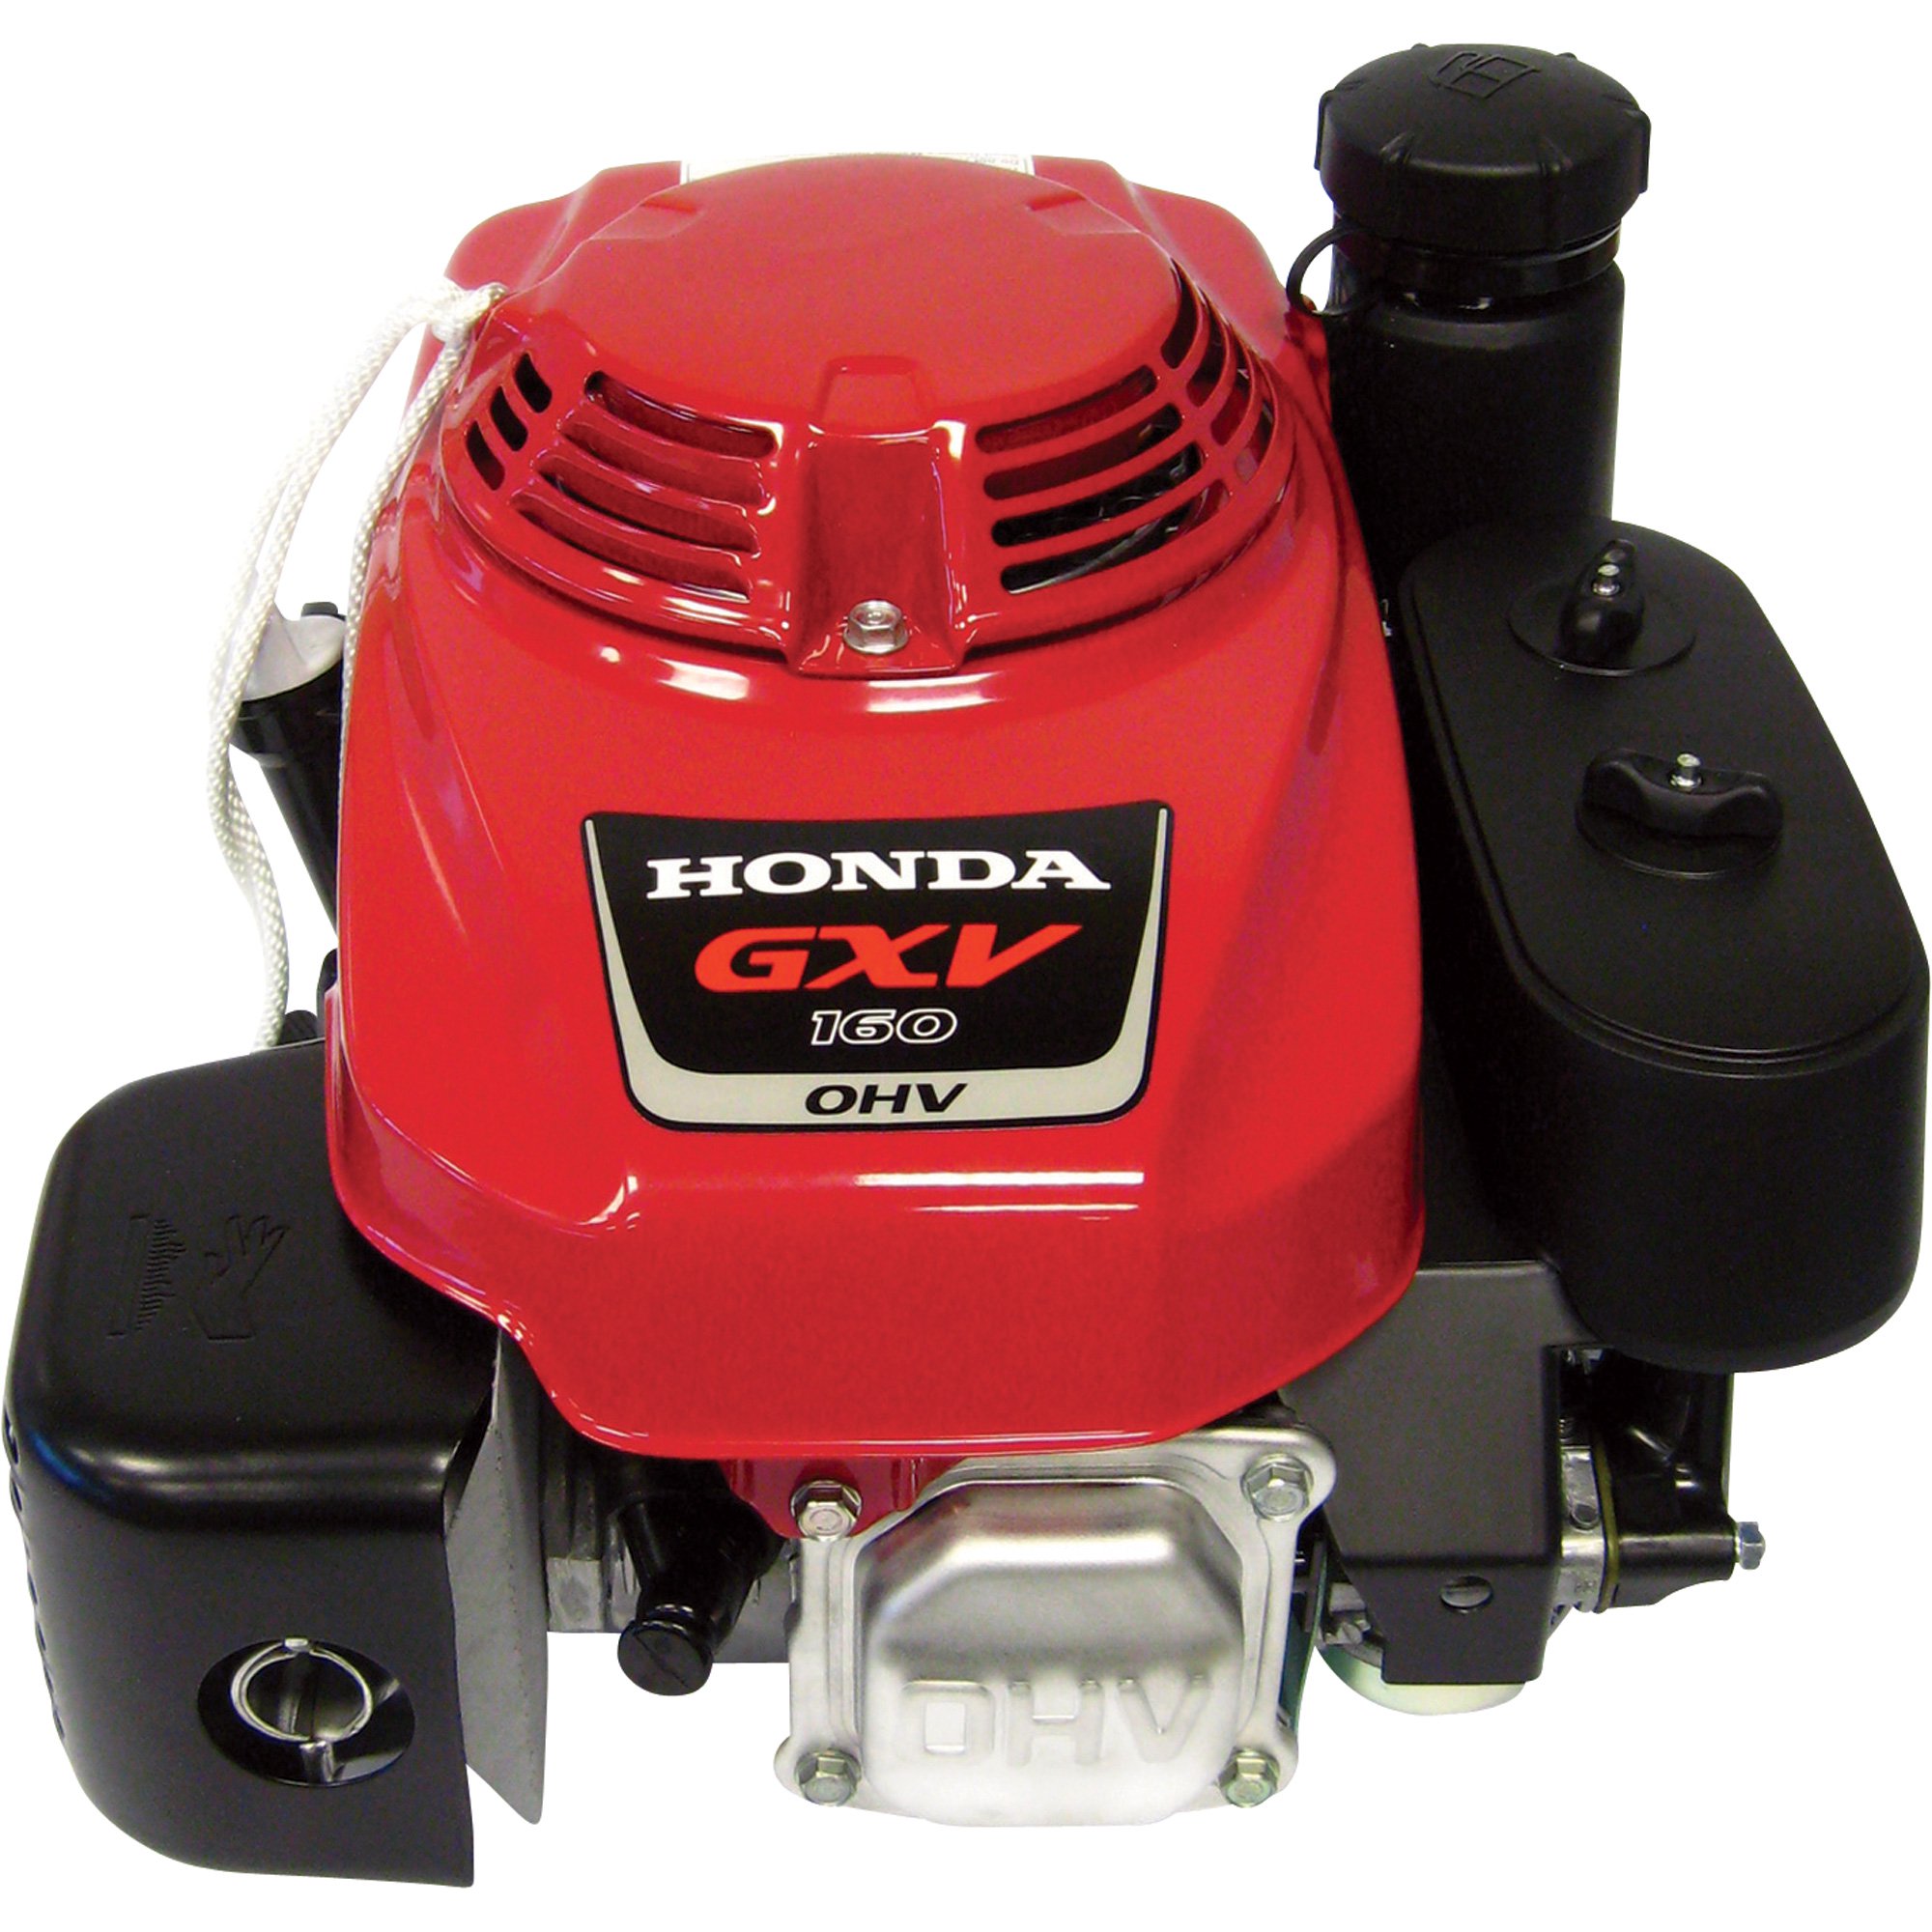
Honda’s mini four strokes are designed to replace two stroke engines in applications ranging from string trimmers to tillers, which means they need to function in any position. To do this, they use a unique internal design that makes caring for them a little different from standard two and four stroke motors. Here’s what you need to know to maintain the GX25, GX35, GXH50 and GXV50 engines in this lineup.

Fuel

These engines can run off of straight automotive gasoline that has at least an 86 octane rating and contains a maximum of 10% ethanol or 5% methanol. Fuel freshness is important: gasoline should be used within one month of purchase, or within three months if it has been treated with a fuel stabilizer. Briefly running the engine on fuel mixed with two stroke oil shouldn’t damage it, but this fuel should be drained out as soon as possible. The tank and carburetor should also be drained before putting the engine in storage.

To remove fuel from the engine, make sure the oil cap is screwed in fully, then unscrew the fuel cap. Tip the engine so that the gas flows into a fuel container. Once empty, squeeze the priming bulb until all the gas has been drawn out of the carburetor.

Oil

Despite a unique oiling system that mists the oil through the entire motor no matter the position, checking and changing the oil isn’t much different from any other Honda engine.

To check the oil, the engine needs to be positioned so that the gas tank is below the motor. On vertical shaft GX22 and GX31 engines, this may involve tilting the equipment over. Remove the oil filler cap/dipstick, wipe it clean, then insert it back into the filler neck without screwing it in. The oil should come up to at least the bottom mark on the stick. Honda recommends checking the level before each use or every 10 hours of continuous use.

To change the oil, remove the dipstick and tilt the engine, letting the oil flow into a container for recycling. Doing this while the motor is still warm will help the oil pour out faster. Set the engine in the oil check position and add oil until it comes up to the edge of the filler neck. 10W30 oil is recommended, while 5W30 can be used if the motor will be operated at temperatures below 32°F (0°C.) The oil should be changed after the first 10 hours of use to remove contaminants from breaking it in. After that, replace the oil every 6 months or 50 hours of use.

When storing the engine at the end of the season, remove the spark plug and pour a teaspoon of oil into the plug hole. Pull the starter handle a few times to distribute the oil inside the cylinder, then reinstall the spark plug. When the motor is started again, it’s normal for the engine to smoke a little as this oil is burnt off.

Air Filter

Honda recommends checking the air filter for contaminants before each use and cleaning it every three months or 25 hours. On tillers, the air filter can be accessed by squeezing the tabs on the top and bottom of the cover and sliding the cover outward. On all other engines, simply push in the tabs at the top of the cover, then tilt the cover downward.

To clean the filter, remove it from the air box and either rinse it in water and a mild detergent or spray it down with a non-flammable solvent. Once the element is dry, soak it in clean engine oil and squeeze out any excess oil. Wipe out the air box before reinstalling the filter.

Spark Arrester

The spark arrester can collect carbon deposits that should be scrubbed off with a wire brush every 100 hours of use. Let the engine cool for at least 15 minutes before attempting this repair to avoid burns.

Depending on the motor design, there will either be a small cover over the muffler, or a cover that goes over the entire top of the engine. Large covers serve as a mounting point for the spark plug wire; the wire bracket will need to be unbolted before unbolting the cover itself.

Once the cover is off, the arrester can be removed from the exhaust opening by removing a single screw. When scrubbing off the deposits, inspect the spark arrester and replace it if it has holes or cracks.

Getting Parts for Your Mini Four Stroke

Hondalawnparts.com is a certified dealer for Honda Engine and Honda Power Equipment, so we have all the OEM parts you need to keep your motor in top condition. Our search engine lets you see where parts fit on factory diagrams, making it easy to order what you need. We can ship your order to any address in the U.S. and Canada.

Honda Mini Four Stroke Engine

Honda Mini 4-stroke engineHonda’s GX25 and GX35 mini four-stroke engines are built to operate in any position, making them an enticing alternative to hard starting, fuel swilling two strokes. Here’s what you need to know to operate and maintain one of these unique engines, whether it’s powering a string trimmer, a tiller or a water pump.

Starting a Cold Engine

  1. Set the throttle 1/3 of the way above “Slow.” This lever will either be on the engine or the handle of the equipment you’re using.
  2. Move the choke lever, located next to the air cleaner, to the “CLOSED” position.
  3. Press the priming bulb, located next to the choke, until fuel can be seen inside the bulb.
  4. Turn the engine switch, located on the opposite side of the choke and priming bulb, to “ON.”
  5. Hold the starter grip and pull the recoil starter straight out from the opening in the flywheel cover. On tillers, the starter should be pulled straight back, toward the handle. On other engines, your left hand should be holding the starter grip, while your right hand pulls the starter toward you.

Starting a Warm Engine

On tillers and pumps, perform the following procedure before trying to restart the motor:

  1. Make sure the engine switch is in the “OFF” position.
  2. Set the choke lever to “OPEN.”
  3. Set the throttle to the “MAX” position.
  4. Pull the starter 3-5 times.

All engines can be started using the “Starting a Cold Engine” method above, but with the choke open.

Oil

These engines are able to work at any angle because they use a rotary slinger that turns the oil into a fine mist during operation, letting it lubricate in much the same way the oil/fuel mixture does in a two stroke. Because of this, changing and maintaining the oil is a little different from other small engines.

The oil should be checked when the engine is off and sitting level. Check the oil before each use. If you’re using the engine continually, check the level every 10 hours. Wipe the dipstick/filler cap clean, then insert it into the engine without screwing it in. The oil should come up to the bottom mark on the dipstick.

The oil should be changed after a month or 10 hours of use, then every 6 months or 50 hours after that. To drain the oil, simply remove the oil filler cap and tip the engine over a recycling container. Some oil will still be inside the motor, so there’s no standard amount of oil that needs to be added; start by adding 2.7 oz. (80 ml) of oil, then slowly pour in more until the oil is at the edge of the filler neck.

Honda recommends using pump engines at temperatures between 41 and 104°F (-5 to 40°C) and other engines between 23 and 104°F (-5 to 40°C.) 10W30 oil is recommended for most operating conditions, but SAE 30 can be used at temperatures above 50°F (10°C.) 5W30 can be used at temperatures below freezing.

Air Cleaner

These engines use a foam filter element. To reach the filter on tiller engines, squeeze the upper and lower tabs on the cover to lift it off. On other engines, squeeze the tabs on the top of the cover and swing it down. To clean the filter, wash it in soapy water or a non-flammable solvent. Once the filter is dry, soak it in clean engine oil and squeeze out any excess. Wipe out the inside of the air filter box before reinstalling the filter. Honda recommends cleaning the filter every three months or 25 hours.

Accessing the Engine

To get to the spark plug, spark arrester and cooling fins, remove the 5 mm bolt at the top of the engine and slide off the plastic cover. The fins should be cleaned every three months.

Spark Plug

The plug gap should be between 0.60 and 0.70 mm (0.024-0.028 inches.) When installing, always start by screwing the plug in by hand before tightening it with a plug wrench or socket to avoid cross-threading. The spark plug should be checked once a year or 100 hours of operation and should be replaced every two years or 300 hours of operation.

Spark Arrester

Depending on the model, the spark arrester can be accessed by removing a single screw on the muffler where the exhaust exits, or by removing three screws from the exhaust outlet. If the arrester is tube-shaped, it can be cleaned by squeezing and tapping it to remove the carbon deposits. All other types should be cleaned with a wire brush. The arrester needs cleaning every year or 100 hours.

Fuel Filter and Tank

The fuel filter and tank should be inspected and cleaned every year or 100 hours. To reach the fuel filter, use a hook to pull it out of the tank. If the filter or tank are dirty, clean them with a non-flammable solvent.

Getting Parts for Your GX Mini Four Stroke

Hondalawnparts.com is a certified Honda Small Engine Equipment dealer, which means we have everything for these engines from plugs to piston rings. We can ship anything you need to any address in the U.S. and Canada.