
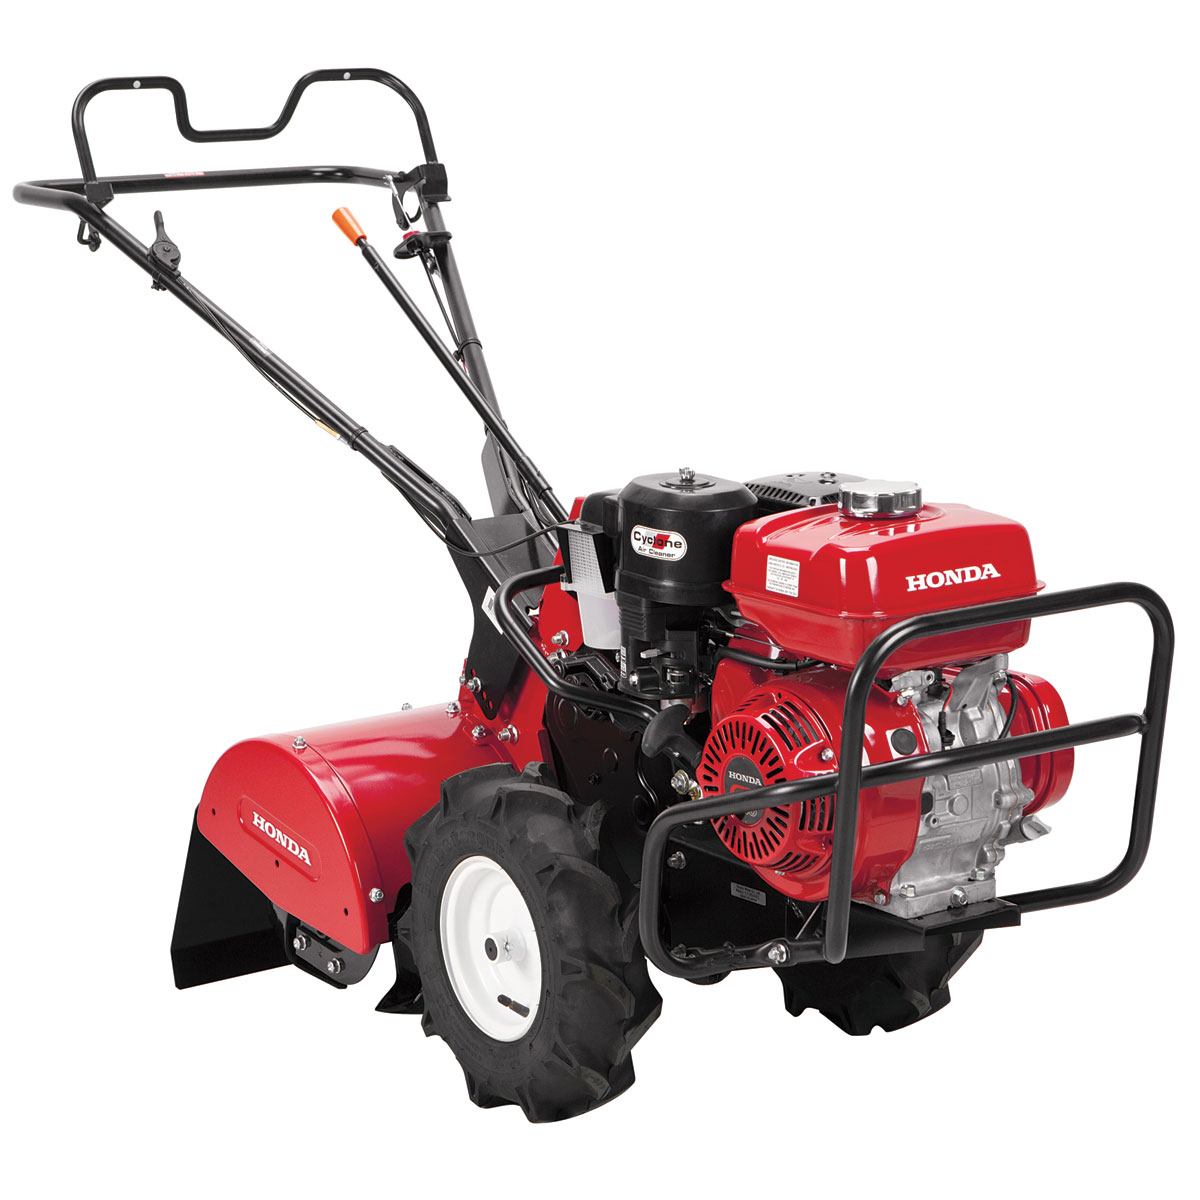
Breaking ground is the first step to building a garden, whether you’re planting vegetables or decorative plants. These tips will help you get the most out of your Honda tiller and your new planting project this season.
When to Till
You may want to break ground as soon as possible to start planting, but there are a few conditions that should be met to get the most out of tilling:
The ground should be at least moderately dry. Wet, muddy ground will compact from the weight of the tiller, making it hard for roots to penetrate. Pick up a handful of soil and squeeze: if the soil falls apart, it’s dry enough. If it forms a ball, it’s too wet.
The ground should be warm. The soil temperature should be at least 60 degrees F (15 degrees C.) If you don’t have a thermometer, push your hand into the soil. If you can keep it there for a full minute, the soil is warm enough.
Wind should be at a minimum so that the newly broken soil won’t blow away.
It needs to be late in the evening. While tilling can kill off existing weeds, dormant plants can start growing once they’re exposed to sunlight. Tilling just before the sun goes down will keep these weeds from getting the sun they need to restart growth.
Applying Fertilizer and Nutrients
If you’re going to use fertilizer, till the soil to break it up, then till again once the fertilizer has been spread to help mix it in.
Adding nutrients to correct soil deficiencies can adversely affect new roots. Ideally, these additives should be applied in the fall after harvest season, tilling the soil to integrate them.
Setting the Depth Bar
The bar holds the tiller back, helping it dig into the soil instead of just rolling over the surface. Setting the bar lower will help the tiller go deeper and reduces ground speed, helping the tines go through hard soil. Ideally, the tiller should be tilted slightly rearward while in operation. The bar should be adjusted so that the blades consistently reach a depth of 5 inches for leafy vegetables and flowers, and around 8 inches for root vegetables.
Setting the Throttle
In most cases, you’ll want to use your tiller at full throttle. However, this can be a bit much when going through soft soil, causing the tines to throw out chunks of unbroken soil instead of chopping it up. Lower the throttle accordingly until you get the right soil consistency.
Using the Handlebars to Control Depth and Speed
While it may seem like a good idea to go over ground that wasn’t correctly tilled, cutting through the soil a second time can actually compact it, making it harder for plants to grow. Getting a good cut through the soil the first time is critical.
If the tiller is moving too fast, push down on the handlebars. The depth bar will dig into the soil and help keep the tiller in place so the tines can dig deeper. Once the tiller is cutting at the desired depth, let up on the handlebars to start moving forward again.
If the tiller stops moving forward, lessen the pressure on the handlebars and move them side to side until the tines get traction again. If the tiller still doesn’t want to move, raise the depth bar.
Keeping Your Tiller in Top Condition
When you need parts for your Honda tiller, visit www.hondalawnparts.com. We’re a certified Honda Small Engine Equipment dealer, which means we can provide you with everything you need for maintenance and repairs. Finding parts is easy thanks to our advanced search engine that has built-in factory diagrams and descriptions. We can ship your order to any address in the U.S. and Canada.
