
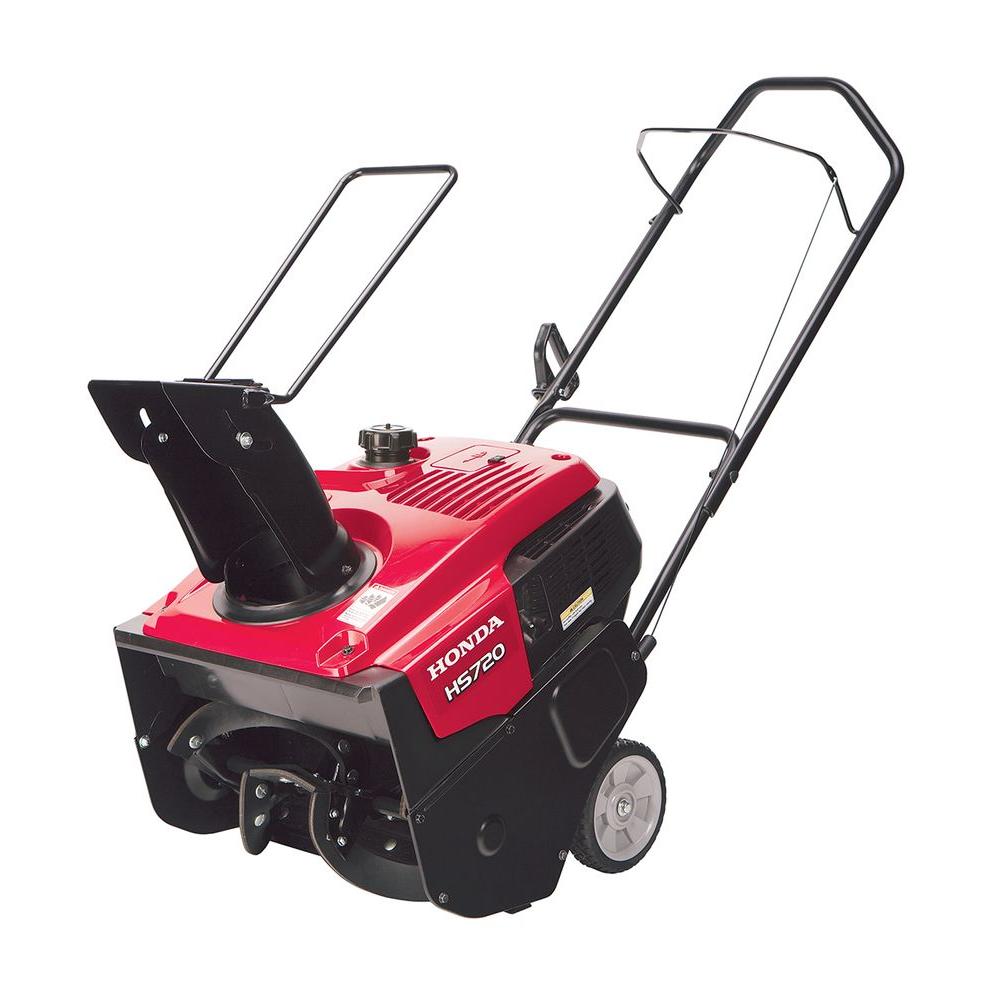
Honda’s 720AA, 720AS, and 720AM snowblowers may be small, but they deliver enough power to clear driveways and sidewalks, making them a great choice for homeowners. If you just picked one up to use this winter, there are a few steps you need to take to get your new equipment up and running.
What You’ll Need
These snowblowers are heavy, and the shipping carton is designed so that the blower must be lifted straight up for removal, so it’s a good idea to have someone on hand to help you get everything out of the box.
You’ll also need a few tools to set up your new snowblower:
– A gas can filled with fresh gas. While not required, it’s a good idea to use a stabilizer with the fuel since it may be weeks or months between snowfalls.
– A small funnel
– 12 mm wrench
– 10 mm wrench (720AM only)
– #2 Phillips head screwdriver (720AM only)
– Clean rags
A bottle of oil is included with the snowblower and can be found in a plastic bag with the owner’s manual.
Model and Serial Number
The model information can be found on a tag on the base of the snowblower at the back. This information will be needed to register your snowblower with Honda and to order parts. There’s a place to write this down in your owner’s manual for easy reference.
Adding Oil
Remove the dipstick from the filler neck, located on the back side of the snowblower on the bottom left side. Using the funnel, pour the included oil into the engine. The crankcase is full once oil starts dripping out of the filler neck. Screw in the dipstick.
Handlebar
Gently unfold the handle, taking care not to pinch the control cables. Use the 12 mm wrench to tighten down the nuts where the two halves of the handlebar meet. Remove any cardboard packaging.
Spark Plug
Remove the spark plug door, located on the top of the snowblower housing. Clip the spark plug cap onto the plug and snap the door back into place.
Chute
The chute needs to be installed on the 720AM. Place the chute over the discharge opening near the front of the snowblower and line up the screw holes. Slide the screws into the holes through the inside of the chute and thread on the nuts from the outside. Tighten down the screws with the screwdriver and 10 mm wrench. Once installed, move the chute around to ensure it fits correctly and doesn’t bind.
On 720AS and AA models, the operation of the remove chute controls should be checked before use. Move both the pitch and angle levers through their full length of motion to make sure the cables are operating correctly and the chute doesn’t bind.
Fuel
Remove the fuel tank cap on the top of the snowblower and add gas. The tank is full once the fuel level reaches the bottom of the filler neck.
First Start
The controls for the engine are located on the rear of the snowblower body. Turn fuel valve to “ON,” turn the engine switch to “ON,” and pull the choke. Pull the recoil starter lightly until you feel resistance, then give it a hard pull. If everything was set up correctly, the engine should fire up. Push in the choke.
When you’re ready to stop the engine, turn the engine switch to “OFF” and the fuel valve to “OFF.”
Electric Starting (720AS)
Connect the starter box, located to the left of the chute angle control, to a grounded three-prong outlet using a three-prong outdoor-rated extension cord. Turn the fuel valve to “ON,” turn the engine switch to “ON,” and pull the choke. Press the start button on the starter box until the engine fires up. Once the engine is running, push in the choke and disconnect the extension cord.
Belts and Shear Pins
The drive belt and shear pins are designed to fail if something gets jammed in the auger to prevent damage to more expensive components. Have some spares on hand will let you quickly repair your snowblower after the obstruction has been removed.
Where can you buy them? www.hondalawnparts.com. We’re a certified dealer for Honda Power Equipment, letting us provide everything you need from shear pins to major components. Finding parts is easy: just select your model and serial number range, and our site can show you factory parts diagrams and descriptions to help you identify exactly what you need. We ship across the U.S. and Canada.
