Maintaining Your HRX Mower

Maintaining Your HRX Mower

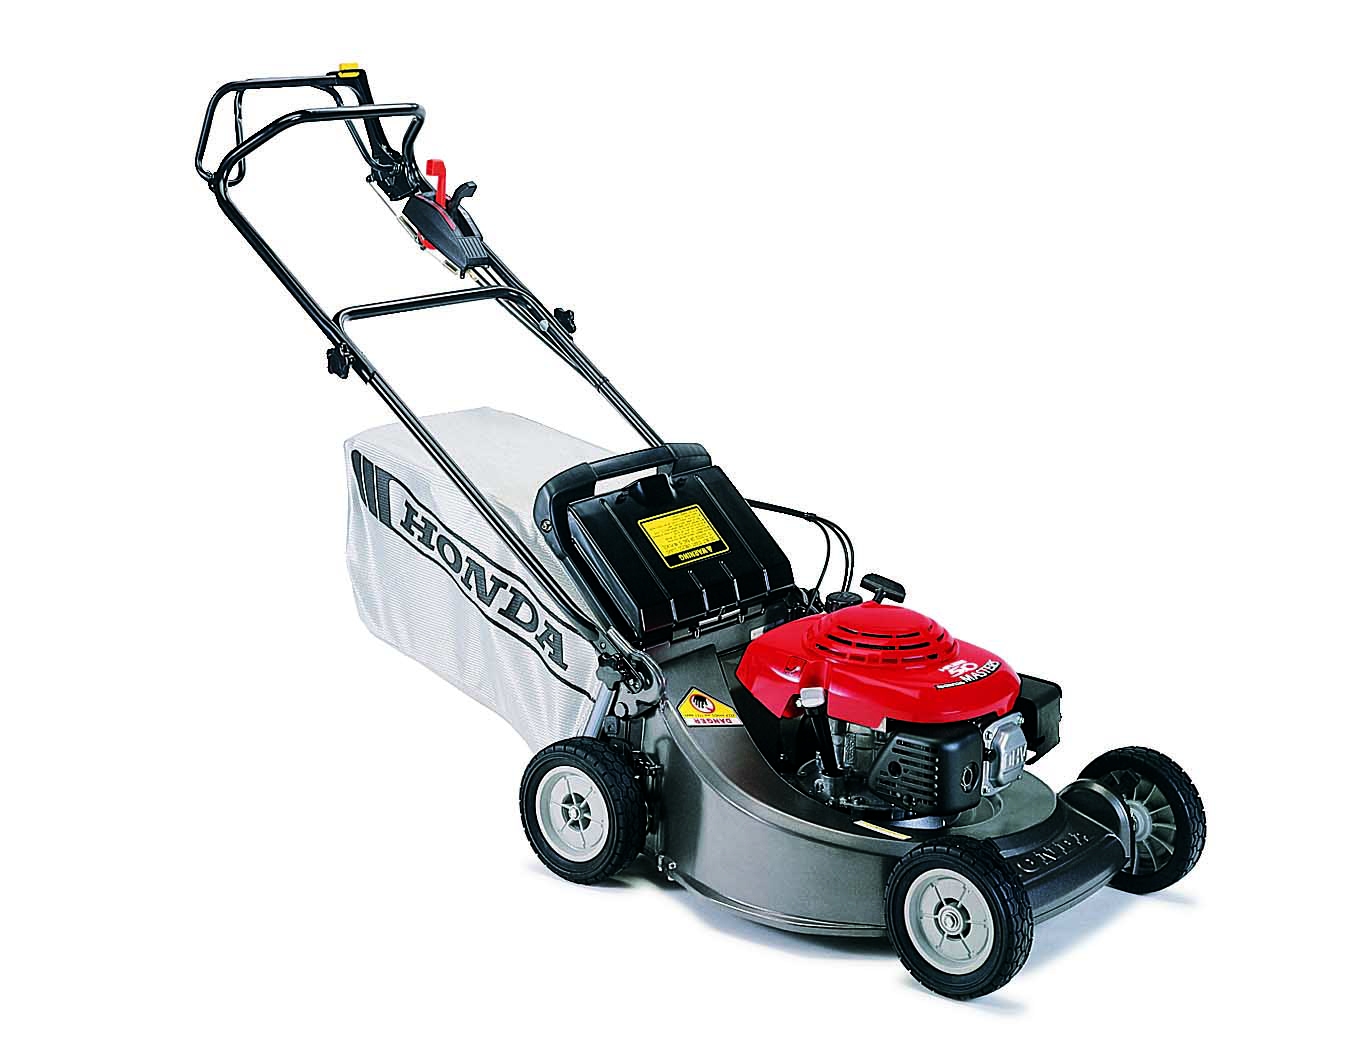
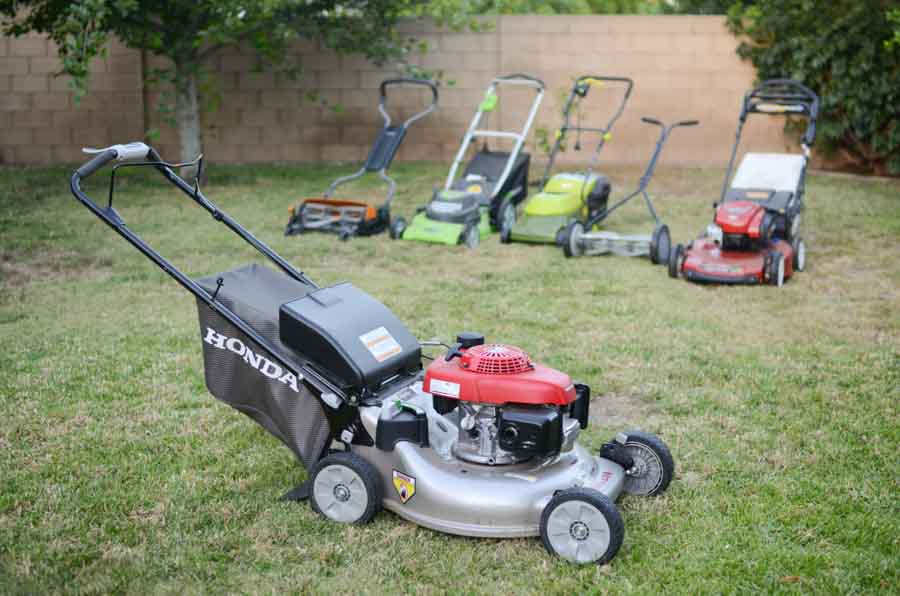
The Honda HRX is arguably the best residential walk behind mower on the market, but like any outdoor equipment, it won’t last if it isn’t cared for. Here’s what you need to do to keep your mower working for years to come.

Maintenance Schedule

  • Before each use: Check the blades, rear shield, blade control, grass bag, blade, oil and air filter.
  • After the first 5 hours of use: Change the oil.
  • After the first 25 hours of use: Clean the air filter and adjust the blade control cable and drive clutch cable.
  • Every 50 hours or 6 months: Change the oil and clean the air filter.
  • Every 100 hours or year: Check the spark plug, clean the spark arrester (if equipped), and check all cable adjustments.
  • Every 150 hours or two years: Replace the air filter and spark plug and grease the rear wheel adjuster bushings.

Honda also recommends having the engine professionally serviced every year or 100 hours. The mechanic will check the valve clearance, idle speed and general condition of the mower.

Blades

The blades on these mowers can be handled like any other mower blade. They should be as sharp as a butter knife, and they should be replaced if the edges are worn, bent or cracked.

To access the blades, disconnect the spark plug cap and turn the fuel valve to “OFF,” then tilt the mower on its right side. Make sure the fuel cap is near the top of the mower.

When installing the blades, the curved ends of the lower blade should match up with the angled edges of the upper blade. When installing the blade bolts, the outer edge of the curved washers should face the blades. Torque the bolts to 36-43 ft-lbs.

Oil

Honda recommends 5W-30 or 10W-30 for normal operating temperatures, while SAE 30 can be used at temperatures above 50°F. The engine holds 12-13.5 oz of oil, or about a third of a quart.

The engine does not have a drain plug. To drain the oil, either use a siphon pump, or tilt the mower on its side so that the oil flows out of the filler neck into a container for recycling.

Air Filter

To access the filter, push down on the tabs on the air filter cover, then swing the cover downward.

To clean the filter, tap it against a hard surface or blow it out with compresses air. Limit the air pressure to 30 psi.

Spark Plug

The electrode gap should be between 0.028 and 0.031 inches, or 0.7 to 0.8 mm. It can be removed and installed with a 13/16 inch spark plug wrench.

When reinstalling a plug, thread it in by hand before using the wrench. Once the plug seats, turn it 1/8 to ¼ turn if it’s a used plug, or ½ turn if you’re installing a new plug. The plug should be torqued to 14 ft-lbs.

Spark Arrester

To access the arrester, remove the three flange bolts on the muffler cover, then remove the set screw holding the arrester inside the exhaust outlet.

Clean the arrester with a wire brush. If it has holes or other damage, it should be replaced. If you don’t have a spark arrester, one can be added to comply with local fire regulations.

Charging the Battery on Electric Start Models

The battery is normally charged by the engine electrical system, but it may need to be recharged after the mower has been in storage. This battery should only be charged with a Honda battery charger. Using an automotive charger will damage the battery.

1. Remove the three screws on the battery cover, located on the side of the box that houses the starter switch.
2. Slide the battery out of the box, then disconnect the wires on the battery terminals.
3. Connect the charger to the terminals, then plug the charger into a 120 volt outlet.
4. Let the battery charge for 8-24 hours. Charging for longer will damage the battery.
5. Disconnect the charger.
6. Connect the wires to the battery terminals.
7. Place the battery into the case with the terminals facing the handle. Route the wires so that they go across the top of the battery.
8. Reinstall the battery cover.

Get the Parts You Need for Your Honda Straight From Your Browser

Hondalawnparts.com is a certified Honda Engines and Power Equipment dealer, which means we can ship the OEM parts you need to maintain your HRX mower straight to your door. Select your model and serial number, and our site will show you parts that will fit your specific mower, complete with factory descriptions and exploded parts diagrams. We ship to both the U.S. and Canada.

Finding and Fixing Mower Noises

honda mower

Is your mower making a strange noise? As the mowing season draws to a close, your mower has more and more hours put on it since its spring service, making it more likely that something will need attention. Finding the source of noises and correcting them now can help you avoid costly repairs later on.

Loudness

Honda makes some of the quietest small engines on the market, but they still produce enough noise to cause hearing damage. Hearing protection should be worn when using a mower just as you would with any other outdoor power equipment, but added noise may be a cause for concern.

If everything seems fine and the engine is just unusually noisy, check the muffler. Before pulling it off of the motor, wait at least a half hour after running the mower to let it cool down completely. Inspect the muffler for holes, and make sure the seal between the exhaust and the engine is intact.

Squeaking

While most greased components are sealed, other areas may occasionally need a light oil or silicone lubricant applied to keep them moving freely. This includes the controls, cables, wheels, and the handle, both where it bolts to the mower and where it folds for storage. Squeaking noises from the engine can be caused by grass and debris packed against the flywheel or engine shaft, or it could indicate a slightly bent shaft.

Some models have sealed cables and wheel bearings which won’t need to be greased. If the squeaking is coming from one of these wheels, spin it to make sure it’s moving freely. If it’s not, the wheel will need to be replaced.

Rattling

Engine vibrations can loosen bolts and nuts over time. Go over your machine and check the tightness of each fastener. Here’s where to check, from the most likely to the least likely source:

– Handle
– Controls
– Muffler cover
– Engine cover
– Wheels
– Deck

Vibration

Some vibration is normal, but excess vibration is usually tied to the mower blade. Remove the blade from the mower and check for bends and cracking; if either is present, the blade needs to be replaced. To check the balance, hang the blade on a nail by its center hole. If one side sits lower, file off a little of the surface until the blade sits even on the nail.

Honda’s MicroCut system uses two blades and a set of washers that need to be installed in a specific order to prevent vibrations. The small blade should be put on first with the top flat edge pointing to the left, while the lower blade goes underneath with the curved ends pointed upward and the top edge to the right. There should be one washer between the blades and a second washer between the blades and the bolt.

The blade bolt on all mowers needs to be tight enough to stay on and prevent the blade from coming loose, but not so tight that it stretches the threads. Torque specs for this bolt can be found in the owner’s manual.

Knocking

Even on engines equipped with Oil Alert, it’s a good idea to start with checking the oil, as a lack of lubrication can cause knocking and quickly lead to engine damage.

Light pinging is normal on engines under a heavy load, but if it occurs constantly, it’s probably caused by the fuel. If you’re running fresh automotive gasoline, it should have a high enough octane to keep this from happening, but its knock resistance can drop as it ages and degrades. Always use fuel within a month from purchase, or three months if treated with a stabilizer. “White gas,” commonly used in camp stoves, is gasoline, but it has a much lower octane rating. Even pouring a little from a leftover tank can reduce the fuel’s antiknock properties that it can cause pre-detonation.

If the fuel is fresh, check the ignition system. The spark plug should be clean and have the correct gap. If the wrong model of a spark plug is used, it can heat up to the point that it ignites the gas before the spark does. The coil may also need to be repositioned to change the ignition timing. Excess carbon build-up can also cause pre-ignition, but usually, this is only seen on motors that have been used for hundreds of hours.

Stop the Noise with Help from Honda Lawn Parts

As a certified dealer for Honda Power Equipment and Honda Engines, www.hondalawnparts.com can provide you with the parts you need to fix your mower, whether you just need a new blade or a major component. We ship across the U.S. and Canada.

Tips for Buying a Used Honda Mower

Tips for Buying a Used Honda Mower

A used Honda mower can be a great addition to your lawn care arsenal, whether you want a spare mower for your landscaping business or you’d like something that’s the price of a big box store mower without having to settle for low quality. It’s also a good time of the year to pick up a mower as owners pick up new models on end-of-season sales and make plans to move before next spring. If you decide to go this route, what should you look for?

Checking the Engine

Honda’s legendary reliability aside, engines are usually the last thing to break on mowers. However, there are a few things worth checking before testing the mower:

The air filter should be easily accessible and can usually be opened without tools. Wipe off any debris and check for damage: if the elements are full of dirt, it’s likely that the rest of the mower hasn’t been taken care of, either.

The general engine condition can be assessed by checking the spark plug. If the electrode end is light gray or brown, everything is running correctly. Ash indicates misfiring, oily build-up indicates oil or too much gas in the combustion chamber, and soot is caused by a rich fuel mixture, usually caused by a clogged air filter.

Look down through the screen next to the starter to inspect the flywheel. It’s held onto the stub shaft by a small square key. If the key is missing, the ignition timing will be off. If the holes for the key are damaged, the flywheel or crankshaft may need to be replaced, which is a difficult and costly repair.

Deck

Minor surface rust is nothing to worry about, but dents can hamper the mower’s ability to generate a vacuum to pull grass towards the blade. Severe dents can shift the position of the engine mount, making the blade cut at an angle.

Check the levers to make sure they move freely and the cables are moving parts on the engine and deck. If it has a bag, take it off and make sure the rear of the deck opens all the way when the mower is set to bagging mode.

Check the condition of the blades and underside of the deck. When tipping a walk-behind mower, always tilt it so that the carburetor and fuel tank are pointed up. There should be no play in the blade. If it’s cracked or worn, it will need to be replaced. Uneven wear can cause vibrations when running.

Testing the Mower

Before starting the motor, make sure there’s oil inside the crankcase and the fuel line is free of cracks to ensure your test run won’t end with a damaged motor or a fire. The dipstick is designed to measure fuel when placed at the edge of the filler neck; if it’s pushed or screwed in, the oil level will read too high.

Make sure to ask about how old the fuel in the tank is: modern gas doesn’t age well, which can lead to hard starting. Even when treated with a stabilizer, fuel shouldn’t be used if over three months old.

Scalloping indicates a misaligned blade. This may be a matter of the wheels not being at the same height setting, but if they’re equal, there is something wrong with the deck or blade.

If the blade looked fine during the inspection, severe vibrations are likely due to a bent engine shaft, which is a costly and difficult repair.

Your Used Mower’s First Service

Even if the mower you bought was properly maintained, there are a few things you should do to ensure your mower is ready to use:

– Drain the fuel system and add new fuel. Some models have a sediment cup on the carburetor that will need to be cleaned.

– Change the oil.

– Clean the air filter. Foam elements can be washed with a non-flammable solvent or soap and water, then saturated with clean engine oil. Paper elements can be tapped against a hard surface to loosen dirt.

– Sharpen and balance the blade.

– Lubricate the cables. Some models have sealed cables which don’t require maintenance.

Getting Parts for Your “New” Mower

Hondalawnparts.com is a certified Honda Power Equipment dealer, and our massive warehouse helps us keep popular items in stock for fast shipping across the U.S. and Canada. Our site has built in factory information including parts diagrams and descriptions, making it easy to find what you need to get your mower running like new.