Electric start is one of the best features you can have on a generator, letting you turn a key whenever you need power. However, that starter won’t work if you aren’t keeping up with the maintenance on your generator’s battery. Here’s what you need to know about keeping your generator ready to start the next time you have a power outage, go on camping trip or work in a remote area.
Does My Generator Have a Battery?
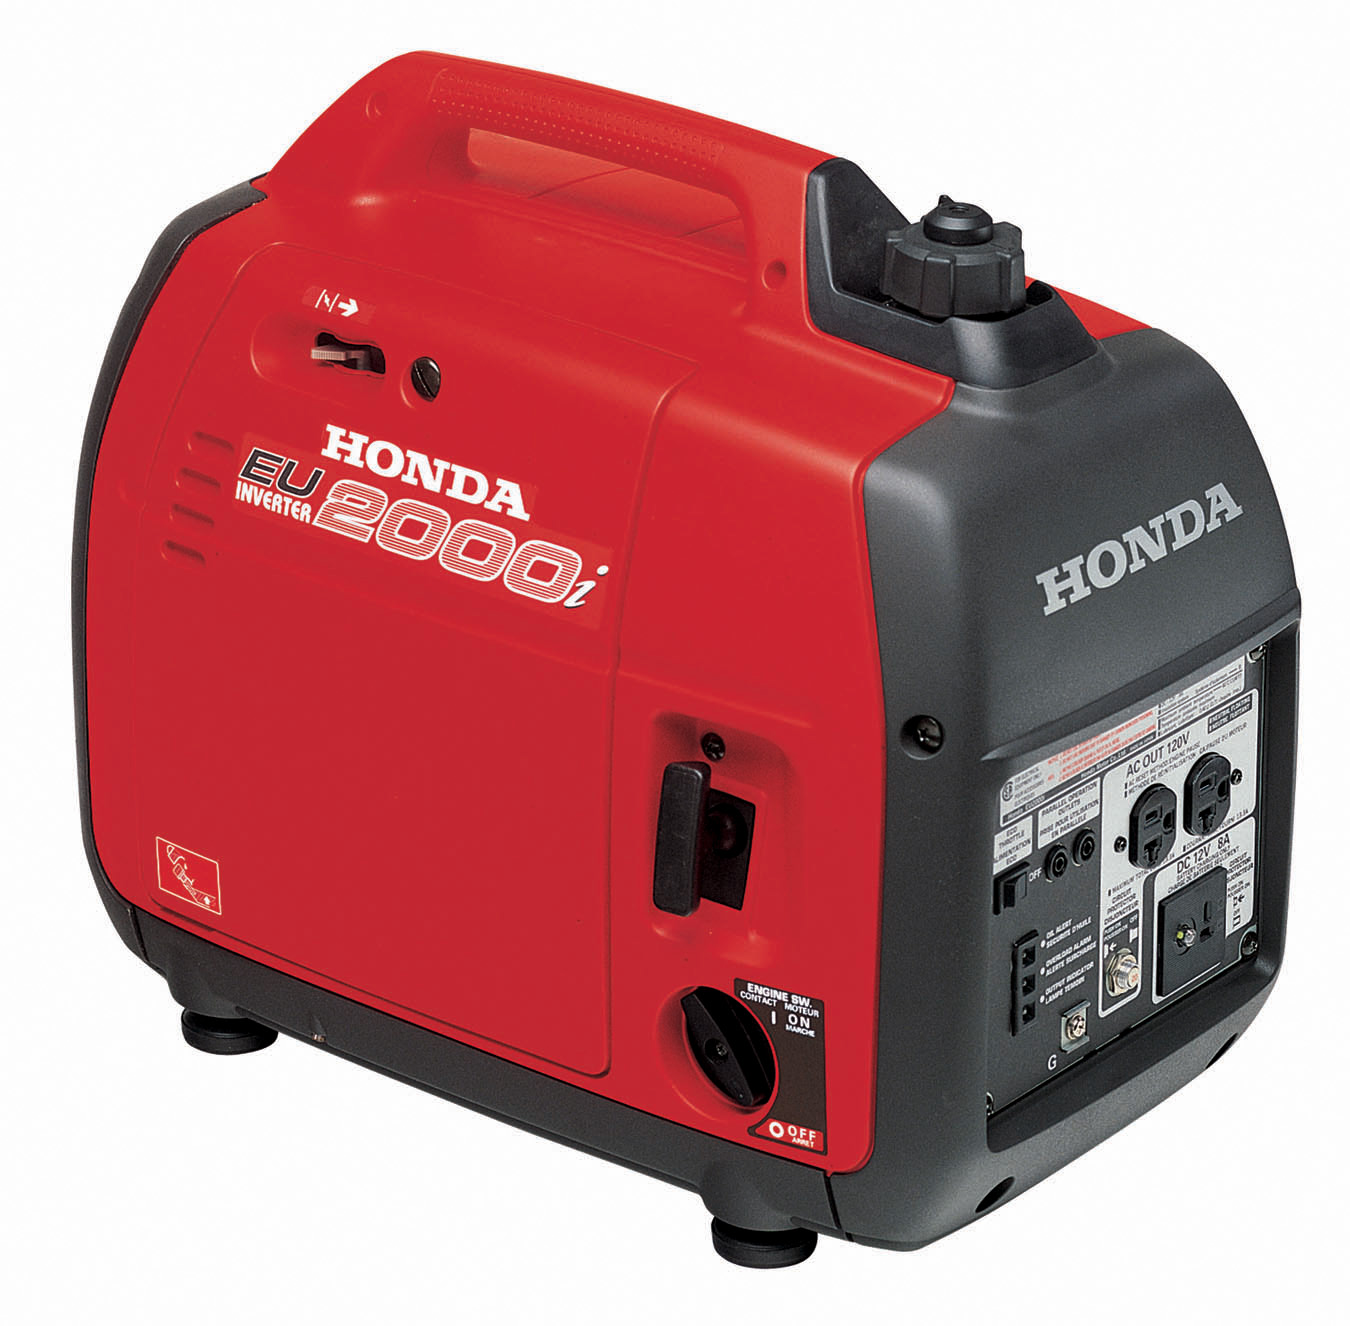
The battery is only used to power the generator’s electric starter and has no connection to the unit’s AC power generation system. If your model doesn’t have an electric starter, it doesn’t have a battery.
These current models have electric start, and thus have a battery:
EU3000iS
EM4000S
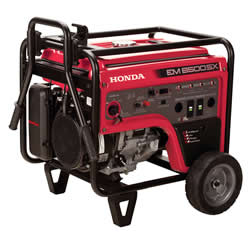
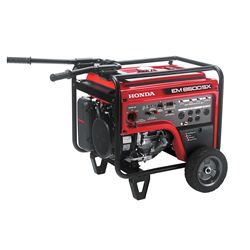
EB5000
EM5000S
EB6500
EM6500S
EU7000i
EB10000
Honda doesn’t list battery maintenance as part of the regular maintenance schedule, but it’s a good idea to clean the connections at least every 6 months or 100 hours of use. Honda also recommends recharging the battery monthly if the generator isn’t in frequent service.
Battery Handling Safety
Battery components contain lead. Always wash your hands after handling the battery or terminals.
If you spill this acid onto yourself, contact medical personnel immediately and do the following to limit the damage the acid can do to your body:
Eye contact — Flush the eye with water from a cup or container for 15 minutes. Do not use water under pressure, including water directly from a faucet, as this can cause eye damage.
Skin contact — Remove any clothing that came in contact with the acid. Flush the affected area with large quantities of water.
Swallowing — Drink water or milk. Do not induce vomiting.
Accessing the Battery
Current EM series generators store the battery behind a cover directly below the outlets, while earlier open frame generators place the battery behind a metal grid next to the engine. To access the battery on EU Series generators, the entire front panel must be removed.
Once you can access the battery, remove the negative battery terminal first, followed by the positive terminal.
Smaller batteries used in enclosed units have a band that can be unclipped to remove the battery. Larger batteries are held on by a set plate. To remove this plate, loosen the flange nuts on the ends of the plate. Pull the plate off of the battery and slide the battery and battery tray out of the generator.
Battery Electrolyte
The electrolyte level needs to stay between the upper and lower marks on the battery cells. If the level dips below the lower mark, the battery can sulfate, losing the ability to store electrical power.
The lower and upper-level marks are marked on the outside of the battery directly below the terminals. If one of the cells is low, carefully pry up the battery cell caps located next to the terminals. Add distilled water to the cell, then reinstall the cap.
If the battery seems to lose electrolyte rapidly, or the battery is weak despite following maintenance guidelines, have your generator inspected by a dealer. It could be an indication of a dying battery or a faulty charging system.
Cleaning
Any corrosion on the battery or terminals should be cleaned off with a brush and a mix of baking soda and water. This basic solution will neutralize the acid that has collected on these components.
Charging
Charge the battery at 10% of its amp hour rating for three to four hours. It’s common for replacement batteries to have different specifications from the ones originally installed in Honda’s generators. When setting the charge rate, go by the Ah rating printed on top of the battery, not the specifications in your owner’s manual.
Keep Your Generator Running with Genuine Honda Parts
We can’t ship batteries, but if you need anything else for your Honda generator, you can get it from www.hondalawnparts.com. From battery bars to fuses, you can find the right parts for your equipment quickly and easily using our advanced search engine. When you select your model, it will show you factory parts diagrams and descriptions so you can see what you’re ordering and where it fits on your generator. We can ship whatever you need to any address in the USA or Canada.