
 Safely operating a Honda HS720 snow thrower typically means learning a great deal about its controls, features, and operational procedures. New equipment owners can benefit a great deal from reading the snow thrower’s instruction manual, complete with illustrated, step-by-step procedures. In addition to the instruction manual, a few helpful tips and tricks can make snow thrower ownership and operation easier for both new owners and those who have long enjoyed the benefits of Honda equipment.
Start with a Firm Commitment to Safety
Safety risks are real and serious for owners of Honda HS720 snow throwers. Though they’re designed to be safe even in the most challenging winter conditions, these snow throwers have to be stored, started and used in a safe way in order for operators to enjoy all of these benefits. Start by making sure that the equipment’s oil and fuel levels are sufficient.
Check for any dents, dings, or misaligned debris shields. Before clearing snow, check that the area is free of large debris that might cause injury. Always wear appropriate winter attire when clearing snow. Even harsh cold air can prevent an injury risk to many homeowners. Finally, start the equipment in an open outdoor area only after all pets and bystanders have gone indoors.
A General Overview of HS720 Operation
With safety precautions in place, snow thrower operators can begin removing snow from sidewalks and driveways. There are a few things to know while doing so that can make the entire process easier from start to finish.
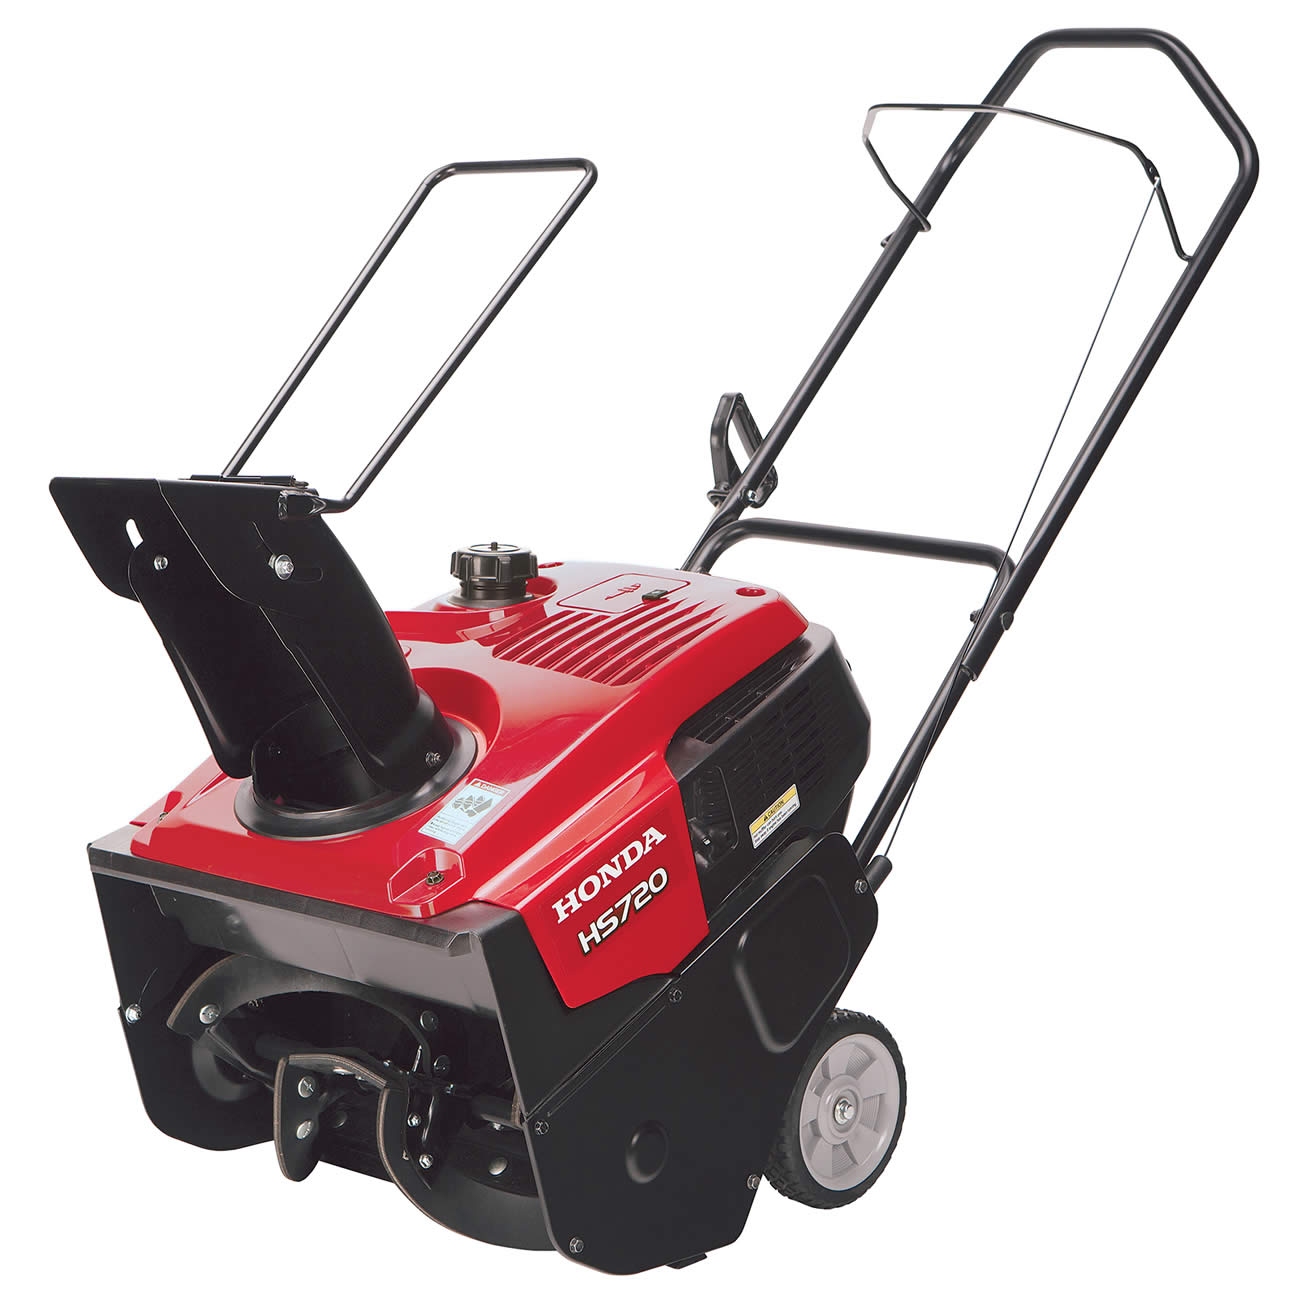
1. Snow Thrower Controls
Before getting started, review the operator manual for a full description of the snow thrower’s control. Make sure to become familiar with the snow blower’s auger control system, chute directional control, engine switches, and ignition system. This will make it easier to follow the basic tips and guidelines for operation.
2. The Fuel Valve
The fuel valve controls whether or not gasoline can reach the engine. The fuel valve should always be switched on immediately prior to operation, and it should be switched back off when snow clearing is finished and the snow thrower is ready to reenter storage.
3. Engine Switches and Starters
Honda HS720 snow throwers come in several distinct models, with different engine switches and ignition systems based on consumer preference.
– Basic Engine Switch
Found on A and AM models, the basic engine switch on Honda’s HS720 snow thrower can be turned either to an “on” or “off” positions. The switch should be in the “on” position to start the equipment and should be switched to “off” when preparing the snow thrower for storage.
– Engine Key Switch
HS720 AS models feature a key switch instead of a standard plastic switch. Make sure the key is fully inserted into the switch and then move it to the “on” or “off” position as needed.
– Electric Starter Button
In addition to the ignition key switch, AS models feature an electric starter button that makes engine ignition quite a bit easier. Connect the snow thrower to an electrical outlet using the included, three-pronged electrical cord. Connect this cord and push the starter button to start the engine.
4. Choke Knob
The choke knob should be set to the “closed” position when starting a cold snow thrower engine. If the engine is already warm, the throttle can be kept in the “open” position when restarting the engine.
5. Chute Adjustment
Adjusting snow discharge can be done in several different ways depending on the snow thrower model in use. From handles to remote adjustment options, Honda has made discharge easy to control on the fly, no matter which model is clearing snow.
– Chute Control Handle
Found on AM model snow throwers, the chute control handle can be moved left or right to change snow discharge direction. This handle can also be moved up and down to control how far snow is thrown during clearing.
– Remote Chute Guide Control
This basic control, found on A and AS models, is added to the operator control panel as an additional lever. Moving the lever forward will decrease throw, while moving it backward will increase the distance that snow is thrown while clearing outdoor areas.
– Remote Chute Turn Control
Also found on A and AS levers, the chute turn control will move the discharge direction left or right based on the position of the lever. Changes to discharge direction can be made on the fly.
6. Auger Clutch Lever
To begin clearing snow, hold the auger clutch lever against the snow thrower handle. Release the auger clutch lever at any time to stop the augers and temporarily disengage the snow intake process.
A Quick Guide to Starting and Stopping the HS720 Engine
Make sure the fuel valve and engine ignition switch are both placed in the “on” position. For models without an electric starter, pull the starter grip until the engine starts and runs consistently. For models with an electric starter, connect the power cord and push the starter button. To stop the engine, release the auger clutch lever, turn the engine switch to “off,” and make sure the fuel valve is turned off as well.
Visit HondaLawnParts.com for OEM Snow Thrower Replacement Parts
Replacement parts can help make ignition and operation easier. HondaLawnParts.com is a great resource for HS720 owners, thanks to its varied selection of OEM Honda parts and its unique search tool. Parts can be sorted by their unique part number, the corresponding snow thrower model number, or the engine type found under the hood. This makes regular maintenance and repairs easy for operators of all experience levels.
