
 At first glance, those homeowners new to the Honda HS928 snow thrower might find its controls and features at least a little intimidating. That’s understandable, of course, but these controls and features are actually very easy to learn, use, and maintain over time. Each control found on the Honda snow thrower has a specific purpose when it comes time start the equipment, propel it forward, and properly discharge snow. In order to stay safe while using the snow thrower, equipment owners should familiarize themselves with each of these important levers, knobs, grips, and more.
Safety First: Always Work Cautiously with a Snow Thrower
Whether it’s a hot engine or a sharp and spinning auger blade, customers can expose themselves to serious injuries if they’re not careful. First and foremost, operators should read the included instruction manual so that they get familiar with common controls, terminology, and troubleshooting tips needed when operating the equipment. In order to ensure safety during operation, make sure that the snow thrower is sufficiently filled with oil and gasoline prior to use. Start the equipment in an open, outdoor area after any pets or bystanders have moved indoors. Finally, inspect the snow clearing area for large debris items and remove them before snow clearing.
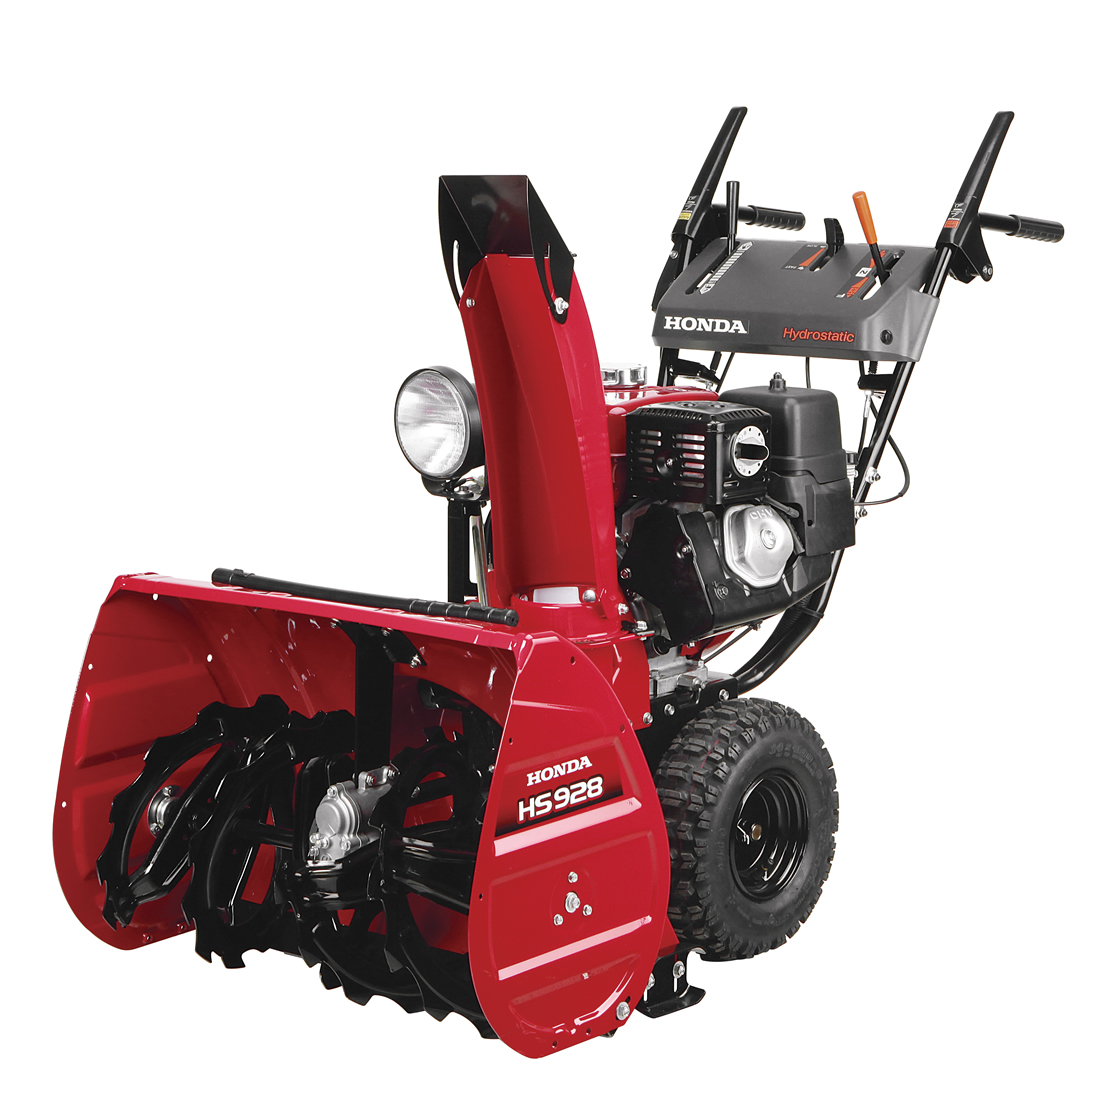
A Quick Look: HS928 Snow Thrower Controls and Features
Before clearing snow with the HS928 snow thrower for the first time, operators should familiarize themselves with common levers, knobs and switches that control the engine and auger. A primer on each important control will make it easier to get the job done safely and efficiently every time.
1. Fuel Valve Lever
The fuel valve controls the flow of gasoline and is a key way to stay safe when handling the equipment. If the snow thrower is being turned off, prepared for storage, or moved without being turned on, the fuel valve lever should be off. This will prevent gasoline from reaching the engine and reduce the likelihood of operator injury during any task. If the snow thrower is being started, the fuel valve should be turned on as the very first step in this process.
2. Engine Switch
The engine switch is controlled by a key, which must be initially inserted into the switch while it’s in the “off” position. Turn this switch on to start the snow thrower, or turn it off while the snow thrower is operating so that the engine stops and the equipment can be prepared for storage.
3. Fuel Gauge
The fuel gauge simply shows how much fuel is available to the engine. When the fuel gauge indicator moves into the “empty” zone, the fuel tank should be refilled with low-octane, unleaded gasoline.
4. Chute Crank
Found on the right side of the equipment, the HS9280’s chute crank can be rotated left or right in order to control the equipment’s snow discharge direction. Cranking to the left will move snow discharge further to the left side of the equipment while cranking it to the right will have just the opposite effect.
5. Starter Grip
The starter grip is used to start the engine. Give the grip a vigorous pull to engage the ignition system and spark gasoline. In very cold conditions, several strong starter grip pulls may be required.
6. Throttle Lever
Engine speed depends on the position of the throttle lever, which moves gradually from “slow” to “fast.” A slower speed is perfect for deep snow and wetter accumulations, while a fast speed can typically be used in powdery snow or when accumulations are very light.
7. Choke Knob
The choke knob is used during engine ignition. It should be placed in the “closed” position to start a cold engine. Operators who are restarting a warm engine, perhaps after a brief pause to clear debris, can leave the throttle in the “open” position.
8. Shift Lever
This lever controls whether the snow blower moves forward, backward, or not at all. Simply move the lever to the desired directional setting for snow clearing and adjust its position as needed.
9. Discharge Deflector Lever
The discharge deflector lever is essentially a “partner” to the chute directional control. The lever can project snow upwards and very far away from the equipment if desired, or it can be pulled back toward the operator so that snow is thrown lower and closer to the equipment.
10. Foot Pedal
Models with tracks come with a foot pedal that adjusts the equipment’s height, relative to the tracks themselves. Other models simply lack this foot pedal as it would serve no useful purpose.
11. Drive Clutch Lever and Auger Clutch Lever
The drive clutch lever is located on the left side of the equipment. When it’s squeezed downward, the snow thrower will move forward. Likewise, the auger clutch lever is found on the right side of the equipment and determines whether or not the snow thrower engages its snow intake mechanism.
12. Transmission Release Lever
When set to “engaged,” the equipment will self-propel forward. When this lever is set to “released,” self-propelled drive features will be temporarily disabled until the lever is moved back to its “engaged” position.
13. Work Light
A work light is included with every HS928 snow thrower. Found on the front of the snow thrower, the light is always on when the engine is turned on. The light will turn off when the engine is turned off. This work light is great for spotlighting debris, working late into the evening hours when clearing snow, or simply delivering added visibility in challenging winter conditions.
14. Snow Clearing Bar
Every Honda snow thrower comes with a snow-clearing bar. This bar is the only way that operators should ever clear clogs and debris from the intake or discharge chutes.
HondaLawnParts.com Can Provide Replacement Snow Thrower Parts
If the time has come to perform some basic snow thrower maintenance and replace old parts, HondaLawnParts.com is a great way to find a wide variety of OEM replacements. The site allows equipment owners to search for OEM parts based on the Honda snow thrower model number, the part number required, or the type of engine found under the hood. In all three cases, customers will find a dependable, compatible part that will solve their issue in no time.
