
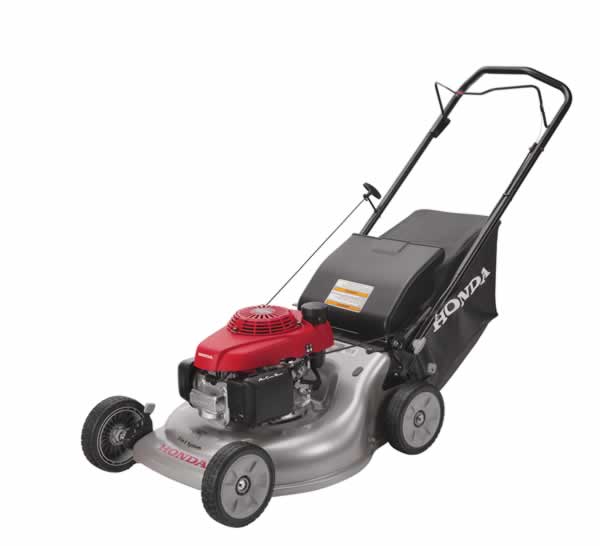
 Honda’s HRR216PKA has a lot of features from its unique twin blade cutting deck to the Clip Director which lets you change where the clippings go without needing tools. This guide will walk you through everything you need to know to use this mower.
Staying Safe
First, let’s start with the obvious: keep your body parts away from the blades when they’re rotating. Only add fuel when the mower is off and parked away from enclosed spaces. Make sure the lawn is clear of debris that may turn into projectiles when they reach the blades, and wear protective clothing to reduce the damage when such an object manages to get inside the mower. Above all, make sure the rear shield is intact and in place when the bag isn’t in use: this is a rear discharge mower, so any debris will be flying straight toward you as you mow.
This mower has a blade control lever on the handle which shuts off the engine when it’s released. Even with this safety measure, it’s best to wait until the mower has stopped completely before stepping away from the controls.
When mowing along slopes, go across instead of up or down to maintain steady footing. Never mow along more than a 20° angle.
Clip Director
The Clip Director is located next to the rear left wheel. To switch between mulching and bagging, push the green button on the end of the lever and slide it to the desired position. If you want the mower to discharge clippings, remove the bag and set the lever to “Bag.”
If the lever on the Clip Director won’t move or lock into position, the control and shutter door need to be cleaned. Shut off the engine, then remove any grass stuck in the shutter door, directly below the Clip Director. Using a garden hose, spray the Clip Director lever and cover to remove any debris inside the housing.
Bagging
Like a vacuum cleaner, this mower blows air through the bag, which catches any solid debris. The bag should be emptied before it’s 90% full to maintain this airflow. The bag can be left on when mulching.
To fit the grass bag onto the mower, lift the discharge guard on the back of the mower. Set the bottom of the bag on the bottom edge of the discharge opening and push the top of the bag into the clips at the top of the opening. Release the discharge guard.
To remove the bag, raise the discharge guard, then grab the bag handle. Pull the bag away from the mower. Once released, the bag can be pulled away from the mower or up through the mower handle.
Cutting Height Adjustment
Each wheel can be be adjusted to one of six height settings from 1 1/8 in (28 mm) to 4 in (102 mm.) To change the height, pull the lever toward the wheel and slide it left or right; the further forward the lever is, the higher the deck will be. All wheels should be set to the same height. When in doubt, start at the highest setting and lower the mower until the grass is left with the desired finish.
Oil Level
To check the oil, remove the filler cap/dipstick, located on the right side of the engine. Wipe away any oil, then reinsert the cap without screwing it in. If there is no oil on the dipstick, add more until the level reaches the upper limit mark on the dipstick. Honda recommends 10W-30 motor oil with an API service rating of SJ or later. Once the oil had been checked, screw the cap back into the motor.
Fuel
The engine is designed for unleaded gasoline with an octane rating of at least 86 and no more than 10% ethanol (E10) or 5% methanol. This fuel should be less than four weeks old to ensure proper combustion.
To add fuel, remove the fuel cap on the top of the engine. Pour in the fuel until it reaches the bottom of the fuel gauge insert in the filler neck. Screw the fuel cap in until it clicks. If any fuel was spilled, wipe up any fuel on the outside of the mower and move the mower at least 10 feet (three meters) away from the spill before starting.
Starting the Engine
The blades will turn whenever the engine is running; make sure the mower is sitting on a cleared or mowed area before starting. Also, make sure the starter cord is not hung up on the support tab on the right side of the handlebar.
1. Turn the fuel valve, located on the left side of the engine, to “ON.” The knob should be parallel with the fuel line.
2. Hold down the blade control lever, located on the end of the handlebar.
3. Pull the starter grip lightly until you feel resistance, then give it a swift tug. Gently return the grip to the mount.
Let the engine warm up for three minutes. It may take longer if the temperature is below 70°F (21°C.)
Stopping the Engine
1. Release the blade control lever.
2. If the mower isn’t going to be restarted soon, turn the fuel valve, located on the left side of the engine, to “OFF.” The knob should be perpendicular to the fuel line.
3. If the mower won’t be used for more than a couple weeks, start the mower again once the fuel valve is closed to empty the carburetor.
Where to buy Honda Mower parts
Whether you need a bag, blades or a whole new engine, www.hondalawnparts.com can ship an OEM replacement to you no matter where you are in the U.S. or Canada. Take the guessing out of ordering with their online diagrams of your model, or send a message to their experienced parts staff.
