
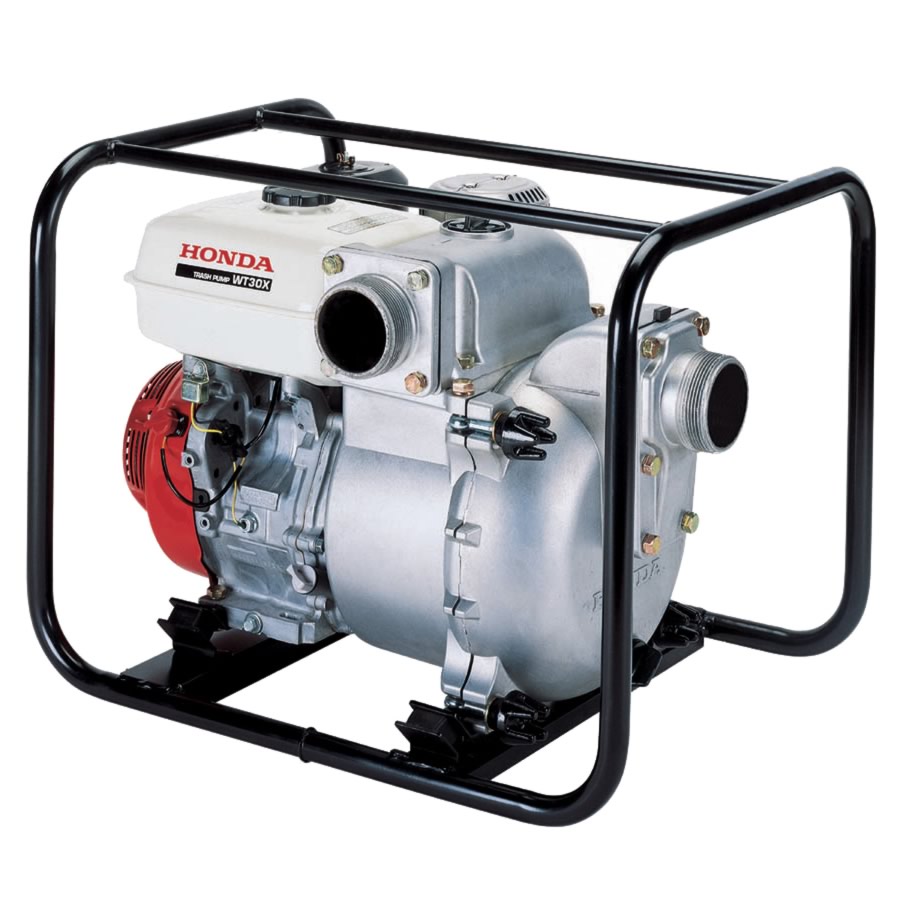
 Have Honda’s WT30X trash pump and need to know what maintenance it needs? Here’s everything you need to know.
Safety Disclaimer
There are four major safety issues to be aware of when working on this pump.
1. Carbon monoxide poisoning: Lethal exhaust gases can build up inside and near buildings. Move the pump away from these places before starting the engine.
2. Burns from hot parts: The engine and muffler can stay hot enough to cause burns long after the pump has been used. Be cautious around these parts, especially when accessing the spark arrester.
3. Injury from moving parts: The WT30X is powerful enough to move water and debris dozens of feet, so it shouldn’t come as a surprise that an improperly used or malfunctioning pump can do terrible things to the human body. Don’t start the motor until the pump is fully repaired or you are instructed to do so.
4. Explosions and fire: Sparks, fire and other ignition sources should be kept away to prevent gasoline ignition. Always use non-flammable solvents when cleaning this pump.
Maintenance Schedule
Check the oil level and air filter before each use, and clean the pump casing after each use.
The oil needs to be replaced after the first month or 20 hours of operation, and then every 6 months or 100 service hours. The air filter should be cleaned at least once every 3 months or 50 service hours, or more often if the pump is used in dusty areas.
Every 6 months or 100 service hours, clean the sediment cup and, if equipped, the spark arrester. The spark plug should also be checked for damage and electrode clearance.
After every year or 300 service hours, have a professional mechanic service the impeller and fuel system, as well as adjust valve clearance and idle speed. The paper air filter and spark plug should also be replaced, but this maintenance is simple enough to be done by the owner.
Fuel
Honda recommends using fresh gasoline with an octane rating of 86 or higher, which includes most formulations at your local gas station. Light pinging is normal under heavy loads, but if it persists under different engine loads, try using a different gasoline. If that doesn’t solve the problem, have the engine serviced at a dealer.
The WT30X’s tank holds 1.59 gallons (6 liters) of fuel. Never fill the tank past the top of the screen inside the tank opening.
Engine Oil
To check the oil, take out the filler neck, wipe off the dipstick, and push it back into the filler neck without threading it back in. The dipstick should now show the oil level. When adding oil, it should come to the top of the filler neck. If the engine has too little oil, the Oil Alert system will automatically shut off the engine. Oil can be drained by removing the plug below and to the left of the filler neck.
The WT30X’s engine holds 1.2 quarts (1.1 liters) of oil. Honda recommends 5W-30 when operating at temperatures below 32°F (0°C,) 10W30 for temperatures above -4°F (-20°C,) and SAE 30 for temperatures above 50°F (10°C.) Any oil used in the engine should be API service category SJ or greater.
Air Filter
The filter can be accessed by removing the wing nut and air cleaner cover. To clean the filter, wash the outer foam element with a non-flammable solvent or mild soap and water. Once dry, dip the element in clean motor oil and squeeze out any excess. The inner paper element should be tapped lightly, or blown out using compressed air with a maximum pressure of 30 psi.
Sediment Cup
Before removing the cup, switch the fuel valve to “Off.” Unscrew the sediment cup, taking care to remove the O-ring between it and the fuel valve body. Clean both in a non-flammable solvent and reinstall. Open the fuel valve and check for leaks.
Spark Plug
The plug can be removed with a standard 13/16 spark plug wrench. The gap between the electrodes should be between 0.028-0.031 inches (0.70-0.80 mm.) Replace the plug if there are any signs of damage to the insulator, or if the electrodes are worn down.
Spark Arrester
To access the arrester, remove the muffler protector, held on by three screws on the top and three more on the sides. It will separate into two halves. The arrester is on the right side as viewed from the exhaust inlet, and is held on by a single screw. Brush off any carbon build-up. Replace the arrestor if it shows any signs of cracking.
Pump Casing
Remove the case by remove the drain plugs from the pump casing and cover. Once the water has drained, loosen the pump cover knobs and open the holders. The cover and volute case should slide off. Remove any debris inside these parts.
To reinstall, check that both O-rings are seated on the case. Follow the previous directions in reverse, tightening the knobs by sliding a screwdriver into the knob grooves and turning clockwise.
Where to buy Honda Pump parts
Need an O-ring or a spark arrester? www.hondalawnparts.com has that and much more. They’re a full line Honda small engine dealer covering all Honda small engine equipment from mowers to generators.
