
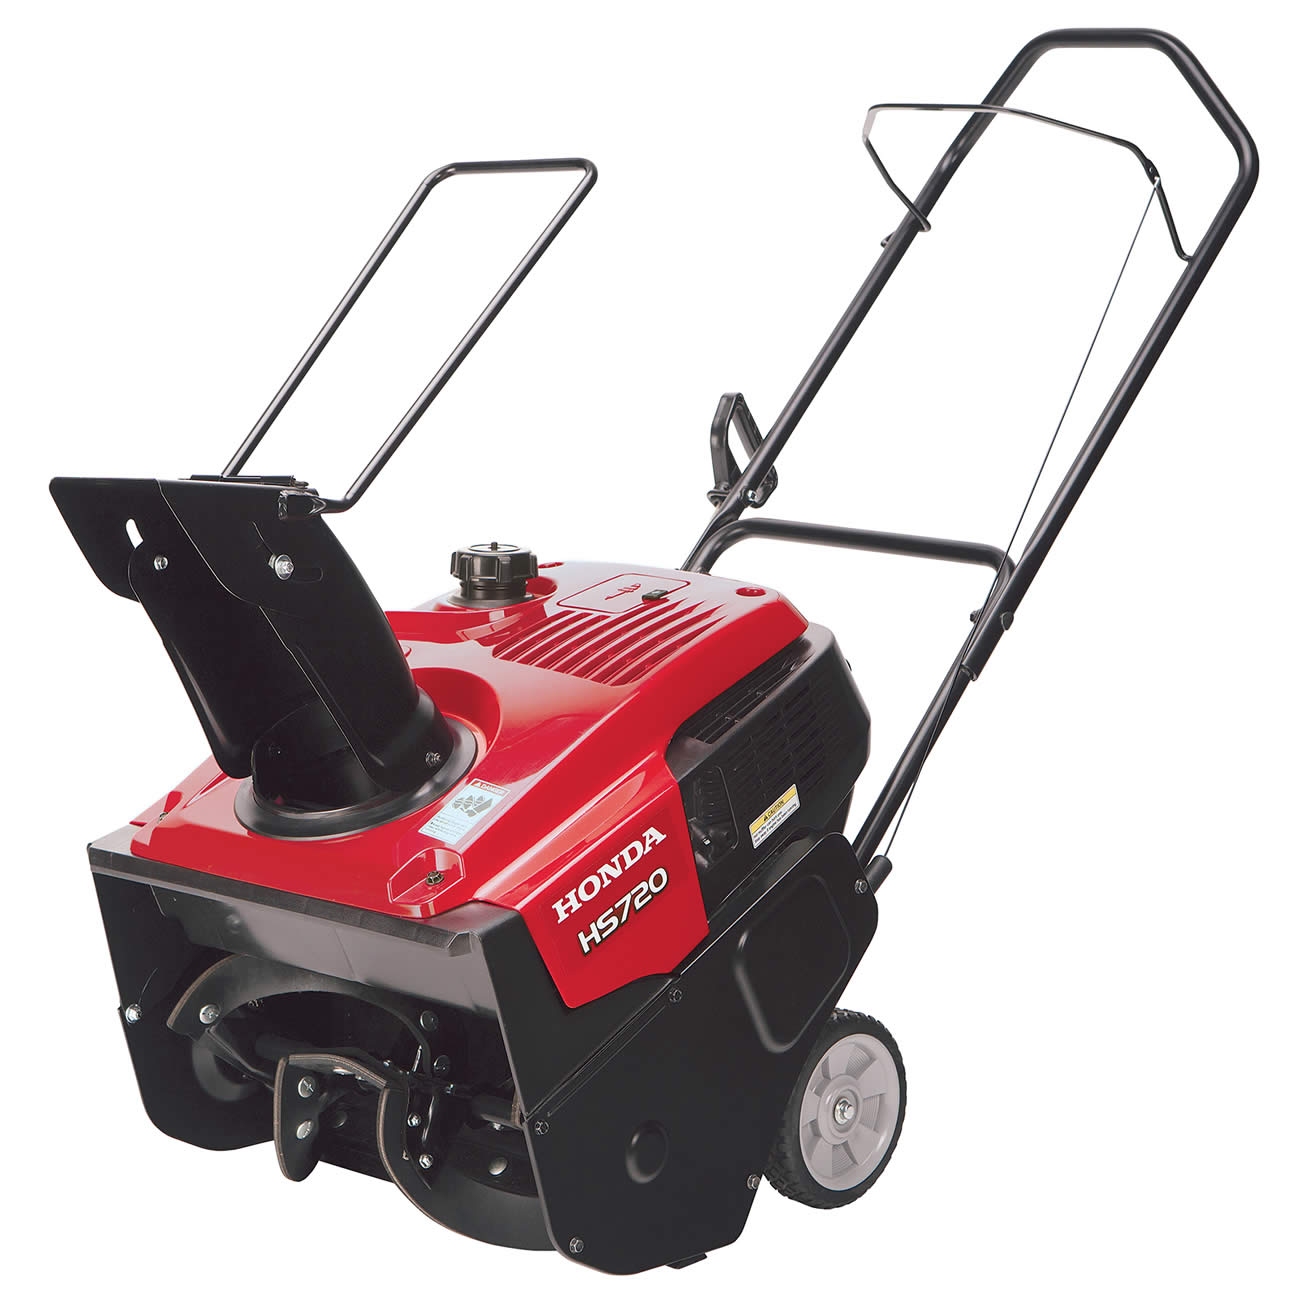
 The Honda HS720 snow thrower is powerful and efficient during use, and it brings these same characteristics to the setup and assembly procedure required of new equipment owners. The snow thrower comes mostly assembled when it arrives, but adjustments will need to be made so that the handle, chute, and engine can all work well throughout the winter season. Before getting started, be aware of a few helpful tips and steps that will make setup easier.
Keep Safety Tips in Mind During Setup
Safety should always be an operator’s top concern no matter what they’re doing with the snow thrower. During setup and assembly, make sure that the snow thrower is on a flat and level surface, preferably away from bystanders who aren’t involved in the setup procedure. Make sure to read through the equipment’s instruction manual before beginning setup. The instruction manual is a key way to learn about important features, terminology, and safety precautions that can reduce the risk of injury during setup and snow clearing.
Assembly Tips: What to Know
Snow thrower assembly is actually pretty easy, but equipment owners who have never handled a new snow thrower before can still benefit from a few key tips and procedures. Here’s what to know when getting started with the Honda HS720.
1. Handle and Chute Assembly
Two flange nuts hold the handle in a forward-facing position toward the chute on new snow throwers. Loosen these flange nuts, raise the handle into its upright position, and then tighten the flange nuts so that the handle is locked into place.
Some HS720 models feature a chute assembly that must be installed separately after purchase. To perform this installation, place the chute assembly on the chute base and use the included 6mm lock nuts and lock bolts to fasten it into place. The lock nuts should be tightened to no more than 7 pound-feet of torque.
2. Spark Plug
The spark plug is disconnected by default. To remedy this situation, lift the spark plug enclosure door to reveal the spark plug and spark plug cap. Remove any packing material that might be surrounding the spark plug. Next, attach the spark plug cap to the spark plug and close the enclosure door.
3. Engine Oil
Engine oil is not added to the snow thrower prior to shipping, but a starter container of 5W-30 snow thrower oil is shipped alongside the HS720. Loosen and remove the oil cap, and empty the contents of the included oil bottle into the oil compartment. Before replacing the cap, make sure that the oil comes to the top of the oil compartment opening.
4. Fueling or Refueling
The snow thrower ships without gasoline, largely for safety purposes. Ideally, the Honda HS720 should be fueled using unleaded, low-octane gasoline. Honda recommends a fuel that contains less than 10 percent ethanol and the company strictly prohibits using diesel fuel with this model. After the initial setup procedure, the snow thrower’s fuel should be topped off prior to each use.
Snow Blower Registration is a Key Step
Online registration of the HS720 snow thrower is a crucial part of equipment setup. Registration allows Honda to more easily view information on the snow thrower’s owner, model number, warranty, and other details that will be of great use if the equipment requires professional service or repairs in the future.
Crucial Safety Checks Should Be Performed Prior to Use
The equipment is almost ready to go. Before getting started, operators should perform a few key safety checks and adjustments. These checks take only a few moments, but they’re a key way to keep both the operator and the equipment safe from harm.
1. Snow Thrower
Give the entire snow thrower a general inspection. Look for any dents, dings, misplaced or missing parts, clogs, or obstructions. If any issues present themselves, make sure to fix them carefully and promptly before beginning a snow removal job.
2. Working Area
One of the key ways to ensure a high level of safety is to inspect the area being maintained before turning on the snow thrower and getting the job done. Make sure that this area is free of large debris or other obstacles. Move vehicles, if possible, to an area where they will not prevent snow clearing or suffer from potential damage due to projectile debris. Bring pets indoors and ensure that bystanders have gone inside with them. Finally, attempt to break up any serious accumulations of ice on top of the snow. Ice blockages are a common cause of mechanical issues and operator injury.
3. Scraper Blade
The scraper blade connects directly to the ground and removes built-up snow and ice. This means it can easily become damaged or worn. Inspect the blade prior to each use, making sure that it still has low ground clearance and a sharp edge.
Find Replacement Parts and More at HondaLawnParts.com
Whether it’s a guide to new equipment setup or the replacement parts needed to keep a Honda snow thrower in great condition for many years to come, HondaLawnParts.com can help. With a parts search tool and plenty of OEM options, it’s easy for any snow thrower operator to find the parts and advice they need in order to stay safe, productive, and snow-free all winter long.
