
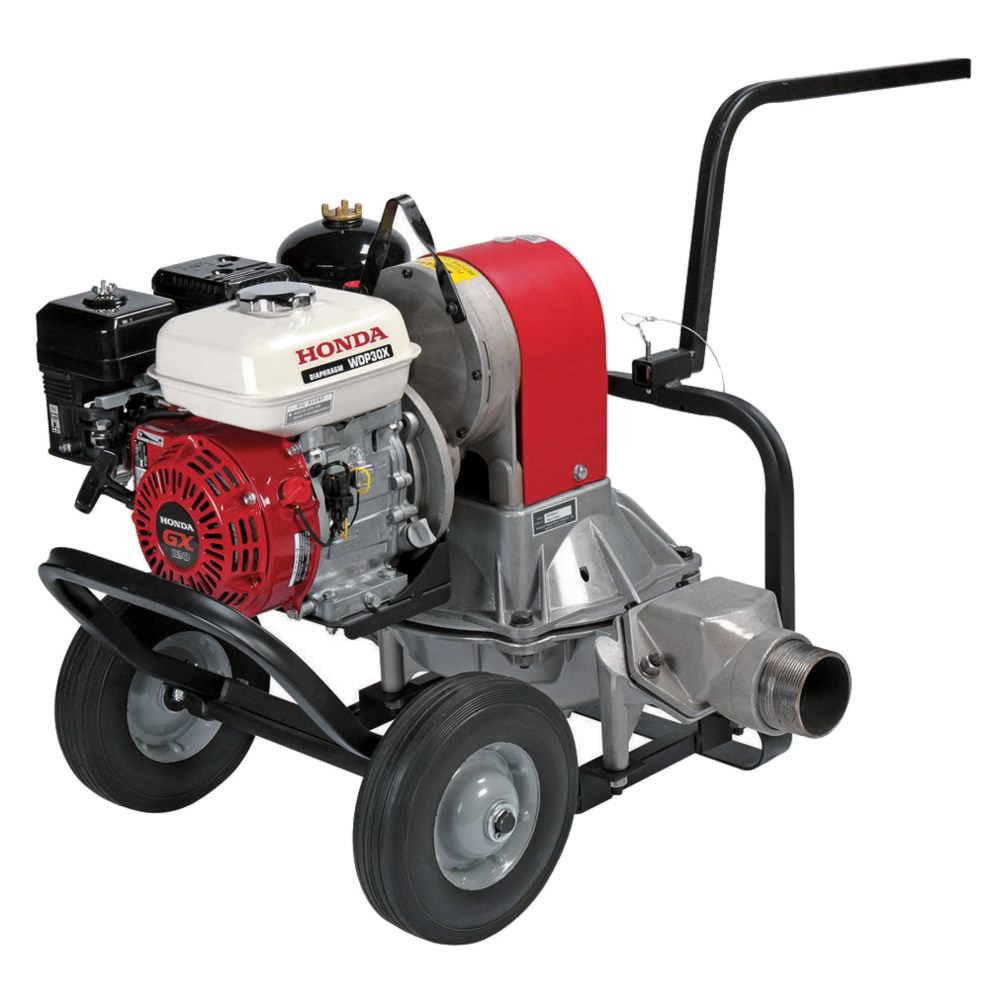
 Whether it’s routine maintenance or a crucial repair, servicing the WDP30 diaphragm pump is a key part of ownership. Equipment owners should keep in mind that maintenance and repairs require the same strict adherence to safety guidelines as regular operation, however, and should therefore perform this work in an area with excellent ventilation, a lack of bystanders, and a flat, level surface that will make it easy to handle key parts and pieces of the pump as needed. With those considerations in mind, here’s what operators should know when pursuing water pump service.
Understanding the Maintenance Schedule
The first thing to understand about diaphragm pump maintenance is that it follows a very specific schedule. Found in the instruction manual, this maintenance schedule indicates when to perform oil changes, air filter replacements, and many other key tasks. These maintenance intervals are broken down into several key categories, including prior to each use, after each use, or after 20, 500, 100, or 300 hours of pump use. When performing key types of maintenance, there are a few things to remember.
1. Engine Oil
Engine oil levels should be checked prior to each use of the WDP30 diaphragm pump to ensure that the equipment won’t suffer major engine damage at any point. Additionally, Honda’s maintenance schedule recommends a complete oil change after the first 20 hours of using a new pump. For older pumps, oil should be changed after every 300 hours, or one year, of use. SAE 10W-30 oil is recommended for use in the water pump due to its use during the warmer months of the year. Be sure to steer clear of two-cycle oil as well as non-detergent oil, since these could inflict major damage on the engine during pump use.
2. Air Filter
Before each use, check the pump’s air filter for damage or excessive dirt and grime. If the filter is damaged, replace it with an OEM Honda air filter. If the filter is simply full of dirt and grime, remove it from the water pump and clean it using a mild detergent and warm water. After 50 hours of continuous use, the air filter should be removed and replaced with a new, OEM filter regardless of its condition.
3. Spark Plug Service
After six months of use, or after 100 hours of continuous water pump operation, it’s important to check and adjust the spark plug. This includes checking for spark plug damage and making sure that the spark plug is properly gapped. A properly gapped spark plug is key to easier engine ignition and more consistent engine power during operation. Honda recommends a spark plug gap between 0.028 inches and 0.031 inches. Once a year, or after 300 hours of pump use, the spark plug should be removed and replaced.
4. Spark Arrester
Considered optional equipment on many Honda water pumps, the spark arrester should be checked and cleaned after every six months. The spark arrester can be cleaned using a stiff brush. The goal during cleaning is simply to remove any carbon deposits that have accumulated during the previous six months. Removal of these deposits is a key way to keep the engine running safely and with consistent power over the long-term.
5. Sediment Cup
Every three months, the water pump’s sediment cup should be removed and thoroughly cleaned. A non-flammable solvent is recommended for this procedure. After cleaning the sediment cup, operators should make sure that the part is completely dry before reinstalling it into the WDP30 water pump. As usual, if the sediment cup shows any signs of damage or excessive wear, it should be replaced with an OEM sediment cup instead.
6. Fuel
The pump’s fuel level should be checked prior to each use, with a high-octane, unleaded gasoline used to fill the tank when needed. Honda recommends regular cleaning of the fuel line and fuel filter, roughly after every year of pump use. The fuel line, tank, and filter can all be cleaned using a non-flammable solvent. The fuel filter should be allowed to dry completely before it is reinserted into the pump. If the fuel filter or fuel line shows any signs of significant wear or damage, they should be replaced using the appropriate Honda OEM parts to avoid the risk of serious injury or equipment damage.
7. Pump Maintenance
Maintaining the quality and consistency of the pump is a key part of routine inspection, maintenance, and parts replacement. Equipment owners should see the instruction manual for full instructions on checking and maintaining the pump chamber, gear boxes, suction and discharge hoses, diaphragm, clappet valves, and many other essential parts within the pump housing.
For OEM Honda Pump Parts and More, Visit HondaLawnParts.com
When the time comes to purchase OEM replacement parts for maintenance and repair, HondaLawnParts.com is a great resource. Pump owners can search for the parts they need according to the pump’s engine manufacturer, Honda model number, or specific part number. This makes it easy to quickly find a fully compatible replacement that will keep the pump in working order for many years to come.
