
 One of the most important things to know about the HS725 snowblower is how to start the engine and effectively clear snow. Along with learning the basic controls and features that set this particular model apart from the competition, smooth operation of the snowblower is the easiest way to stay safe and snow-free along sidewalks and driveways until a welcome spring thaw takes care of the problem on its own.
A Look at Common Safety Precautions
Always use proper eye protection while operating the snowblower, since this will help minimize the damage done by debris hidden under particularly deep snow accumulations. When starting the equipment, do so in an open area and on a flat surface. This prevents engine problems, fuel leaks, and other potential safety hazards like carbon monoxide poisoning and related concerns.
Starting the Engine
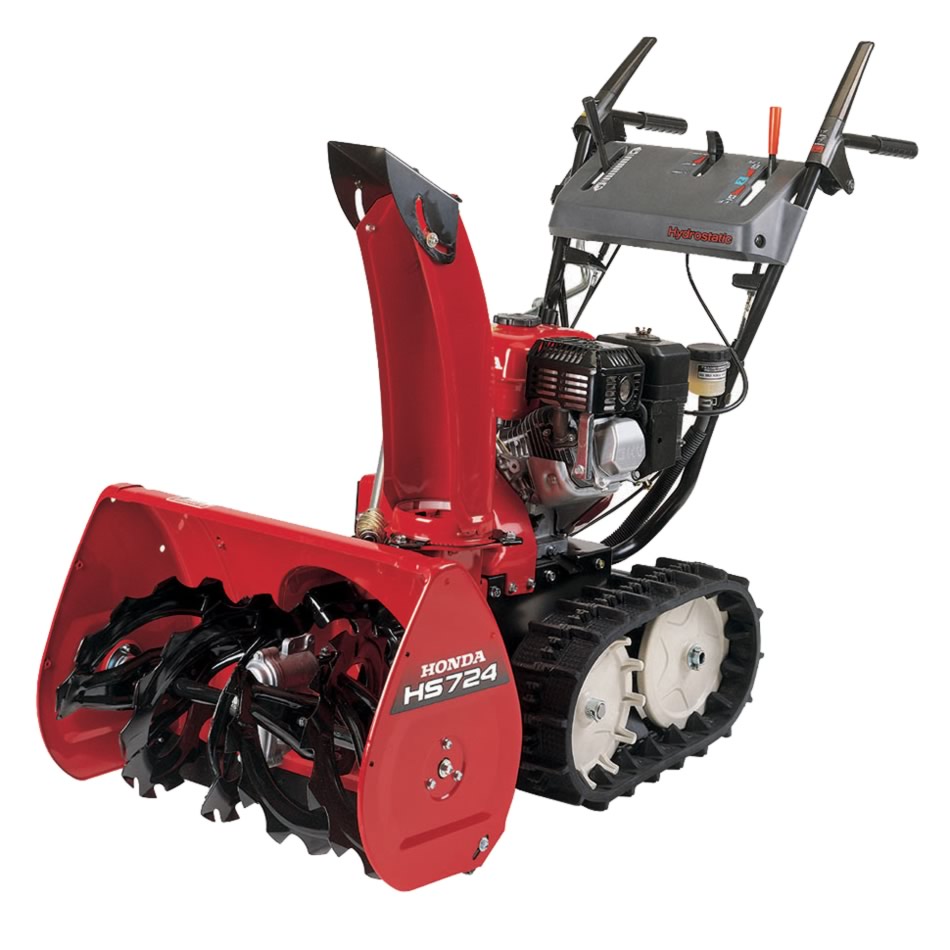
Starting the HS724’s engine varies slightly between models with an electric start feature and those with a manual start. Many steps are the same, but operators should pay attention for special instructions based on their exact model and its unique feature set.
1. Get the Levers in Place
There are several levers to adjust and position before starting the snowblower. The first of these is the shift lever, which should be in the “neutral” position. The transmission release lever should be set to “engaged” and the fuel valve should be moved to “on.” The throttle lever should be set to “choke” for cold engines.
2A. Start the Engine with an Electric Starter
For those models equipped with an electric starter, there are a few crucial steps to follow. First, connect the included power cord to the switch box and a wall outlet. Next, turn the engine ignition switch to “on” and press the starter button until the engine finally starts. Several quick, consecutive presses may be required. Before continuing, disconnect the power cord from the equipment and the wall outlet safely. Let the engine warm up for a few moments.
2B. Start the Engine Manually
In the absence of an electric starter, equipment owners will need to use the snowblower’s starter grip to get things going. Start off by turning the snowblower’s ignition key to the “on” position and then locate the starter grip. Pull the starter grip briskly until the engine turns on. This may require several pulls. Between each pull, and after the final pull, return the starter grip slowly and safely to the equipment. Let the engine warm up for a few moments.
3. Warm up the Transmission
Make sure the transmission lever is in the “neutral” position and then squeeze the drive clutch lever to warm up the snowblower’s transmission fluid prior to use. This should be done for about 30 seconds prior to using the equipment to clear snow.
Stopping the Engine
In an emergency situation, the engine can be stopped simply by quickly turning the engine ignition key to the “off” position. This is insufficient for stopping the equipment prior to storage, however, which requires a few extra adjustments and settings.
1. Stop the Snow Blowing Mechanism
Release the drive clutch and auger levers so that the snowblowing mechanism stops.
2. Check and Set Levers
As when starting the engine, several levers need to be adjusted to properly stop and protect the equipment. Set the transmission lever to “neutral,” place the throttle lever in the “slow” setting, and turn the engine switch to the “off” position. Finally, place the fuel valve in the “off” position as well before storing the equipment.
Clearing Snow
To begin clearing snow, set the throttle lever to “fast” while releasing the auger clutch lever and setting the engine speed to “fast” for regular clearing. The slower speed is recommended for deeper accumulations. Use the foot pedal to adjust the snowblower’s height based on the type and depth of precipitation, and then adjust the discharge chute position based on where the snow should be placed during snowblower use.
Squeeze the auger clutch lever to engage the snowblower mechanism and clear snow. To propel the machine forward, don’t forget to squeeze the drive clutch lever and engage the self-propulsion mechanism.
Snow-Clearing Tips for New Owners
Always clear snow before it has melted and hardened, since this will make it easier for the snowblower to take the snow in and discharge it properly. For deeper snow accumulations, slow down the engine speed and use the foot pedal to adjust the snowblower’s height as needed. Always clear a narrow swath of snow and work outward, rather than trying to clear a wide swath from the beginning. This will improve efficiency overall, especially during deeper accumulations.
A Look at Removing Potential Obstructions
If obstructions enter the equipment during routine snow clearing, use the included snow clearing bar to remove any debris from the intake or discharge cutes. Before doing so, make sure the engine is completely turned off. Any moving parts could damage the equipment and cause significant operator injury.
HondaLawnParts.com Has the Parts That Operators Need
For a great selection of OEM replacement parts and accessories for the Honda HS724 snowblower, be sure to check out the online parts lookup tool at HondaLawnParts.com. These parts are the key to long-term snowblower operation that remains as efficient and as effective as the equipment’s first outing.
