
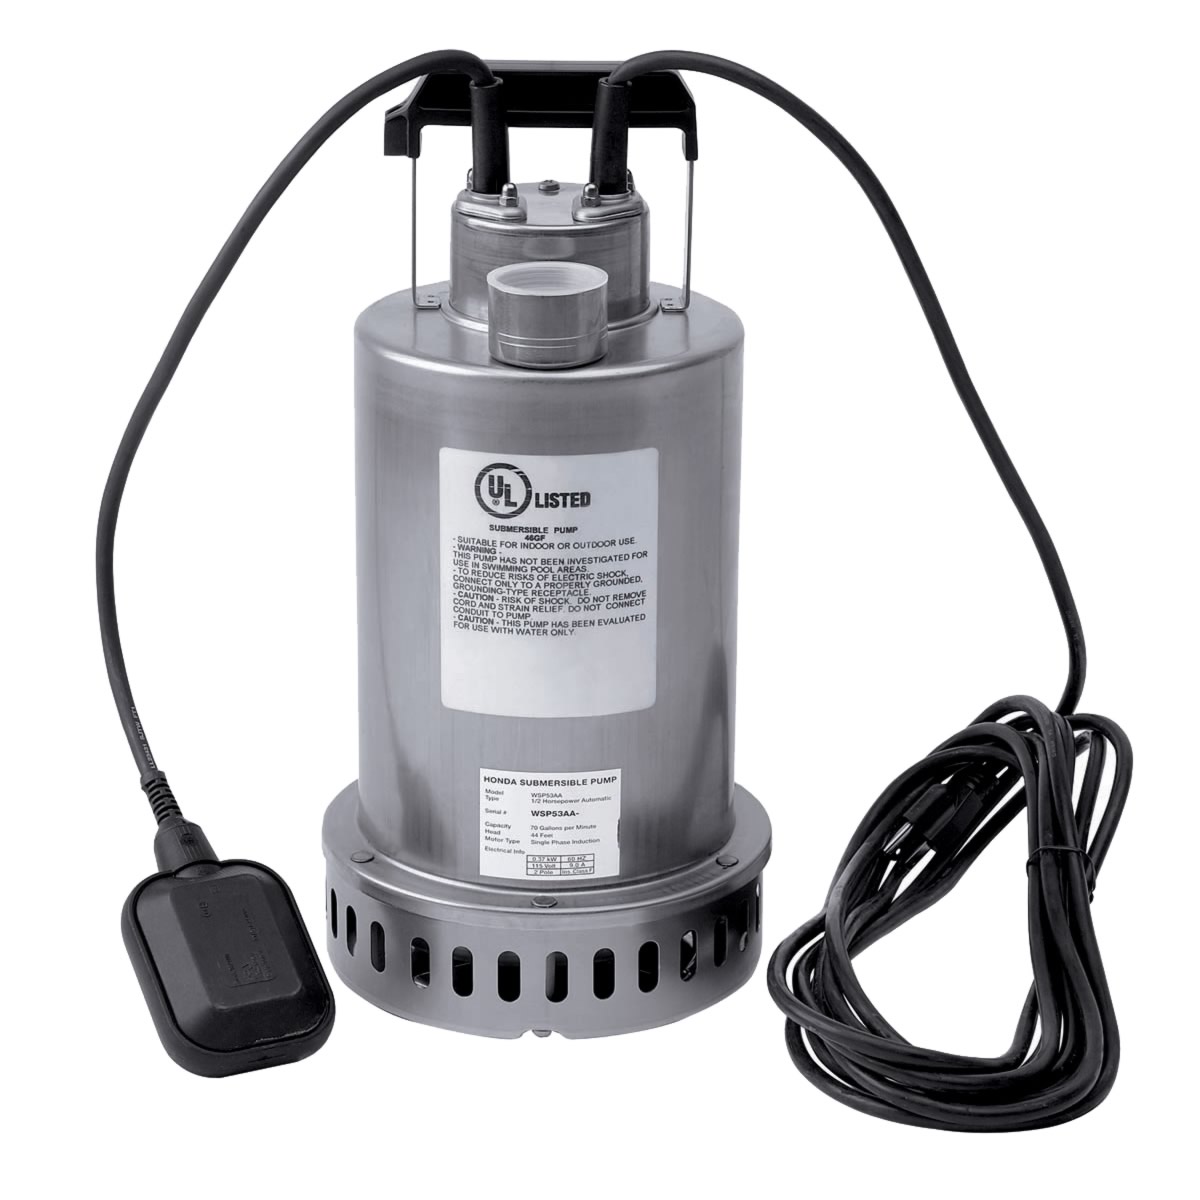
 Even something with Honda’s reputation for reliability needs to be worked on once in a while. This guide will help you take apart and reassemble their WSP53 submersible pump.
Safety Disclaimer
This pump has a sealed inner casing that holds the motor and capacitor and an outer casing with an impeller that draws in water and forces it out of an opening in the top. Water is kept out of the inner chamber by an O-ring and a gasket, but these parts can’t seal properly after they have been removed, allowing water to seep into the motor and make direct contact with the stator and wiring, leading to a short. Have these parts on hand before taking the pump apart.
Don’t start working on the pump until it has been unplugged, removed from the basin and allowed to dry.
Lift the pump out of the basin using the handle or a rope or chain tied to the handle. Never lift the pump by the power cord or float switch cable.
Never run the pump unless it is submerged: the motor depends on the water surrounding the casing to keep cool.
Take care around the shaft key groove: it’s very sharp, and it can be difficult to avoid when removing the seal.
Scratching or bending the pump shaft can cause vibration when the motor is running, prevent the seals from keeping water out of the inner chamber and allow the impeller to strike the outer casing. If the shaft is damaged, have it repaired or replaced at a dealer.
The impeller and volute case can be accessed by removing the outer casing cover. In most cases, problems with a slow moving or stopped pump can be remedied by cleaning debris off of these parts.
If the pump still isn’t working, the problem could be caused by a dirty or malfunctioning float switch or improper wiring. Clean the float switch, make sure it is adjusted to switch on when the water level is between 13 and 14 inches (33-35 cm.) Replace any wiring that is frayed or has a damaged insulator.
Disassembly
1. Set the pump so that the bottom is facing up. The inside of the inner casing is filled with oil: this will keep it from spilling out once it has been opened.
2. Loosen the casing bolts, then slide off the casing. The base may need to be gently nudged using a flathead screwdriver to get it to move.
3. Loosen the bolt at the end of the pump shaft and slide the impeller off of the shaft.
4. Remove the pump shaft key followed by the mechanical seal.
5. Loosen the inner casing bolts, then slide off the inner casing.
6. Drain the lubricant oil into a container.
7. Remove the mechanical seal from the main shaft.
Assembly
To reassemble the pump, follow the disassembly steps in reverse, making the following changes:
– The inner casing is designed to hold 7.7 ounces (230 cc) of pure white mineral oil. Fill the casing before putting the cover back on (Step 5.) Honda recommends ExxonMobile Marcol 152 Medicinal Grade White Oil.
– Once the impeller is fitted onto the shaft (Step 3,) turn it by hand. It should rotate smoothly without any binding or scraping.
– Replace the O-ring, gasket, and any damaged parts with new parts.
– Tighten all the bolts evenly to ensure a tight seal.
Where to buy Honda Pump parts
www.hondalawnparts.com is an OEM dealer offering parts for all of Honda’s power equipment from mowers to electric pumps like the WSP53. Whether you need a new seal and O-ring on hand before taking the pump apart or you need a whole new motor, Honda Lawn Parts can help you find what you need and ship it to you no matter where you are located.
