
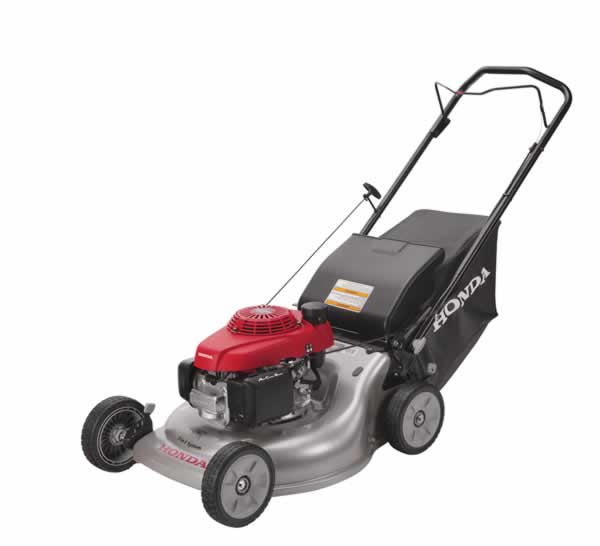
 Mower The Honda HRR216 mower is a powerful new way to keep the home’s outdoor spaces perfectly maintained and looking as if they were cared for by a professional. As with all new pieces of power equipment, however, this impressive Honda mower requires proper setup, a bit of safety guidance, and requires operators to have a bit of basic operational knowledge before they safely use the mower for the first time. Before getting started, here’s what to know.
Mower Safety: A Primer for HRR216 Owners
Lawn mowers are inherently dangerous: They come with sharp blades, a powerful engine, and plenty of hot surfaces after use. To dramatically reduce the risk of injury, remember to have the equipment checked for maintenance issues, oil levels, and fuel levels, prior to operation. Start the equipment outdoors, away from bystanders, and make sure that any family members or pets are indoors before mowing begins. Always check the lawn for debris that might cause safety issues during mowing, and stop to move debris out of the way if it isn’t moved prior the mower’s arrival.
Setting Up a New Honda HRR216 Mower
With safety in mind, it’s time to get started with mower setup. That means assembling the handlebars and the grass bag, checking for fluids and maintenance concerns, and preparing for the mower’s first tour of duty around the home.
1. Handlebar Assembly
Make sure that the handlebar adjustment knobs are unlocked, and then pull the handlebars toward the back of the mower. By default, the handlebars are pushed all the way forward, into a flat position atop the mower. Pull them back until they’re in a comfortable position, and then lock the adjustment knobs to keep them in place.
2. Grass Bag Assembly
Slide the included grass bag over the metal frame that came with the mower, and use the clips at the top of the frame to lock the bag in place. Next, simply slide the grass bag onto the mower’s grass bag assembly. This is located at the back of the mower.
3. Engine Oil
Engine oil is not included with any new mower, and it must be added prior to starting the engine for the first time. Add 10W-30 oil until it reaches a midpoint between the “upper level” and “lower level” markings on the oil tank.
4. Fuel
Like oil, fuel is not included in any new mower. Use an unleaded gasoline to fill the fuel tank until it is completely full. Stay away from fuel with high ethanol concentrations or other additives, as these may cause maintenance issues in the mower over time.
Before Operation, Perform Some Essential Checks
With the mower assembled and fueled, the time to start mowing is getting closer. To ensure that everything goes as planned, however, mower owners will want to conduct a few pre-mowing checks. These include the following:
– Check its Condition
Check the mower for any rust, dings and dents, or other damage that might have occurred while in shipping or prior to mowing. If any issues are present, fix them before proceeding.
– Check the Engine
Check the engine’s fuel and oil levels, and make sure that it has been cleared of any dust, dirt, debris, or shipping materials that were originally designed to protect it from harm.
– Check the Mowing Area
Make sure that the mowing area is free of harmful debris, and be sure that any pets or people have made their way indoors prior to mowing. This is the best way to prevent both damage and injury while taking care of the lawn.
Get the Mower Ready for action
With pre-mowing checks done, it’s time to make a few last-minute adjustments so that the mower works efficiently and is as comfortable to use as possible. Here’s what new HRR216 owners need to know.
1. Rear Shield
Adjust the rear shield so that it covers the back of the mower and prevents clippings or debris from discharging toward the operator. Check the shield for any wear or damage as well.
2. Cutting Height Adjustment
The mower should be adjusted before use, so that its cutting height produces turf of the proper length. Use the deck adjustment lever to raise or lower the deck as needed.
3. Mulching Plug
To mulch the grass instead of either discharging or storing it, simply insert the mulching plug into the side of the mower and remove the grass bag.
HondaLawnParts.com Can Help with Replacement Parts and Maintenance
As the mower ages and is used more frequently around the home, it will require regular maintenance according to the included maintenance schedule. This sometimes means that parts will need to be cleaned or replaced. HondaLawnParts.com features all of the OEM replacement parts that mower owners will need when conducting maintenance, and allows them to be filtered by their part number or the mower’s model number and engine manufacturer for easy replacement whenever it’s needed.
