
 As homeowners prepare their lawn mower for storage and break out the leaf blowers, there is at least one other piece of equipment that needs to be ready for colder days ahead: the snowblower. The season’s first major snowfall can pop up without much notice, and will typically require pretty intensive cleanup around the home’s walkways and driveways. A properly serviced snowblower is the best way to welcome this first wintry event and to be prepared for all of the snow that’s sure to fall in the weeks and months to come. From oil changes to spark plug testing, auger, scraper, and other key parts, homeowners should cover the basics of pre-season maintenance before putting their snowblower to work for the first time this winter.
Safety First: Service the Snowblower Without Risking Injury
Snowblowers can cause serious injuries if operators don’t safely work through each recommended maintenance task. Before getting started, make sure to disconnect the spark plug wire and move the snowblower to a well-ventilated area. All maintenance should be performed while the snowblower is positioned on a hard, level surface, and all instructions mentioned in the operator’s manual should be closely followed. Make sure that pets, children, and other bystanders are clear of the area before starting maintenance work, since this will greatly minimize the chance of injury as well as the number of people who could potentially be harmed during maintenance procedures.
What to Check: A Guide to Pre-Winter Snowblower Maintenance
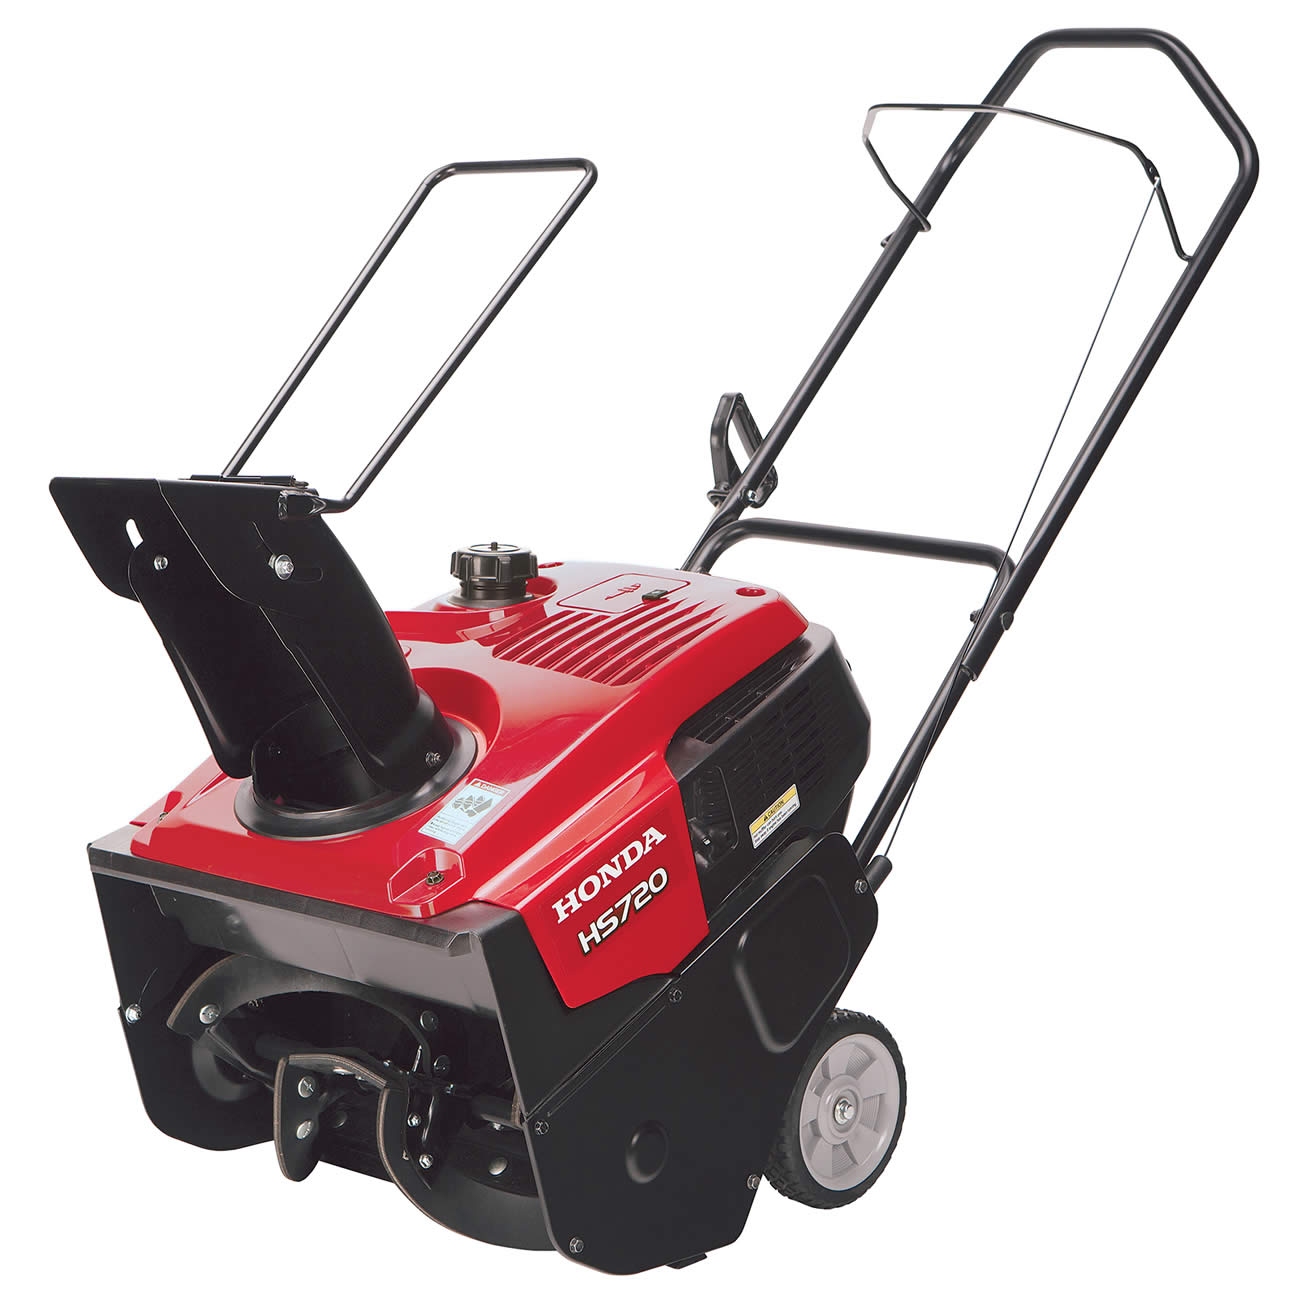
The Honda HS720 snowblower series is one of the company’s most popular for today’s homeowners, with a design that encourages quick cleanup and easy long-term maintenance. Despite its simple design, the snowblower’s powerful features can only be enjoyed when proper maintenance is performed after a long summer in storage. Here’s what homeowners need to know as they prepare for the wintry precipitation ahead.
1. Oil Change
After a long period of storage, the snowblower will require a complete oil change. For an easier oil change, leave the spark plug connected and start the engine briefly. Allow the oil to warm up for several minutes, and then turn the snowblower off and disconnect the spark plug.
With an appropriate oil disposal container placed under the oil tank, loosen the drain bolt and allow all of the snowblower’s oil to empty into the container. Tighten the drain bolt and fill the oil tank with 5W30 oil. This oil is the best choice for colder temperatures, and will keep the engine safe and lubricated throughout the winter season.
2. Spark Plug Maintenance
Post-storage maintenance procedures require a basic check of the spark plug to ensure that the part is free of damage, clean of any buildup from the prior winter season, and free of corrosion that may sometimes occur during long-term storage. If any of these conditions present themselves during the spark plug check, the spark plug should be replaced with an OEM Honda part. If the spark plug checks out without any major damage or defects, it can simply be cleaned and properly gapped.
3. Auger Clutch Lever
The auger clutch lever’s freeplay should be checked and adjusted prior to the first snowfall of the season. To perform this check, pull the auger clutch lever toward the snowblower handle until a bit of tension is felt. At this point, measure the distance from the lever to the handle. This measurement should fall between 7.5 and 8 inches; if the measurement is not within this range, adjustment of the auger clutch lever is required.
To adjust the lever, pull the spring cover up to reveal the auger clutch lever’s tension spring. For a quarter-inch adjustment, move the spring. For a larger, 3/8-inch adjustment, move the cable itself. When the gap measures within the approved range, replace the spring cover.
4. Belt Tension
Remove the snowblower’s spring cover to reveal the belt tension spring. Measure the exposed spring, keeping in mind that it should measure between 2.95 and 3.15 inches. If the spring doesn’t fall within this range, remove the tension cable’s Z-bend fitting from the lower tension hole on the auger clutch lever and place it in the upper tension hole instead. Measure the exposed spring a second time to ensure that it now falls within Honda’s suggested range for the HS720 series.
5. Auger Paddle
A thorough inspection of the auger paddle will ensure that the HS720 can properly move and discharge snow throughout the winter. Check the cosmetic condition of the auger paddles and make sure that there is no evidence of excessive wear and tear along the edges, which might have resulted in cracks or an exceedingly thin paddle near the edges. Also make sure that the distance from the auger support to the edge of the auger paddle measures no less than 5/8 inch. If the paddle doesn’t measure up, or shows cosmetic signs of wear, it should be properly adjusted or replaced.
6. Scraper Blade
The scraper blade’s ground clearance should measure between 1/16 inch and 1/8 inch. If it does not, the scraper blade should be adjusted to ensure that it provides proper clearance and can safely remove snow and ice from the surface. If adjustment does not solve this issue, replacement may be warranted.
Visit HondaLawnParts.com for HS720 Snowblower Parts
The key to pre-winter maintenance work is to have all of the necessary parts on hand when replacement is required. For maximum durability, snowblower owners should always us OEM Honda parts, manufactured in the company’s own factories and subject to Honda’s strict quality assurance checks. HondaLawnParts.com features a parts search tool that can narrow these OEM parts down by their part number, corresponding snowblower model number, or engine type. This makes maintenance considerably easier throughout the winter.
