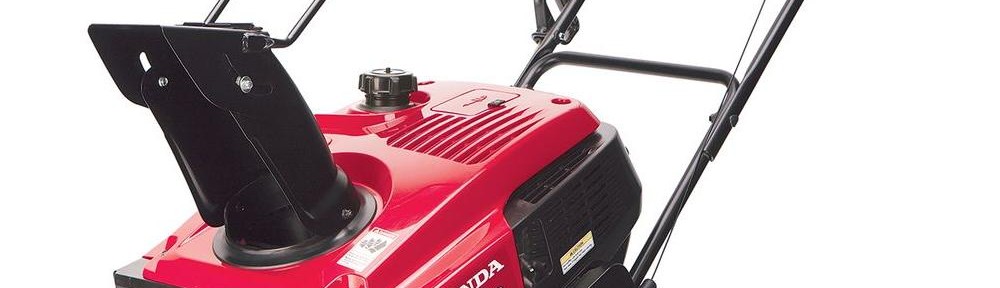
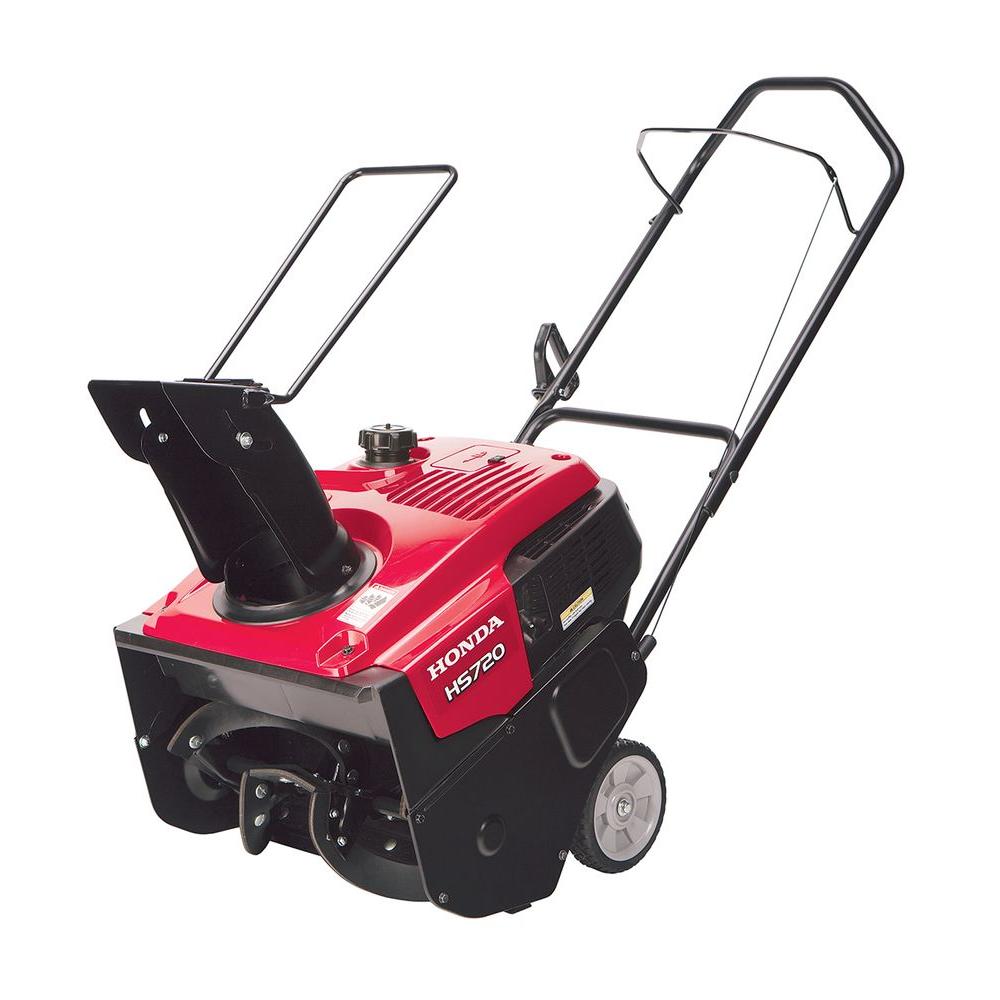
 Do you want to make sure your Honda single stage snow blower will be reliable and deliver maximum performance? Here’s everything you need to do to keep your HS720AM, HS720AS or HS720AA performing at its best.
Maintenance Schedule
Before use: Check the oil and scraper blade.
Every year before use: Change the oil. Inspect the spark plug, auger clutch, auger paddles and chute guide lever (if equipped.)
Every year before storage: Check the spark plug and drain the fuel tank and carburetor. Grease the chute tension bolts if you have an AM blower.
After the first 5 hours of use and every 50 hours of operation: Change the oil.
Every 100 hours: Check the spark plug.
Every 150 hours: Replace the spark plug.
Honda recommends having the snow blower professionally serviced every 100 hours to check engine speed and valve clearance, and every two years to inspect the fuel system.
Oil
Oil should be checked with the dipstick inserted in the filler neck but not screwed in. Honda recommends 5W30 oil when temperatures are above 10°F and 5W20 when operating in weather below 10°F.
1. Place the snow blower on a level surface.
2. Place a drain pan between the wheels.
3. Remove the dipstick.
4. Remove the drain bolt and washer from the back of the engine, next to the filler neck.
5. Install the drain plug, using a new washer.
6. Add oil through the filler neck. Stop when the oil is at the edge of the neck.
7. Install the dipstick.
Spark Plug
Let the engine cool off before removing the spark plug.
1. Open the plug access panel next to the fuel filler cap. Disconnect the spark plug cap, then unscrew the plug using a spark plug wrench.
2. Replace the plug if it’s heavily worn or has cracks or other damage. Set the gap to 0.028-0.031 inches.
3. Screw the plug in by hand, then tighten it down with the wrench. If the plug is new, rotate the plug a half turn after it seats to crush the sealing washer. Honda recommends torquing the plug to 14 ft-lbs. if you have a torque wrench on hand.
4. Snap the access panel back into place.
Clutch Lever and Belt Tension
To check the tension, squeeze the bail until you feel some resistance. Measure the distance between the bail and the handle: it should be between 7 ½ and 8 inches.
There are several adjustment holes for both the clutch spring and the cable near the base of the handle. Slide the cover up to expose the spring and access these holes. Moving the spring down one hole adjusts the lever distance by ¼ inch, and adjusting the cable position moves it by 3/8 inch.
To check the belt tension, slide the spring cover up on the drive cable. Engage the auger clutch bail. The spring should be 2.93-3.15 inches long. To adjust the tension, move the cable end from the lower hole to the upper hole on the bail.
Auger Paddle
To inspect the paddles, place the snow blower on a level surface. Disconnect the spark plug and turn the fuel valve off to prevent an accidental start. Measure the distance between the edge of the paddle and the metal part of the auger. If the distance is less than 5/8 inch, have the paddles replaced by a dealer.
Scraper Blade
To check the blade alignment, place the snow blower on a level surface. Disconnect the spark plug and turn the fuel valve off to prevent an accidental start.
The blade should be level and come in contact with the ground. The distance between the lower rubber paddle and the ground should be 1/16-1/8 of an inch. If the blade is uneven or the paddle is too high, adjust the blade. If the blade is less than 1/16” thick, replace it.
To adjust the blade, tilt the snow blower forward. Loosen the three flange nuts and move the blade. Tighten the nuts and recheck the clearance.
If the blade needs to be replaced, simply remove the nuts, washers and carriage bolts, then remove the old blade. Install the new blade, reusing the fasteners. Check the blade adjustment.
Chute Guide Cable (A and AS models)
Pull the chute control lever rearward. The chute should point up with the top of the deflector lining up with the back of the chute. Push the lever down. The deflector should be pointed up just slightly.
If the deflector isn’t moving through its full range of motion, loosen the lock nut on the end of the cable next to the deflector. Turn the adjusting nut below it to change the cable tension, then tighten the lock nut, torquing it to 48-83 in-lbs.
Get the Parts You Need for Your Honda
Need to make some repairs to your snow blower? Hondalawnparts.com isn’t just for mowers: we carry OEM parts for everything from Honda Engines and Honda Power Equipment. Our site can show you parts specific to your mode using factory diagrams and descriptions, so it’s easy to find what you need. We ship across the USA and Canada.
