
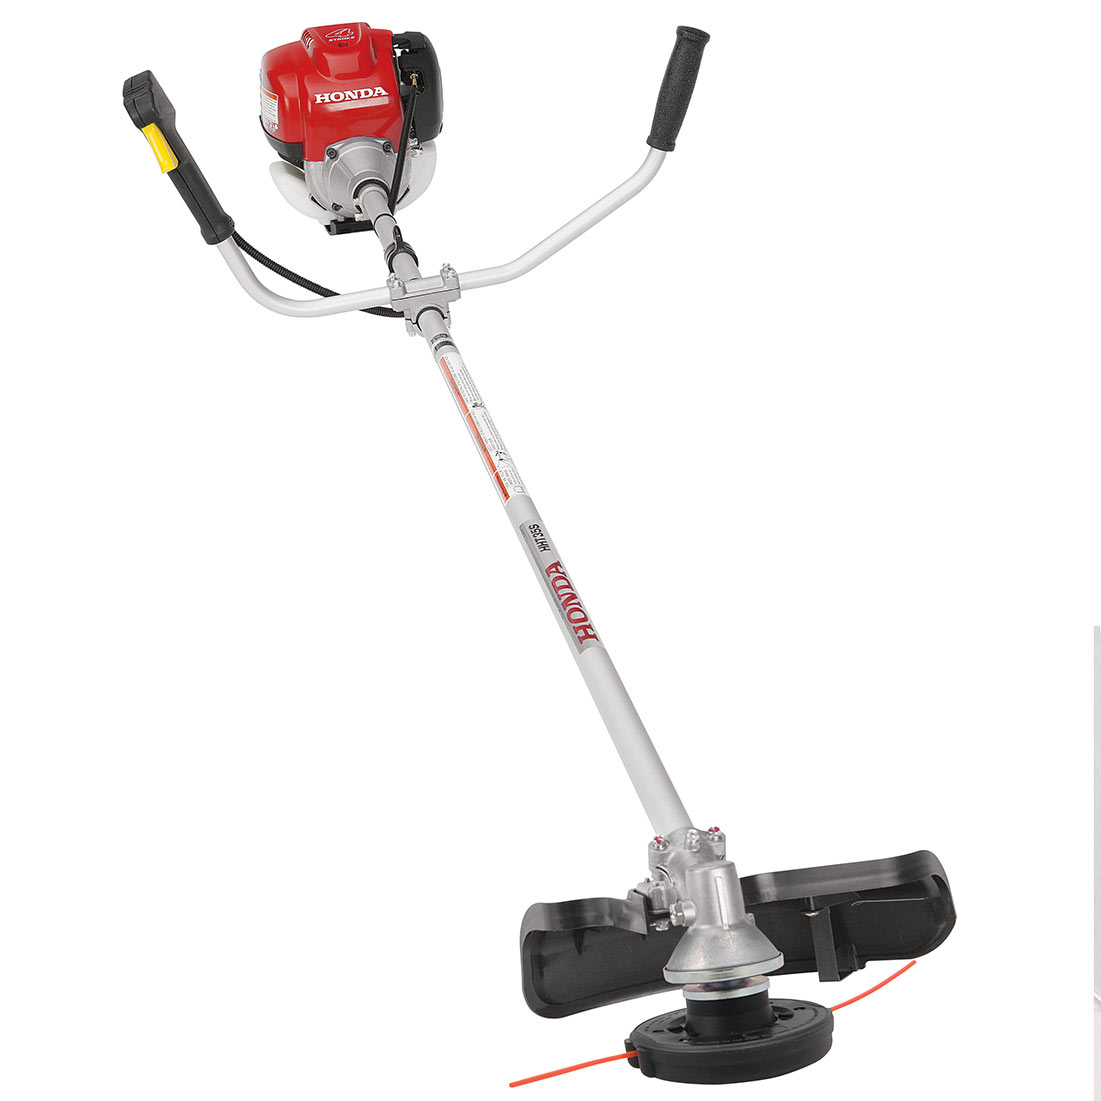
 Honda enjoys a reputation as one of the most durable, highest-quality trimmer manufacturers for a reason: For decades, the company’s products have required minimal maintenance and have been shown to be more resilient even in challenging conditions. Even so, these trimmers can’t avoid some of the most common reasons for engine problems or headaches when first starting the trimmer. For the rare occasion when the Honda trimmer experiences problems and needs a quick remedy, equipment owners can benefit from a few quick, effective troubleshooting tips for any common headache.
Put Safety First: Tips for Honda Trimmer Owners
Trimmer troubleshooting can put equipment owners at a serious risk of injury if they don’t follow a series of important safety tips throughout the process. Before getting started with troubleshooting, make sure the equipment has been switched off and that the engine has had time to cool off. Ensure that any pets or other bystanders are removed from the scene to prevent injury at the hands of the engine, the string trimmers, or other important parts.
While diagnosing any number of common problems, equipment operators should make sure that they wear protective goggles and gloves. This will reduce the risk of cuts, scrapes, burns, and other significant injuries that could pose long-term problems. Make sure the equipment is never tilted in a position that might spill fluids or cause those same fluids to ignite, as this could cause irreparable harm to the trimmer.
Troubleshooting Time: A Look at Common Honda Trimmer Issues and Fixes
Trimmers sold by Honda rarely run into problems but, when they do, there are usually a few go-to things that must be checked, cleaned, repaired, or placed. To get the equipment back into working order and like-new condition, consider these common problems and their most common fixes.
1. The Trimmer’s Engine Won’t Start
Typically, the most common reason that a trimmer refuses to start is that it has simply run out of gasoline. Before considering any other solution to this problem, fill the fuel tank to capacity and try starting the trimmer again. It’s also worth noting that old or stale gasoline could cause a similar problem. In this case, old fuel must be drained and new fuel must take its place.
Other common causes include an ignition switch placed in the “off” position, a choke that is in the “closed” position, or faulty spark plug. In rare cases, the trimmer’s fuel filter might be clogged or damaged. This would require replacement before the trimmer could successfully be turned back on.
2. Loss of Power or Engine Speed Does Not Increase
The most common reason for a total loss of power, or for a stubborn engine that won’t alter its speed, is a fouled air or fuel filter. To fix this problem, simply remove both filters and clean them with a mild detergent. If the filters show significant signs of age, wear, or damage, they should instead be replaced with brand new, OEM Honda filters.
In some cases, a loss of power could be caused by a fouled spark arrester or throttle cable. In both of these scenarios, full replacement with an OEM Honda part is necessary. Finally, a loss of power or engine speed could be caused by grass that is wrapped around the cutting head and simply causing the trimmer to be rendered ineffective. Clear this situation and try using the equipment again.
3. The Cutting-Line Head Won’t Stop Turning
If the cutting-line head does not stop turning at all, the trimmer will require service at an authorized Honda retailer. The common causes of this problem include an excessive idle speed, a faulty throttle cable, or a clutch that has become excessively worn or damaged due to frequent trimmer use.
4. The Cutting-Line or Blade Head Won’t Start Turning
This issue is the direct result of a drive cable that has become broken, a fouled clutch, or broken parts in the trimmer’s gear case. In all of these scenarios, the trimmer will require the service of an authorized Honda technician.
5. There Are Excessive Vibrations During Trimmer Use
Excessive vibration is most often attributed to loose or uneven parts. Ensure that the cutting-line head is firmly attached, and make sure that the cutting line is working equal lengths on all sides. Also make sure that the blade is free from damage. If any of these parts show signs of damage or excessive wear, replace them with new OEM parts.
Find Great OEM Honda Trimmer Parts at HondaLawnParts.com
The best way to fix a common maintenance issue is with OEM replacement parts made by Honda in the same factories that manufacture the company’s trimmers themselves. These parts are held to higher quality standards and offer superior durability, compatibility, and value to trimmer owners over the long-term. To find the best assortment of authentic Honda parts, equipment owners can visit HondaLawnParts.com and use the site’s parts lookup tool. Whether by engine model, trimmer model number, or specific part number, this tool will narrow parts down and showcase the best options for any troubleshooting solution.
