
 Using a Honda HS724 snowblower for the first time can be a daunting task for those homeowners who are entirely new to the equipment, with a number of controls and features that can seem confusing at first. Operation of the snowblower is actually pretty easy, however, as long as new owners acquaint themselves with the most important controls concerning basic starting, operation, and maintenance.
Always Start with Safety First
Snowblowers are extremely convenient throughout the winter, but they’re also extremely powerful by design and therefore a bit dangerous during regular option if strict guidelines are not followed. Before getting acquainted with the Honda HS724 snowblower’s features and controls, make sure the equipment is in an open area, on a flat surface, and that all obstructions have been removed from the pathways that will be cleared by the snowblower once it’s turned on and ready to go. Always wear proper eye protection and winter gear for maximum safety and minimal fatigue during use.
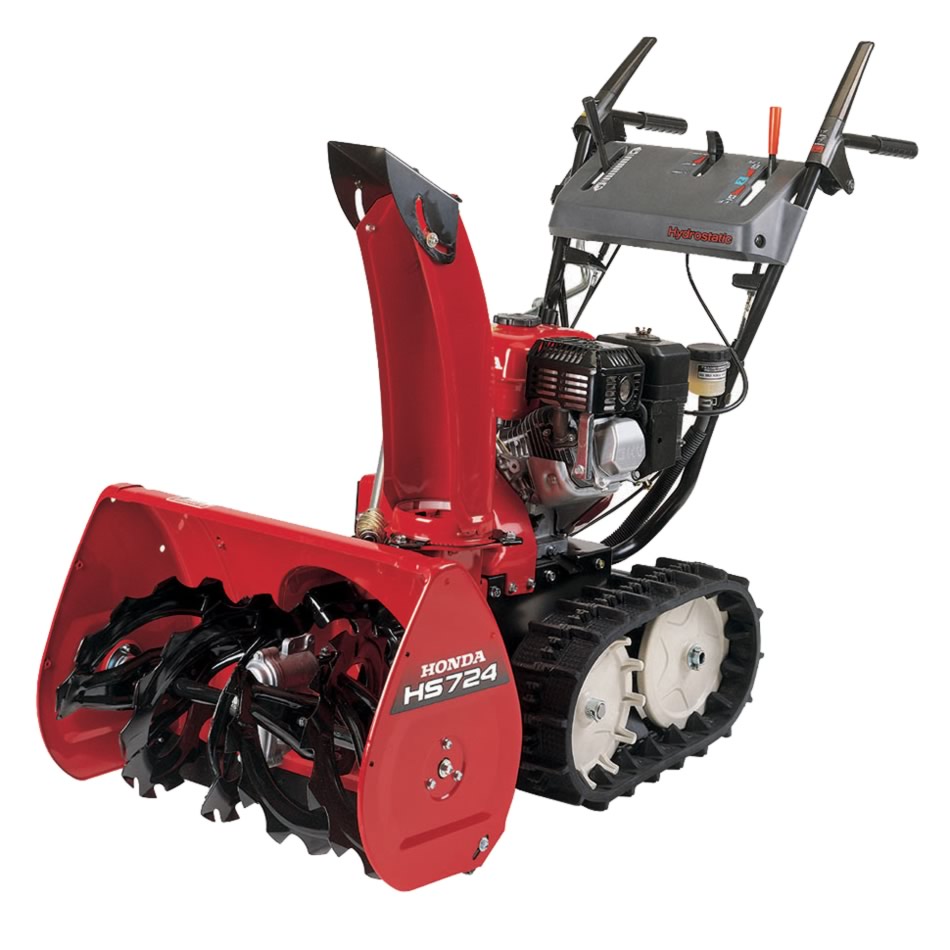
A Look at the HS724’s Essential Controls and Features
Operating the snowblower means working with controls that determine throttle speed, fuel levels, engine capabilities, and much more. Here’s what new owners of the equipment should know before getting started.
The Fuel Valve Lever
This valve lever controls whether or not the fuel line leading to the engine is opened or closed. If set to “on,” the snowblower will be able to access the fuel tank and turn on. When the snowblower is not in use, the lever should be switched to “off” to prevent unwanted starts and safety risks.
The Engine Switch
The engine switch is operational only when the snowblower’s custom key is inserted. Turn the key to the “on” position to start the engine and use the snowblower. After the job is finished, turn the key back into the “off” position to stop the engine and make other preparations for storage until the next use.
The Fuel Gauge
Much like the fuel gauge in a car, the snowblower uses a needle that hovers between “E” and “F,” indicating whether or not the fuel tank is empty, full, or somewhere in between. To avoid running into a lack of fuel during snowblower use, be sure to refill the fuel tank prior to each outing. If the fuel gauge approaches “E” during active use, pause the work and refill before continuing.
The Chute Crank
The chute crank controls which way snow is dispersed from the snowblower during operation. Turn it to the left to move the chute itself to the left side of the equipment, or turn it the other way to position the discharge chute on the right side of the snowblower. This can be changed on the fly, as needed, to ensure snow is properly discharged.
The Starter Grip
The starter grip ignites the fuel and starts the engine when the ignition key is switched into the “on” position. The grip may require several pulls before the snowblower is effectively started for general use.
The Throttle Lever
The throttle lever controls the engine’s speed. When starting the snowblower “cold,” set the lever to the “choke” position. After the engine is started, it can be adjusted to either the “fast” or “slow” positions based on required engine speed during operation.
The Shift Lever
This lever puts the snowblower into neutral, and controls whether it goes forward or backward during general use.
The Discharge Deflector Lever
Adjusting the discharge deflector level will change the position and height of the discharge deflector itself, sending snow out of the equipment at varying heights based on local conditions and the nearby landscape.
The Foot Pedal
This pedal adjusts the height of the snowblower relative to its tracks, or wheels. The pedal lifts the snowblower high for deeper accumulations, low for smoother and icier events, and to a middle-level height for average snowfall events.
The Drive Clutch and Auger Clutch Levers
These controls activate the drive controls and the actual snowblowing mechanism. They can be engaged or disengaged on the fly.
The Transmission Release Lever
The self-propulsion mechanism is controlled by this level. If it’s set to “engaged,” the self-propelled feature kicks in and gives the snowblower a bit of extra mower. If operators set the lever to “released,” there will be no self-propulsion at all. This lever should never be operated while the engine is running, since doing so can cause extensive damage.
The Work Light
An optional accessory for the HS724, this light automatically turns on when the engine is engaged and it turns off when the engine itself is turned off. The light can be adjusted up or down, and it’s a great accessory for evening snow clearing after a longer storm.
The Snow Clearing Bar
This bar can be used to clear any build-up or obstruction that causes the snowblower to stop functioning properly. It most often is used to clear the intake chute or the discharge chute. The snow clearing bar should only be used when the engine is off.
For Parts and More, Visit HondaLawnParts.com
HondaLawnParts.com is a great resource for Honda snowblower owners, with a wealth of information about regular operation and maintenance. Additionally, equipment owners will find a vast array of OEM parts that will keep their snowblower running like new for many winter seasons to come.
