
 While snowblowers represent a major improvement over the typical snow shovel, they also present new equipment owners with a few confusing levers and procedures that might be difficult to understand when the equipment is needed after a major storm. Before using the equipment for the first time, those new to the Honda HS520 should be sure they understand the equipment’s controls, as well as how to start and stop the engine, clear snow, and operate the blower with the utmost commitment to safety and Honda best practices.
Don’t Risk Injury: Safety Always Comes First
Snowblowers are more convenient than shovels, but they’re also a great deal more dangerous if proper safety procedures are not followed during operation. Before starting the equipment at all, be sure to check the surrounding area for any objects, debris, pets, or even other people, to ensure that these items will not be harmed or will not cause harm to the snowblower’s internal parts.
Start the equipment outdoors in an open area, and be sure to do this on a surface that’s flat and ideally paved. This will prevent against unwanted fuel spills, the dangers of carbon monoxide poisoning, and other factors that can make it harder to start the engine in already challenging cold weather.
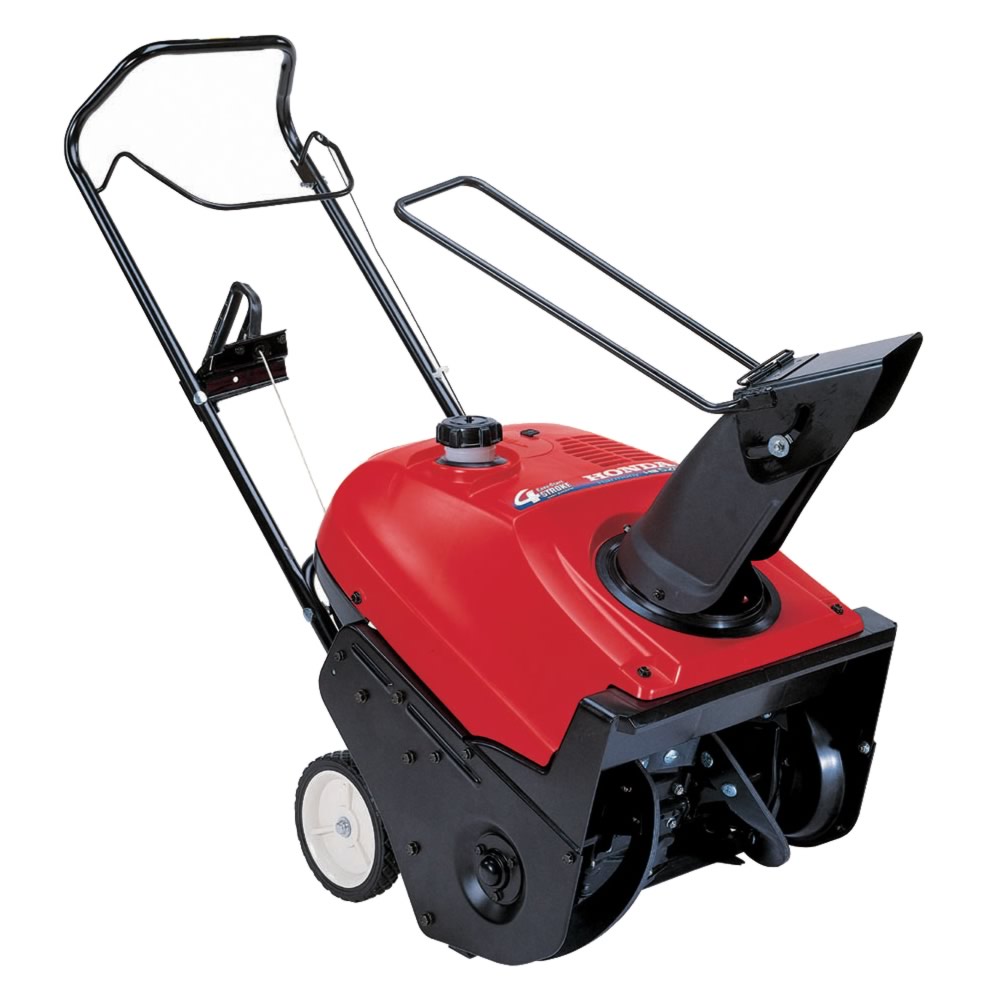
Controls: What to Know When Operating the HS520
Generally, there are just a few key controls that operators need to know about before they attempt to start the equipment and clear snow from any number of outdoor areas.
1. Fuel Valve and Engine Switch
The fuel valve is located central to the control panel of the HS520 and must be switched to “on” for the equipment to start. It must also be placed in the “off” position when the equipment is stopped and placed in storage.
2. Engine Switch, Starter Button and Starter Grip
The engine switch, located near the fuel valve, turns the engine on or off. The starter button, when pressed, allows a cord-connected snowblower to turn on. The starter grip must be held firm to the handle in order for the engine to turn on.
3. Choke Knob
The choke knob assists the engine when the equipment starts up, and generally must be in the “closed” position when the engine is cold. It can be switched to “open” to start a warm engine.
4. Chute Guide Lever
The chute guide lever moves both left and right, and this determines which way the snow is thrown by the snowblower at any given time. It’s possible to adjust this lever in either direction while the equipment is in use.
A Guide to Starting and Stopping the Engine
Starting the HS520’s engine is actually a very easy process, whether it’s an electric starter or one that uses more traditional methods. Here’s how the process is done.
Step 1: Adjust the Fuel Valve and Choke
The fuel valve must be switched to “on” so that the engine has access to gasoline. For cold engines, be user the choke is set to “closed.”
Step 2 (Electric): Use the Push-Button Start
Plug the equipment into the wall using the included extension cord and turn the engine switch to “on.” Next, use the push-button starter to turn the engine on and begin using the equipment. Hold the auger clutch lever to keep the engine on.
Step 2 (Manual): Use the Starter Grip
Switch the engine ignition switch into the “on” position and then locate the included starter grip. Pull the grip slowly until it meets with resistance from the engine, and then give it a vigorous pull. Repeat this process until the engine turns on, and then begin using the equipment. Be sure to hold the auger clutch lever in at all times to keep the engine running.
Step 3: Stop the Engine When Finished
To stop the engine with either the electric start or the manual starter, simply release the auger clutch lever and return the engine ignition switch to the “off” position. Be sure to put the fuel valve in the “off” position as well, in order to prevent accident damage or injury.
Clearing Snow with the Honda HS520 Snowblower
To clear snow with the HS520, simply pull the auger clutch lever close to the handle, lift the equipment slightly so that it sits atop the snow to be cleared, and then proceed forward with the snowblower slowly. To change the direction of discharged snow, simply use the chute control levers and adjust the direction as needed.
Generally, it’s a good idea to push the equipment back and forth over difficult areas, and it’s recommended that operators clear narrower paths rather than wider ones. This will keep the equipment from becoming excessively hot or overly worn down.
Where to Buy Parts and Find More Information
For replacement parts and more information about the HS520, be sure to visit HondaLawnParts.com. The site’s parts lookup tool, as well as its lineup of new snowblowers and product guides, will make it easy to handle any amount of snow throughout the winter.
