
After you have purchased your new Honda EU2000i Generator it is important that you keep track of the regular maintenance needs of your equipment to ensure that it does not get damaged during operation. Part of this maintenance is regular oil changes. You should be checking the engine oil each time you use the generator to make sure there is enough oil in it, especially if it has been sitting for an extended period of time. Otherwise, your first oil change should happen at the end of your first month, or the first 20 hours of operation. Each additional oil change will take place at 6-months or 100 operating hour intervals afterwards. This is a very simple process that should only take a few minutes and a single screwdriver along with an oil pan and funnel.
Before changing the oil, make sure that the engine is sufficiently cool so as to avoid personal injury during the process. In general, SAE 10W30 engine oil is recommended for generator use in most environments, however, other options are available for extremely hot and cold operating temperatures. Make sure that you have a proper oil pan available to catch the waste oil for disposal. Improper disposal of oil can be hazardous and may be cause for a fine depending on local regulations. Now you’re ready to get started.1. Close the engine fuel and vent switches to prevent any leakage of fuel during the oil change.
Before changing the oil, make sure that the engine is sufficiently cool so as to avoid personal injury during the process. In general, SAE 10W30 engine oil is recommended for generator use in most environments, however, other options are available for extremely hot and cold operating temperatures. Make sure that you have a proper oil pan available to catch the waste oil for disposal. Improper disposal of oil can be hazardous and may be cause for a fine depending on local regulations. Now you’re ready to get started.1. Close the engine fuel and vent switches to prevent any leakage of fuel during the oil change.
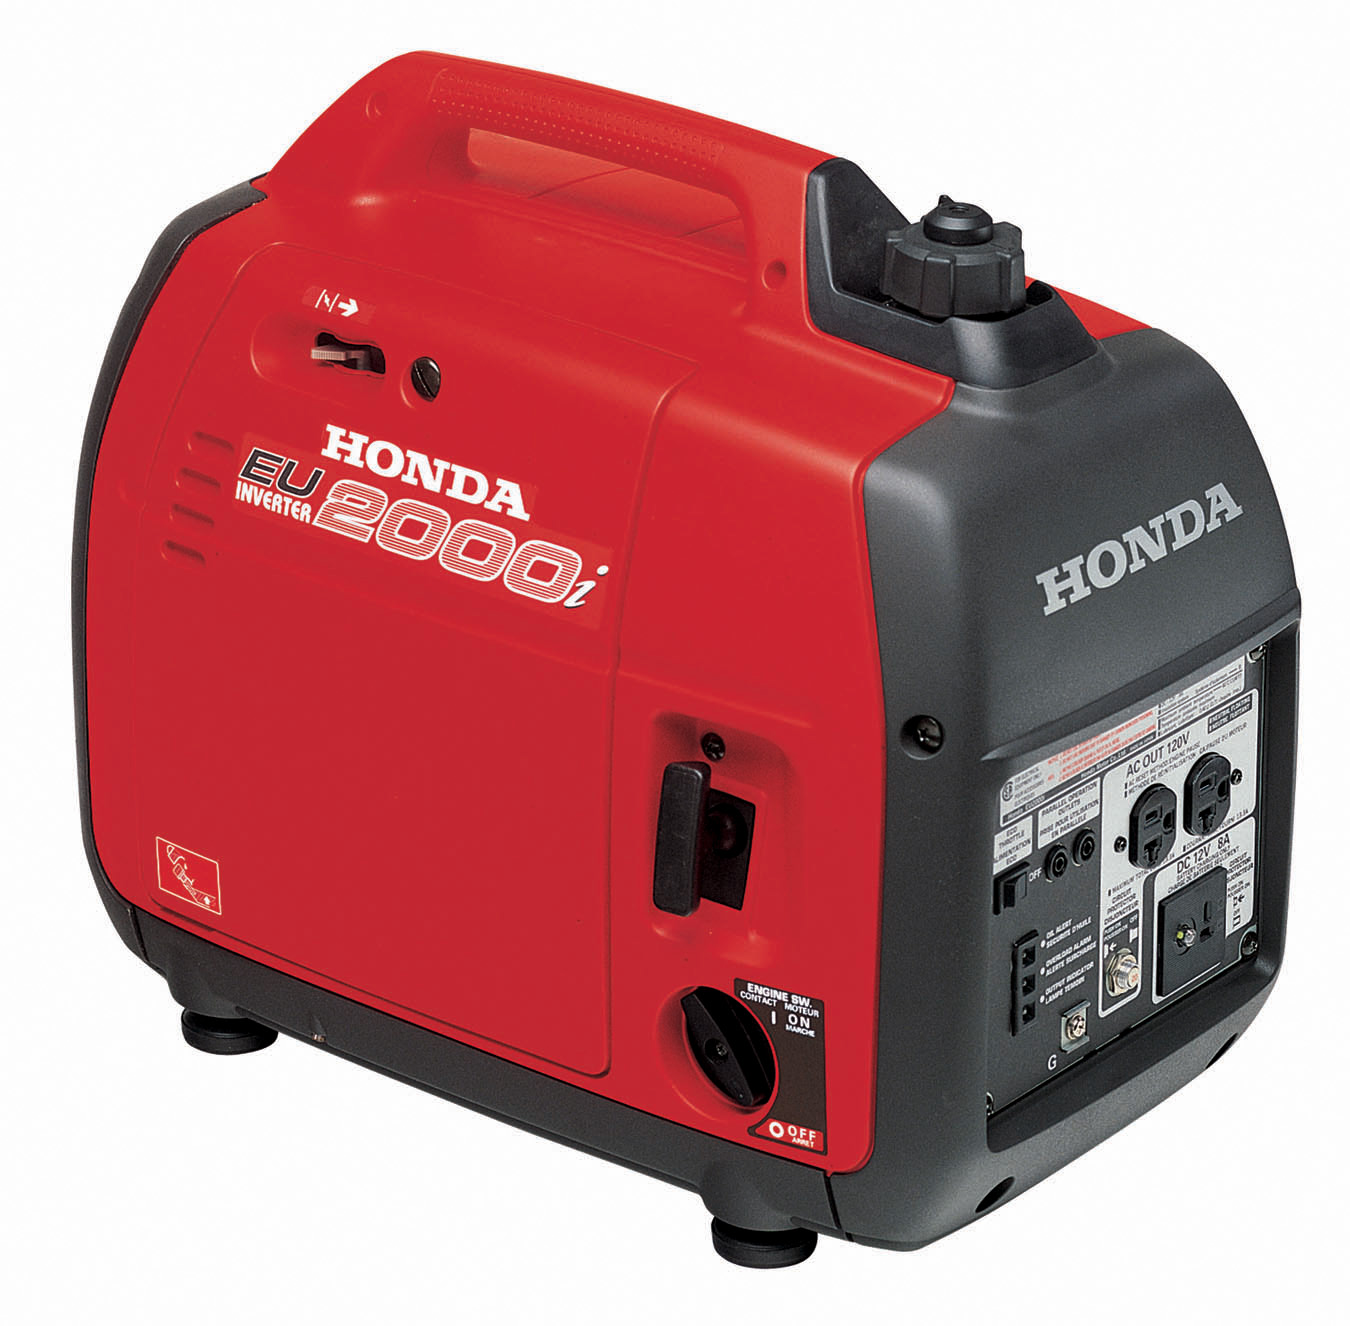
2. Loosen the cover screw and remove the cover panel from the side of the generator to reveal the engine oil cap.
3. Place your oil pan next to the generator and remove the dipstick/cap. You will need to tip the generator onto its side to drain all of the oil out through this line.
4. Once all of the oil has been drained out of the system, use a funnel to refill the oil through the filler line.
4. Once all of the oil has been drained out of the system, use a funnel to refill the oil through the filler line.
5. Fill the engine until the oil reaches the max oil capacity.
6. Make sure that the generator is on a completely level surface when you are measuring the fill level to prevent over or under filling.
7. Replace the oil cap and use a rag to quickly wipe away any spilled oil on the side of your generator.
8. Then, replace the cover and tighten the screw to keep the interior components clean and free of debris.
For more information about where to buy Honda lawn equipment and parts, visit Hondalawnparts.com. They carry a full selection of parts, oil, and filters to help you keep your generators and other equipment working. Their team of equipment experts will help you identify the correct parts for your generator and other outdoor power equipment and answer any questions you may have about the maintenance procedures.
