
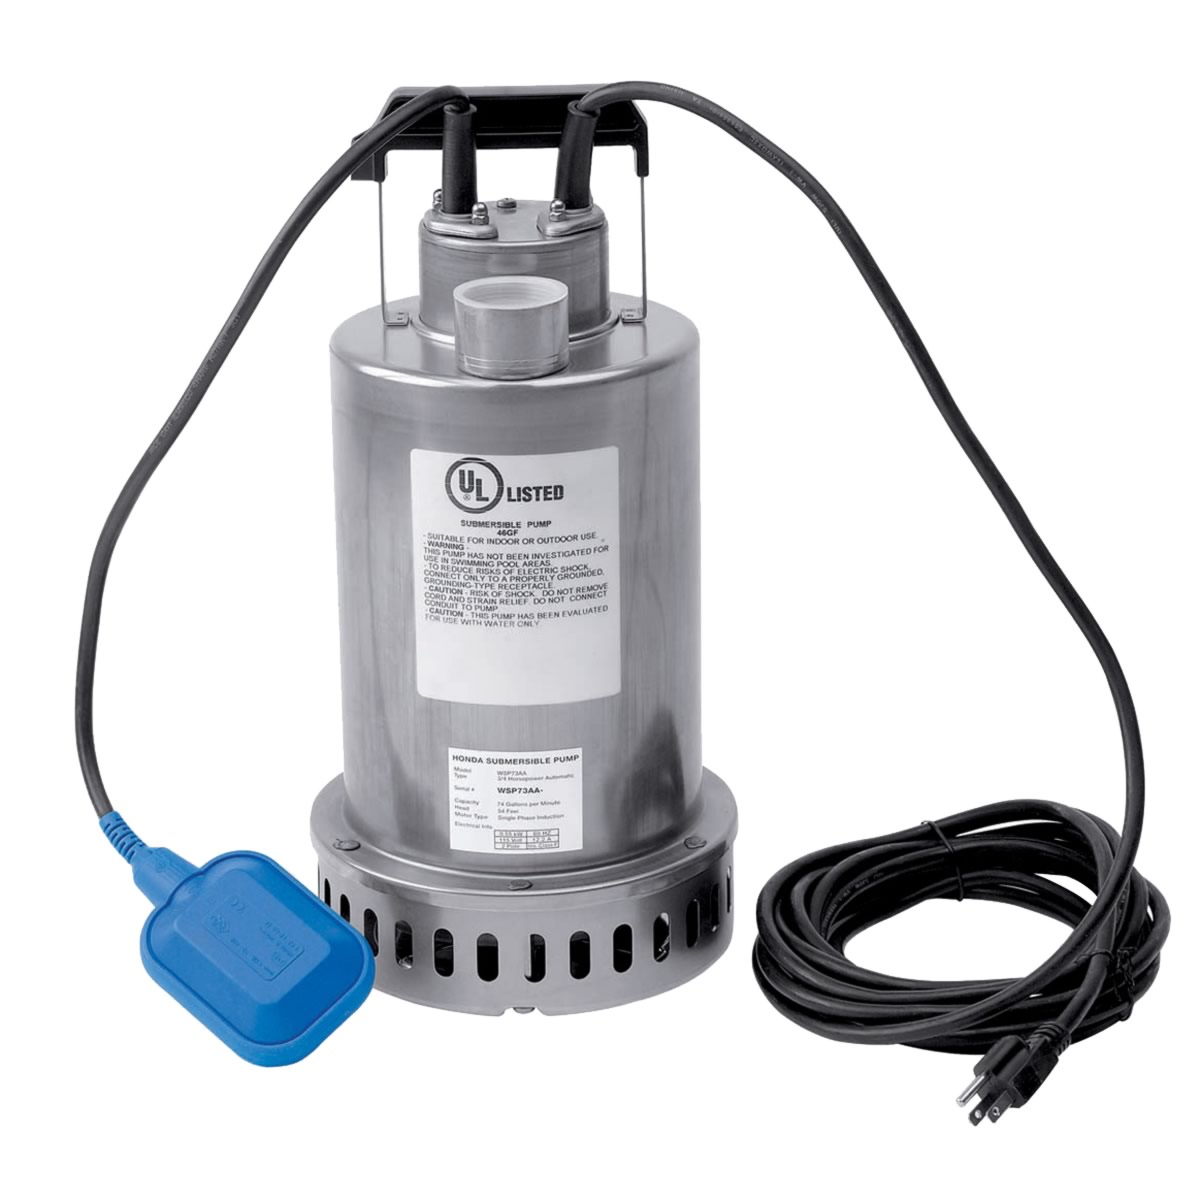
 There’s more to using a submersible pump than just dropping it into some water. To get the most out of Honda’s WSP72, it needs to be installed in a clean, correctly-sized basin and fitted with an outlet pipe that can handle backflow and air locking.
Copper or galvanized steel pipe can be used in this installation, but this guide will concentrate on PVC and ABS since these materials are cheap and easy to work with.
Safety
The pump should only be plugged into a GFCI-protected outlet with a circuit breaker or fuse capable of handling at least 15 amps. GFCI will cut the flow of electricity in case of an external short, while the high amperage rating is required to supply the motor with enough electricity to prevent circuit tripping, motor overload and burn out.
The basin must be vented according to local plumbing codes. The pump cannot be installed in locations classified as hazardous according to the National Electric Code, ANSE/NEPA 70-1984. Essentially, this includes any area that may contain ignitable concentrations of flammable materials. For household use, that includes vapors from gas cans, unburned fuel from gas appliances and dust from dryer vents and woodworking. When in doubt, consult a plumber or electrician.
Tools Needed for Installation
– Flathead screwdriver
– Pipe wrench
– Medium-sized adjustable wrench
– Hacksaw with a plastic-compatible blade
– Drill with an 1/8 inch bit designed for plastic
Materials Needed for Installation
A sump basin: This basin should be made out from plastic, fiberglass or concrete and be at least 18 inches in diameter and a minimum of 24 inches deep. Increasing the basin diameter will help the pump meet capacity requirements:
18 inches – 35 GPM or less
24 inches – over 35 GPM
30 inches – over 60 GPM
36 inches – over 100 GPM
48 inches – over 150 GPM
When installing this pump outdoors, the basin should be deep enough to prevent freezing. This pump can be used to pump septic tank effluent containing solids smaller than 3/8 inches. However, it must be installed in its own compartment and not directly inside the main collection tank.
Submersible rope: This rope should be tied to the pump’s handle to lower it and raise it from the basin.
1 1/2 inch diameter PVC or ABS pipe: This pipe will carry water from the pump. When cut, the end should be higher than the top of the basin — at least 15 inches.
1 1/2 inch diameter threaded adapter: This connects the pipe to the pump.
In-line check valve: This valve will prevent backflow through the pump.
Cement: A compatible cement will need to be used to bond the pipe to the adapter.
Gate valve (optional:) This will allow the flow to the outlet to be shut off to prevent backflow.
Installation
1. Inspect the pump for damage. If there are any issues, have the pump repaired before installation.
2. Attach the PVC or ABS discharge pipe to the pump outlet using the adapter. The open end of the pipe should be above the basin.
3. Attach the in-line check valve to the discharge pipe anywhere between 12 to 18 inches above the pump discharge. Make sure the arrow on the valve is pointing away from the pump so that the valve will open in the direction of flow.
4. Drill a 1/8 inch relief hole in the discharge pipe 5 inches above where the pipe connects to the pump. This hole is needed to prevent air locking.
5. If the basin has been used before, clean out any water or debris.
6. Tie the rope to the handle of the pump. Use the rope to lower the pump into the basin.
7. Plug in the pump and fill the basin with water to test the unit. The float switch should turn the pump on automatically once the water level reaches 13 to 14 inches. Allow the pump to cycle several times to ensure it is working properly.
Where to Buy Honda Pump Parts
www.hondalawnparts.com has OEM parts for everything in Honda’s small equipment line from lawnmowers to pumps like the WSP73. With their online parts diagrams, experienced staff and low shipping rates, they can get you the part you need without breaking the bank.
