
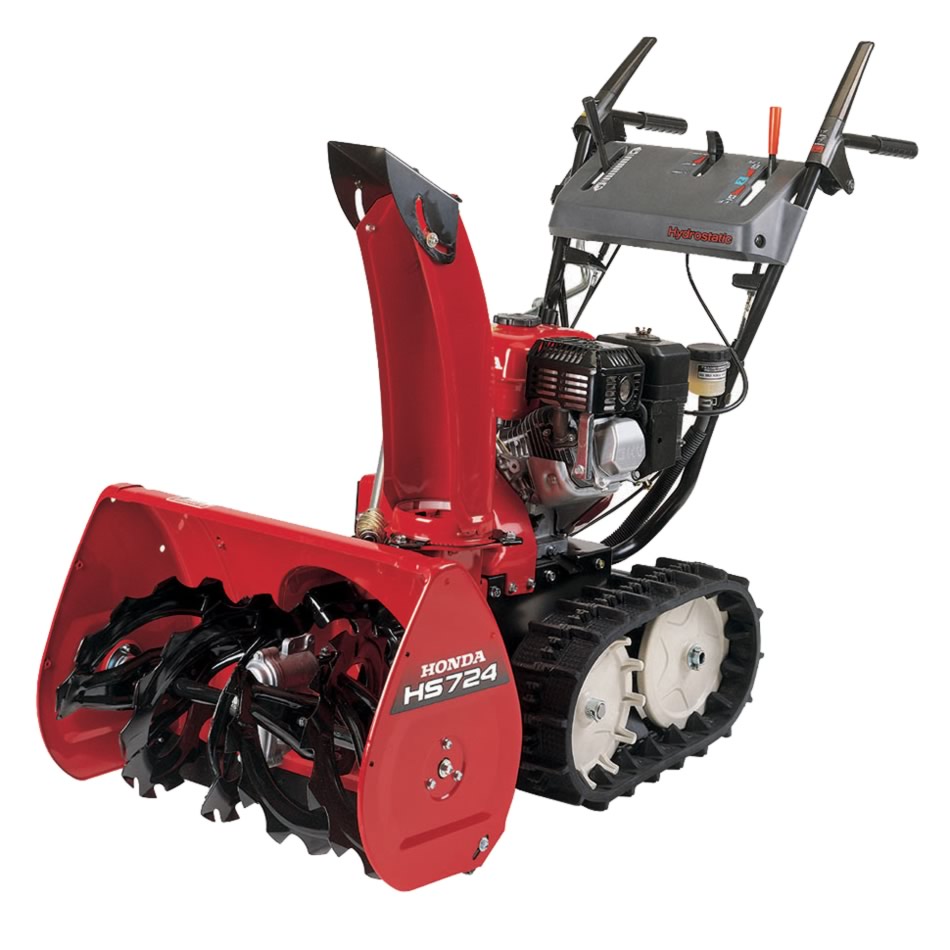
 Honda’s reputation for producing some of the most reliable snowblowers on the market is well deserved, but that doesn’t mean homeowners can excuse themselves from the rigors of regular maintenance. In fact, things like regular checks of the spark plug, tires, and track alignment can help the HS724 go longer between major repairs and operate more efficiently all winter long. For those new to the HS724 snowblower and its unique requirements, consider the maintenance routines below as a good guide to long-term reliability for many winters to come.
Always Put Safety First During Maintenance Work
Snowblower efficiency and reliability should never come at the expense of personal safety. Equipment owners should make sure that they’re always working on a cold or barely warm engine, and they should perform that work only in open, well-ventilated spaces. If work is performed outdoors, it should be on a flat and solid surface, rather than on the ground. This guards against unwanted tips and slips, as well as spills that could kill grass and damage the environment in a big way.
Always wear protective safety gear when working on the snowblower, including protective eyewear and even gloves. This will further protect against burns, cold weather, and even cuts or scrapes from the occasional accident. With that in mind, here’s what to know during regular maintenance.
The Spark Plug
The spark plug should be checked often, typically before each use of the snowblower or after several routine uses of the equipment. That means checking for carbon deposits and corrosion, as well as measuring the essential spark plug gap that allows this small piece of equipment to ignite the snowblower’s fuel and spring it into action.
As a general rule, the spark plug gap should always measure between 0.028 inches on the small end and 0.031 at the high end of the scale. Smaller or larger gaps should be eliminated by properly adjusting and seating the spark plug prior to operation.
Track Adjustments
An improperly adjusted track can cause the snowblower to “wander” during regular use, throwing off the act of snow-clearing and reducing fuel efficiency in a big way. To check alignment, be sure that the snowblower’s track is dry and free of any debris that might have accumulated during the latest outing.
Press down on the track with approximately 33 pound-feet of pressure and measure the resulting deflection. A properly aligned track should produce deflection of between 1-1/16 inches and 1-5/16 inches.
Tire Inspection
Inspecting the tires focuses on two major requirements. The first of these is the overall PSI rating of each tire, which should optimally be about 8.5 psi on the HS724 snowblower. If the pressure is higher or lower, fill or release the air in the tires accordingly. In addition to checking tire pressure, operators should regularly inspect tires for holes, scuffs, cracks, and other damage that might lead to air leaks and other problems when the snowblower is tasked with a particularly large snow removal job.
Auger and Blower Inspection
Inspection of the auger, auger housing, shear bolts, and blower should take place on a regular basis. This inspection process is primarily concerned with damaged hardware and related faults, which over time can cause serious damage to the engine and put the operator at greater risk of injury.
If any hardware faults appear during one of these inspections, secure OEM replacement bolts and other parts immediately. Replacement parts should be put into place before the snowblower is used again, since this will dramatically improve efficiency and safety levels at the same time.
Shear Bolt Replacement
A damaged shear bolt will make itself known during an inspection of the auger and blower. To remove and replace any damaged shear bolt, first make sure the equipment is off and unable to start during the procedure. Clear the auger of any snow or debris and let it dry a bit before removing the shear pin.
Next, simply loosen the sheer bolt and clean the area around where the old bolt was secured to the equipment. Put the OEM replacement into the socket and tighten accordingly. While the bolt should be securely in place, operators should make sure not to tighten it excessively as this may lead to auger or blower damage later on.
Skid Shoes and Scraper Bar
The skid shoes and scraper bar should be measured and potentially replaced at the beginning of each winter season. To do this, make sure the equipment is off and that the engine has cooled. Raise the auger to the highest position and then find both the skid shoes and the scraper bar. Measure each of these pieces to determine whether or not they’re excessively worn.
Skid shoes should be at least 3/32 inches thick in the front and 1/16 inches thick in the rear. Any measurement below these levels should prompt equipment owners to perform a replacement before continuing.
For HS724 Parts and More, Visit HondaLawnParts.com
For the best way to locate OEM Honda replacement parts for the HS724 snowblower and many other equipment options on the market, homeowners should head to HondaLawnParts.com. The site has a number of great ways to find the highest quality parts for any routine maintenance requirement.
