
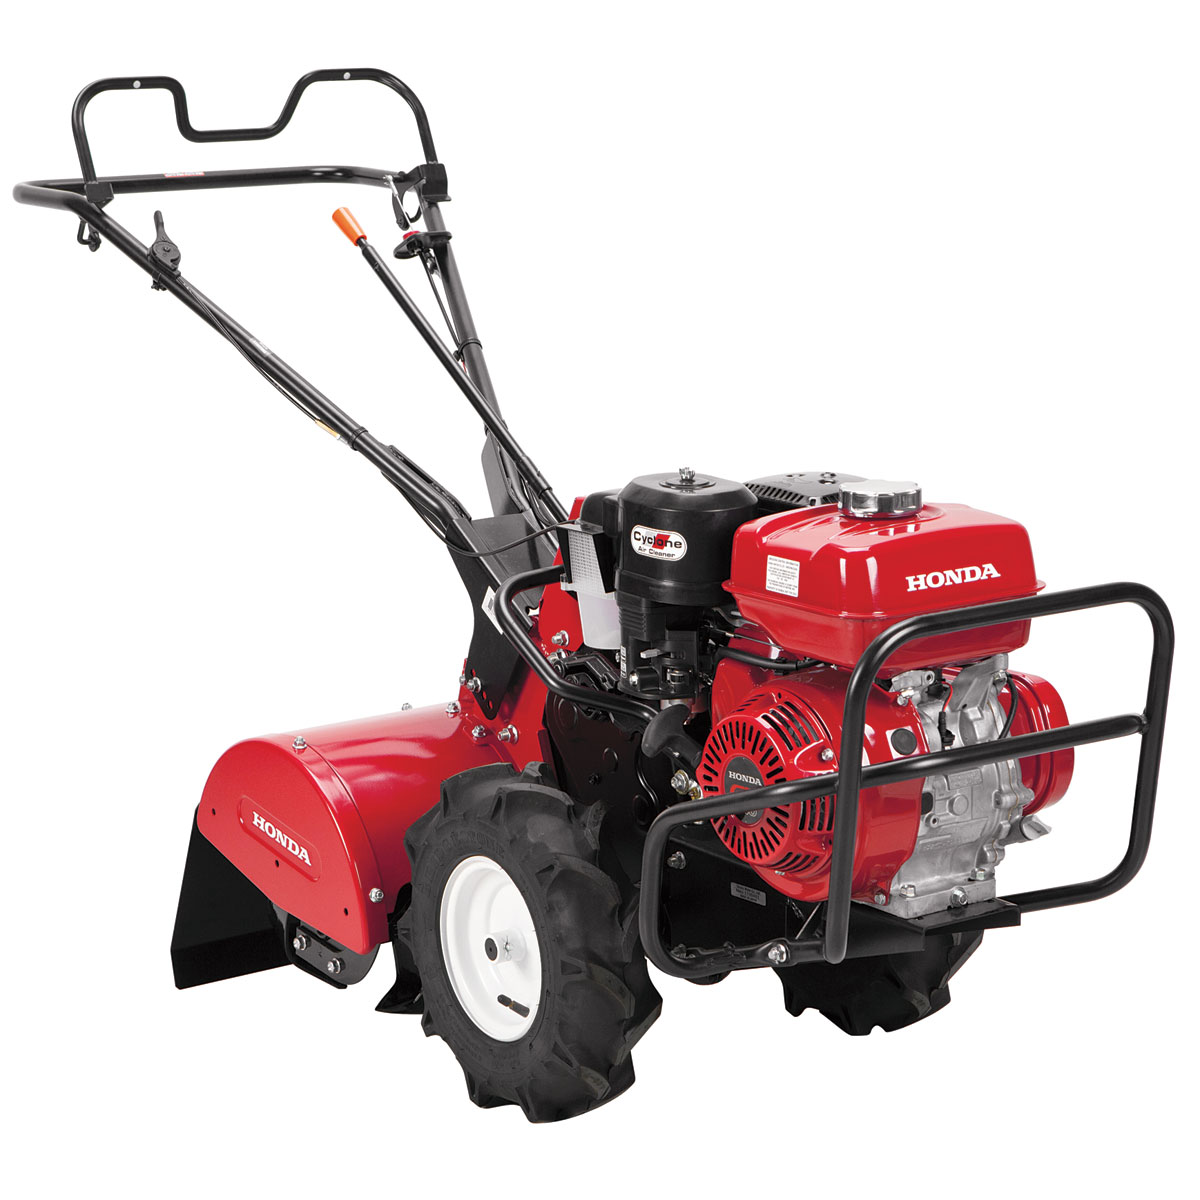
 Honda’s Rear-Tine Tiller is a heavy-duty model designed to get the job done with minimal maintenance and few hassles throughout the year. Even so, this durable piece of equipment does require preventive maintenance that can keep the engine working well for many years to come. Fluid changes, cleaning, air filter swaps, and a number of other key maintenance procedures are all recommended by the owner’s manual and all designed to keep the tiller in brand-new condition for as long as possible.
Getting Started: Remember that Safety Always Comes First!
Tiller maintenance is no joke, and ignoring safety tips can result in serious injury for operators. Before getting started, make sure that the engine has had time to cool down if it was recently used to get some tilling work done. The equipment should be no more than warm to the touch. Keep in mind that the tines are, by design, very sharp. They could injure operators that don’t wear protective gloves to shield themselves from these sharp edges. Remember not to conduct any serious tiller maintenance in the presence of young children, pets, or bystanders in general. Also remember that, for maximum safety, the tiller should be placed on a solid, flat surface, in a well-ventilated area.
The Maintenance Schedule: A Guide for Routine, Rear-Tine Tiller Maintenance
The most comprehensive guide to routine tiller maintenance and service is its included maintenance schedule, which can be found in the owner’s manual. The maintenance schedule clarifies when to do everything form oil changes to spark plug checks, tine replacement to tire service. Some of these tasks must be done before each use, while others need to occur only every couple of weeks or months during the spring and summer seasons. Consult this schedule regularly and make maintenance reminders as needed to ensure that all required tasks are completed on time. For those new to maintenance, here’s what to know.
1. Fuel Concerns
Tillers should be refueled prior to each use, and only when the engine is cool or warm. Honda’s tillers require traditional, unleaded gasoline with a minimum octane rating of 86. Operators should never use diesel or highly concentrated ethanol fuels, as these can cause serious equipment damage that might require expensive service or simply be irreversible. Any ethanol in the fuel should be kept below a 10 percent concentration level, while methanol should be kept below 5 percent concentration for best results.
2. Engine Oil
For maximum safety, Honda’s maintenance schedule recommends that operators check their engine oil level before each use. If the oil is low, remove the oil cap and dipstick and refill oil until it meets the “fill” line on the dipstick. New tillers require an oil change after the first month of use, or after the first 20 hours service. Older tillers require a full change only every 6 months or after 50 hours of active use.
3. Transmission Oil
Transmission oil levels should be checked prior to each use of the tiller. Transmission oil should generally be level with the edge of the oil filler hole when checked in conjunction with a cool engine temperature. If the oil sinks below this level, Honda recommends replacing as much oil as needed to bring it up to the necessary fill line.
4. Air Filter
Air filter inspection should take place prior to using the equipment each time. Inspect both sides for excessive dirt and grime, and be sure to look for any damage. If the air filter merely shows a significant build-up of dirt and grime, use a mild dish detergent and warm water to clean both sides. If damage is indicated on either side of the air filter, replace it with a new, OEM Honda air filter instead.
5. Spark Plug
Spark plugs require regular inspection, since their damage or defects can cause significant headaches when starting the engine. Start by loosening the spark plug and then removing it entirely. Inspect the plug for a buildup of dirt or carbon and, if necessary, simply brush away any residue. If the spark plug shows signs of either excessive wear or major damage, it should be replaced with an OEM spark plug made by Honda.
6. Clutch and Throttle Cables
For best use, the clutch cable requires between 3/16 and 3/8 inches of free play. This can be checked and adjusted using a lock nut located on the left side of the operator handle. If the cable requires tightening, loosen the lock nut and then turn the adjusting nut as needed until the proper amount of free play has been restored.
The throttle cable requires the same amount of free play, and both its lock and adjusting nuts are located on the right side of the handle. Find these nuts about midway down the handle and adjust them as necessary until the proper amount of free play is in place once again.
7. Drive Belt
The distance from the tension rod to the drive belt should be between 1.77 and 1.97 inches. If it isn’t, loosen the four mounting belts and the engine stopper until the drive belt is exposed. Move the engine either forward or backward until the proper tension is in place, then restore the engine stopper and replace the mounting bolts.
8. Sediment Cup
The sediment cup should be routinely cleaned by removing it with a 10mm wrench and cleaning the piece with a mild detergent. This is also a good time to inspect, and optionally replace, the O-ring. When the cup and O-ring are inspected and cleaned, replace them and tighten them into place as necessary.
9. Spark Arrester
Spark arresters are a key way to ensure safety but, in order to properly do their jobs, they must be free of dirt and carbon deposits. Follow instructions in the owner’s manual to locate and remove the spark arrester, and then use a stiff brush to remove these deposits while being careful not to damage the screen.
10. Tine Replacement
Tines should be checked before each equipment use and, if they become damaged or dull, only Honda OEM replacements should be used. Full instructions for tine positions and replacement procedures can be found in the owner’s manual.
12. Tire Maintenance
Proper tire maintenance extends the useful life of each tire and reduces maintenance costs. For reference, the proper tire size for this tiller is 4.00-7. The proper PSI inflation level recommended by Honda is 17.1. Along with these checks, make sure to regularly check tire fasteners and related hardware for any damage, corrosion, or dirt, since this can reduce the usable life of tires quite dramatically.
Stop By HondaLawnParts.com for OEM Replacement Parts and More
Customers looking for the best selection of Honda OEM replacement parts for their tiller should visit HondaLawnParts.com. Along with an extensive lineup of replacement parts, the site features an interactive parts lookup tool that can narrow down the selection by part number, equipment model number, and engine manufacturer. It couldn’t be easier to keep the tiller in great condition.
