
 Storing snowblower equipment like the Honda HS520 during the warmer months of the year generally involves far more than merely placing the equipment in the back of a garage or storage shed until winter weather arrives for another round of snow and ice. Indeed, proper storage involves everything from cleaning the equipment to making sure that fuel is drained or stable, oil is taken care of, and regular lubrication has been pursued before the equipment is left to sit idle for months on end.
This pre-storage routine, which comes in six key components, will ensure that the snowblower can successfully survive summer storage and be immediately useful, and in good repair, as the weather cools off and its services are once again required on a regular basis. Here’s what equipment owners need to know.
1. Cleaning is a Key Part of the Storage Process
Snowblowers spend virtually all of their time outdoors, handling everything from regular snowfall to ice, slush, and the thick kind of sludge that results from a heavier, wetter snow on grassy or unpaved surfaces. This dirt is not only inconvenient and unsightly, but also a drag on the exterior integrity of the equipment and the function of the engine during regular use.
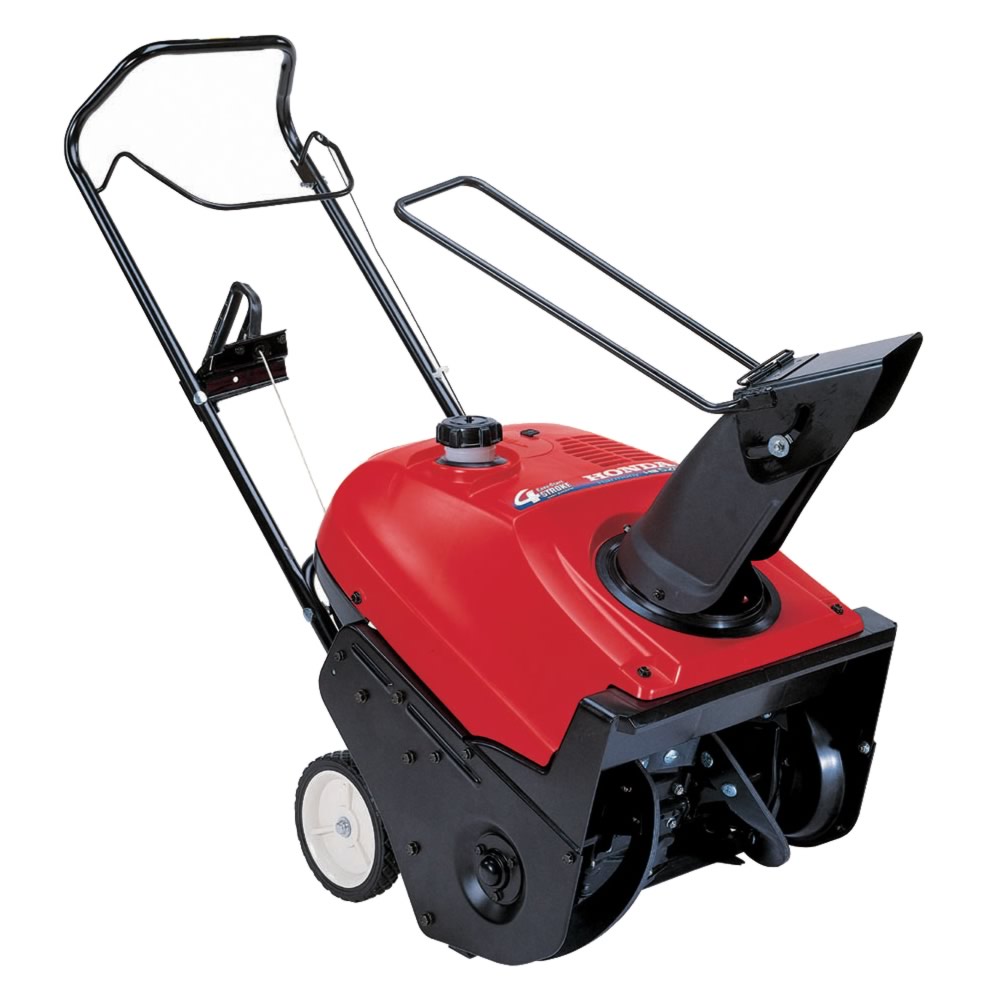
Before storage, be sure to use a typical garden hose to rinse out the auger housing and the area around each of the equipment’s wheels. When that’s done, use a damp cloth to clean the rest of the equipment’s exterior so that it resists corrosion or other damage during its time in storage.
2. A Fuel Stabilizer Can Save Gasoline During Storage
There is a definite divide between those who prefer to keep gasoline in their equipment throughout the summer and those who prefer to drain the tank entirely. Both of these approaches are perfectly fine, but keeping the fuel tank filled with fuel does require a few extra steps. Using a fuel stabilizer, for instance, requires that the stabilizer be added to a full tank of fresh fuel. It won’t be nearly as effective when paired with old and leftover fuel, so be sure to drain any old gasoline before proceeding.
With the fuel tank full of new gasoline, add the fuel stabilizer as recommended by the original manufacturer’s instructions. Then turn the engine on and allow it to run for at least ten minutes, allowing the fuel stabilizer to work its way into every part of the engine and fuel tank. Next, turn the fuel valve to the “off” position and wait for the snowblower to turn off due to a lack of fuel. This completes the process and will ensure gasoline stands the test of time while the equipment is unused.
3. Drain the Fuel Tank and Carburetor
For those snowblower owners who don’t want to use a stabilizer product throughout the warmer months of the year, draining the fuel tank and carburetor is a great way to ensure the equipment’s integrity throughout the spring and summer. To get started, place a fuel container below the carburetor’s drain tube and then turn the fuel valve to the “on” position.
With the fuel container in place, loosen the carburetor drain screw until fuel begins to come out of the drain tube. Allow this process to proceed until no more fuel is draining form the tank, and then tightening the drain screw to ensure that no accidental leakage happens while the equipment is in storage. Switch the fuel valve to “off” and dispose of the fuel using an approved method.
4. Change the Engine Oil
Fresh oil is a key way to ensure that the engine does not suffer from any damage while in storage, or when the equipment is turned on for the first time after a few months in the garage. Follow the snowblower’s recommended oil change procedure, draining any old oil and replacing it with approved 10W30 as recommended by Honda.
While performing the oil change, be sure to remove, inspect, and potentially replace the spark plug. After the new oil is in the engine, go ahead and give the starter grip a pull until met with resistance. This ensures everything is closed up and ready for storage.
5. Don’t Forget Lubrication
Lubricating joints in advance of seasonal storage will help the equipment resist corrosion and reduce the required maintenance that will be performed at the start of the winter season. Use a small drop of oil to freshly lubricate, the auger shaft bearings, auger lever clutch, chute tension bolts, and chute hinge, pin.
6. Place the Equipment in Proper Storage
Store the Honda snowblower away from furnaces or air conditioning units, on a level surface where dust and grime won’t affect the engine or other parts until the next time it’s needed. Ideally, the snowblower should be stored somewhere with a moderate and relatively consistent temperature to prevent against fuel or oil complications later on.
Where to Buy the Honda HS520 and Other Models
HondaLawnParts.com has long been the leading name in both new equipment and replacement parts for existing snowblower models. With an extensive selection of snowblowers, including the powerful HS520 and much more, the site is a great asset for Honda enthusiasts and a great starting point for those purchasing their first snowblower in advance of the upcoming winter season.
