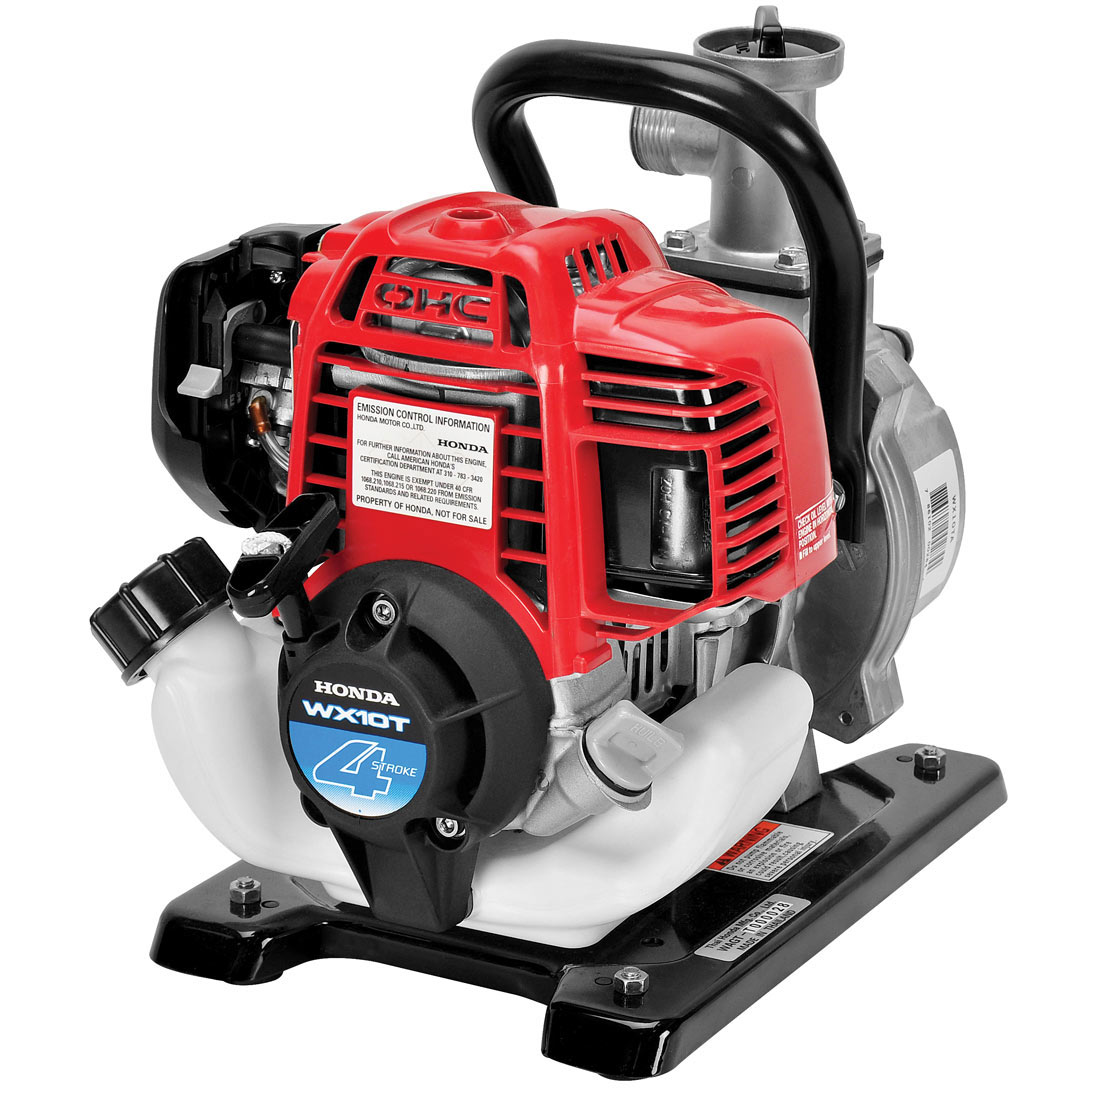
 The WT10’s small size and efficient Mini 4 Stroke engine make it perfect for pumping out sumps, removing puddles and powering fountains and garden-sized irrigation systems. These tips will help you get the most out of this model.
Choosing a Pumping Location
The most important consideration when setting up a water pump is head, the vertical distance between the surface of the water being pumped and the end of the discharge hose. This pump has a capacity of 121 feet of total head and 26 feet of suction. That means the surface of the water can be as much as 26 feet below the pump. However, reducing head, and suction head, in particular, will increase performance. When setting up your pump, try to place it as close as possible to the body water being moved, making up the distance with the outlet hose.
Speaking of hoses, the shorter they are, the less fluid resistance there will be, which increases pumping speed. The suction hose must be reinforced to keep it from collapsing under pressure. While there are several options for outlet hoses, choosing the widest hose available will reduce friction losses.
Connecting the Intake Hose
The order the parts need to go onto the pump intake will depend on whether you have the included standard connection system or you’re using Honda’s separate hose connector.
Standard connector: washer, hose coupler, clamp ring, hose clamp and hose
Separate hose connector: packing without tabs, male coupler, packing with tabs, female coupler, hose
When using the separate hose connector, flip the levers toward the pump intake to clamp the female coupler onto the male coupler.
The hose must always be used with a strainer clamped onto the inlet, and this strainer must be fully submerged during use. A standard strainer is included with the pump, but there are other designs available for pumping from shallow bodies of water.
Connecting the Discharge Hose
Unlike the intake hose, this hose isn’t under pressure, so it only requires a hose connector and hose clamp to attach to the pump outlet.
To use the included garden hose adapter, screw the adapter on just tight enough that it doesn’t leak, then screw in the garden hose. Keep in mind that the reduced diameter of the hose will reduce pumping performance.
Priming
Operating the pump when dry will cause the seals to overheat and fail. If you start the pump without priming it, shut it off immediately and give it a few minutes to cool off.
The filler cap is located to the right of the pump outlet. Remove the cap, pour in water until the chamber is full, and reinstall the cap.
Starting, Running and Shutting Off the Pump
1. Set the choke to “Closed” if the engine is cold, or “Open” if the pump was just running.
2. Set the throttle mid-way between “Slow” and “Fast.”
3. Press the priming bulb until fuel can be seen inside the fuel return tube next to the bulb.
4. Turn the ignition switch to “On.”
5. Hold the handle on top of the engine with one hand while using the other to pull the starter grip.
Once the engine is running, gradually open the choke as the engine warms up. At this point, the pumping speed can be adjusted by moving the throttle.
Once you’re done pumping, move the throttle to “Slow” and turn the ignition switch off.
Chamber Flushing
After using the pump, let the engine cool down and flush the pump chamber to remove any remaining water or debris. The pump drain plug is located on the bottom front of the pump housing. Once the water has drained out, pour water through the pump chamber the same way you would when priming the pump.
Everything You Need for Your Honda Pump
We may have “lawn” in our name, but www.hondalawnparts.com carries everything you need for your Honda small engine or outdoor equipment including water pumps like the WX10. We have a section on our website dedicated to pump accessories including hoses, seals and strainers, or you can use our search engine to find replacement parts specific to your pump. We ship across the U.S. and Canada.
